The goal for my creative switch project was to install an LED light into the base of the fan so that when the propellers of the fan spun around, it would cause the small LED light to blink while providing you with cool air.
Materials:
-Hand-held fan
-Sodder Iron
-Sodder
-Screw Driver
– 1Battery (AA)
-Two pieces of wire
-LED light
Steps:
You can buy a simple little hand-held fan from mostly any store, I bought mine at Walmart for only $3.
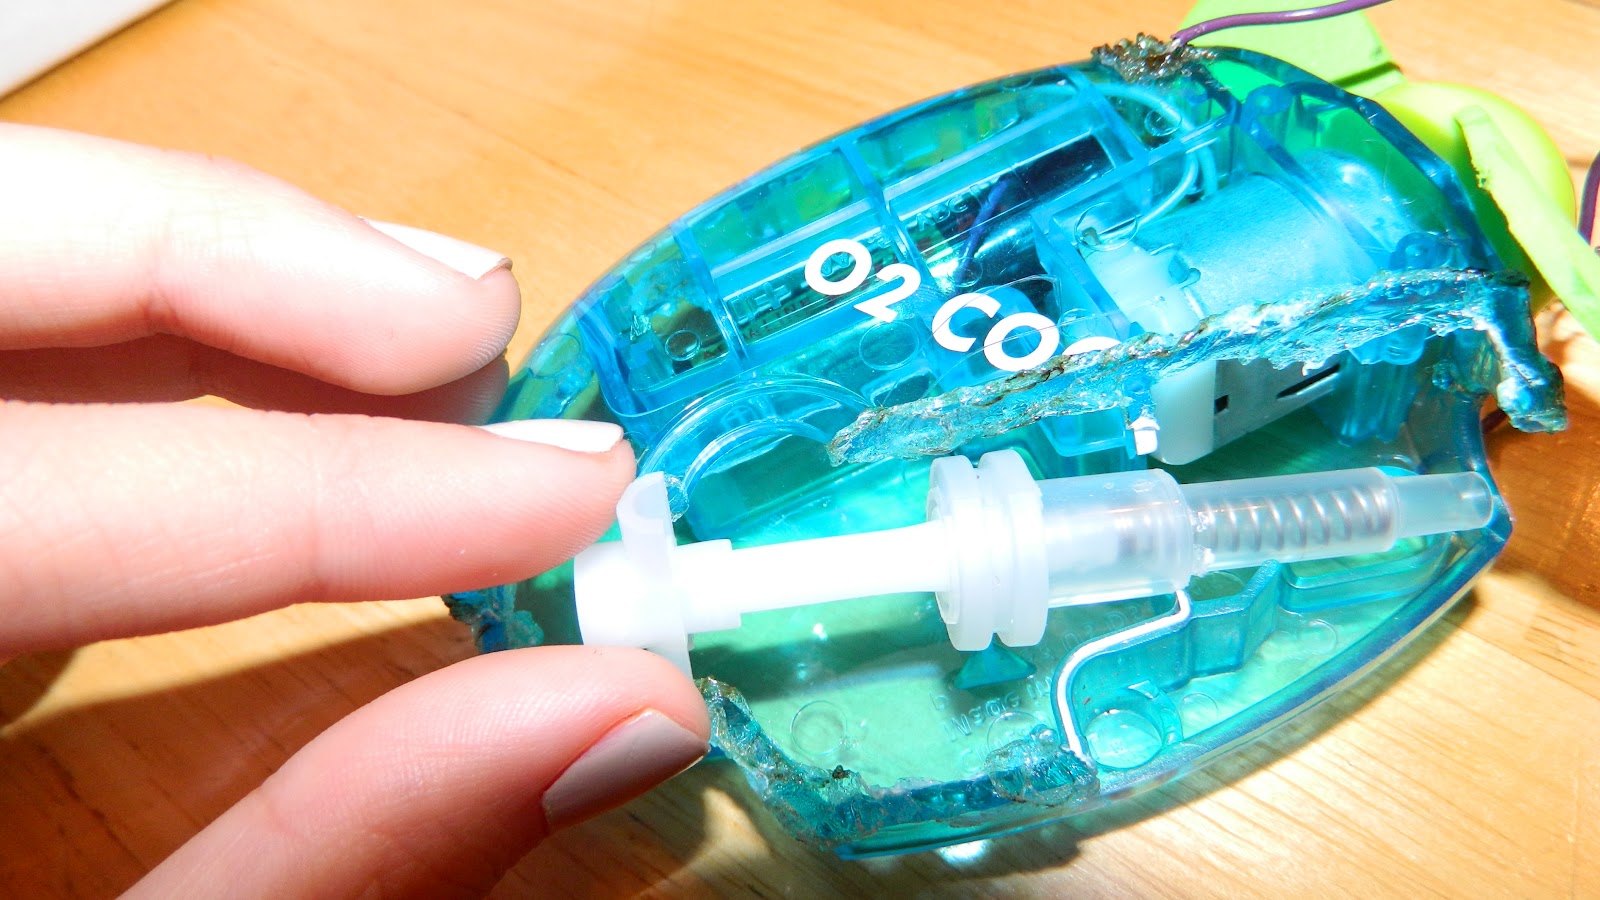
First what I had to do was open the entire fan in half so that I was able to see everything on the inside. I did have problems though trying to pry it open since it was welded together while being made. So after trying an x-acto knife, I finally was successful when I used a sodder iron and a screw driver to melt and pry the fan apart.


After I was able to open the fan, I had to remove the inside parts where there was a syringe and a few other small plastic parts that were not needed. The vacant space where I had removed the syringe was the base spot where my LED light would eventually be rested.
The next few steps are the process in which the creative switch aspects of the project come into play. I needed to somehow get the LED light and fan working both at the same time while using the same battery. What I did was quite simple because I didn’t need many more materials than just two wires and the wires that were already inside the fan itself.
First, I had to sodder one end of my wire to the battery of the fan, (light green wire). Which I had to make a hole on the outside of the fan so I could make contact with the wire.

Next I needed to Sodder another wire to the switch part of the fan (the white wire).

After connecting my two wires to the fan, I needed to connect the other two ends to the LED.

Last, I need to insert the battery.

The LED did flash on, although it was a bit dim at first.

My blinking fan is perfect for a night light or just to keep fresh in a cool way.
-Emily Guerrero