Creative Switches: The Genius Hat


Introducing the original thinking cap! Show off how smart you are with this fun, easy-to-make, Genius Hat!
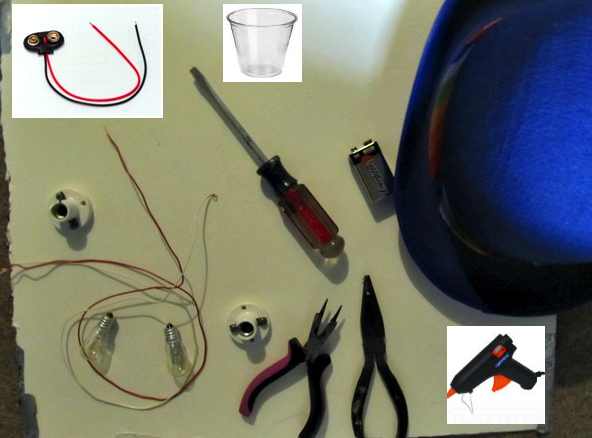


Materials:
2        3.5 volt light bulbs
2        lamp holders
2       7 inches of wire
1       5 inches of wire (preferably a different color than the other set of wire)
1       9 volt battery
1       battery connector
1       hat (a bowler or derpy hat is recommended)
1       pair of scissors
1       pair of wire cutters/wire strippers
1       flat head wrench
1       hot glue gun with glue (recommended)

1 roll of electrical tape (recommended)Optional: A clear plastic dome to house your light bulbs for effect
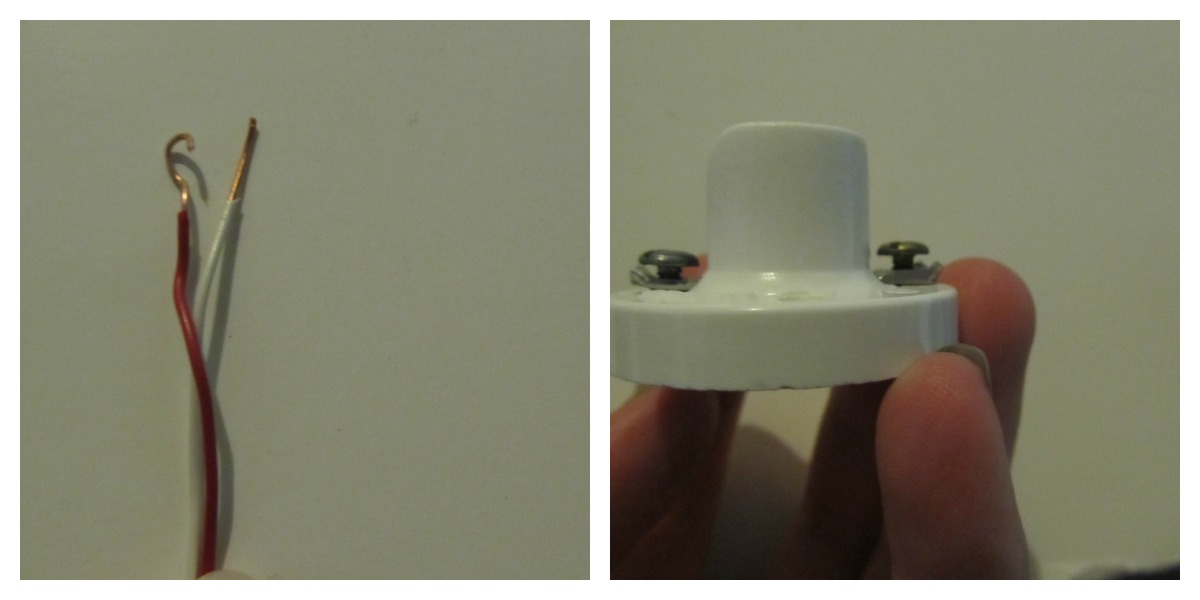

Step 1:
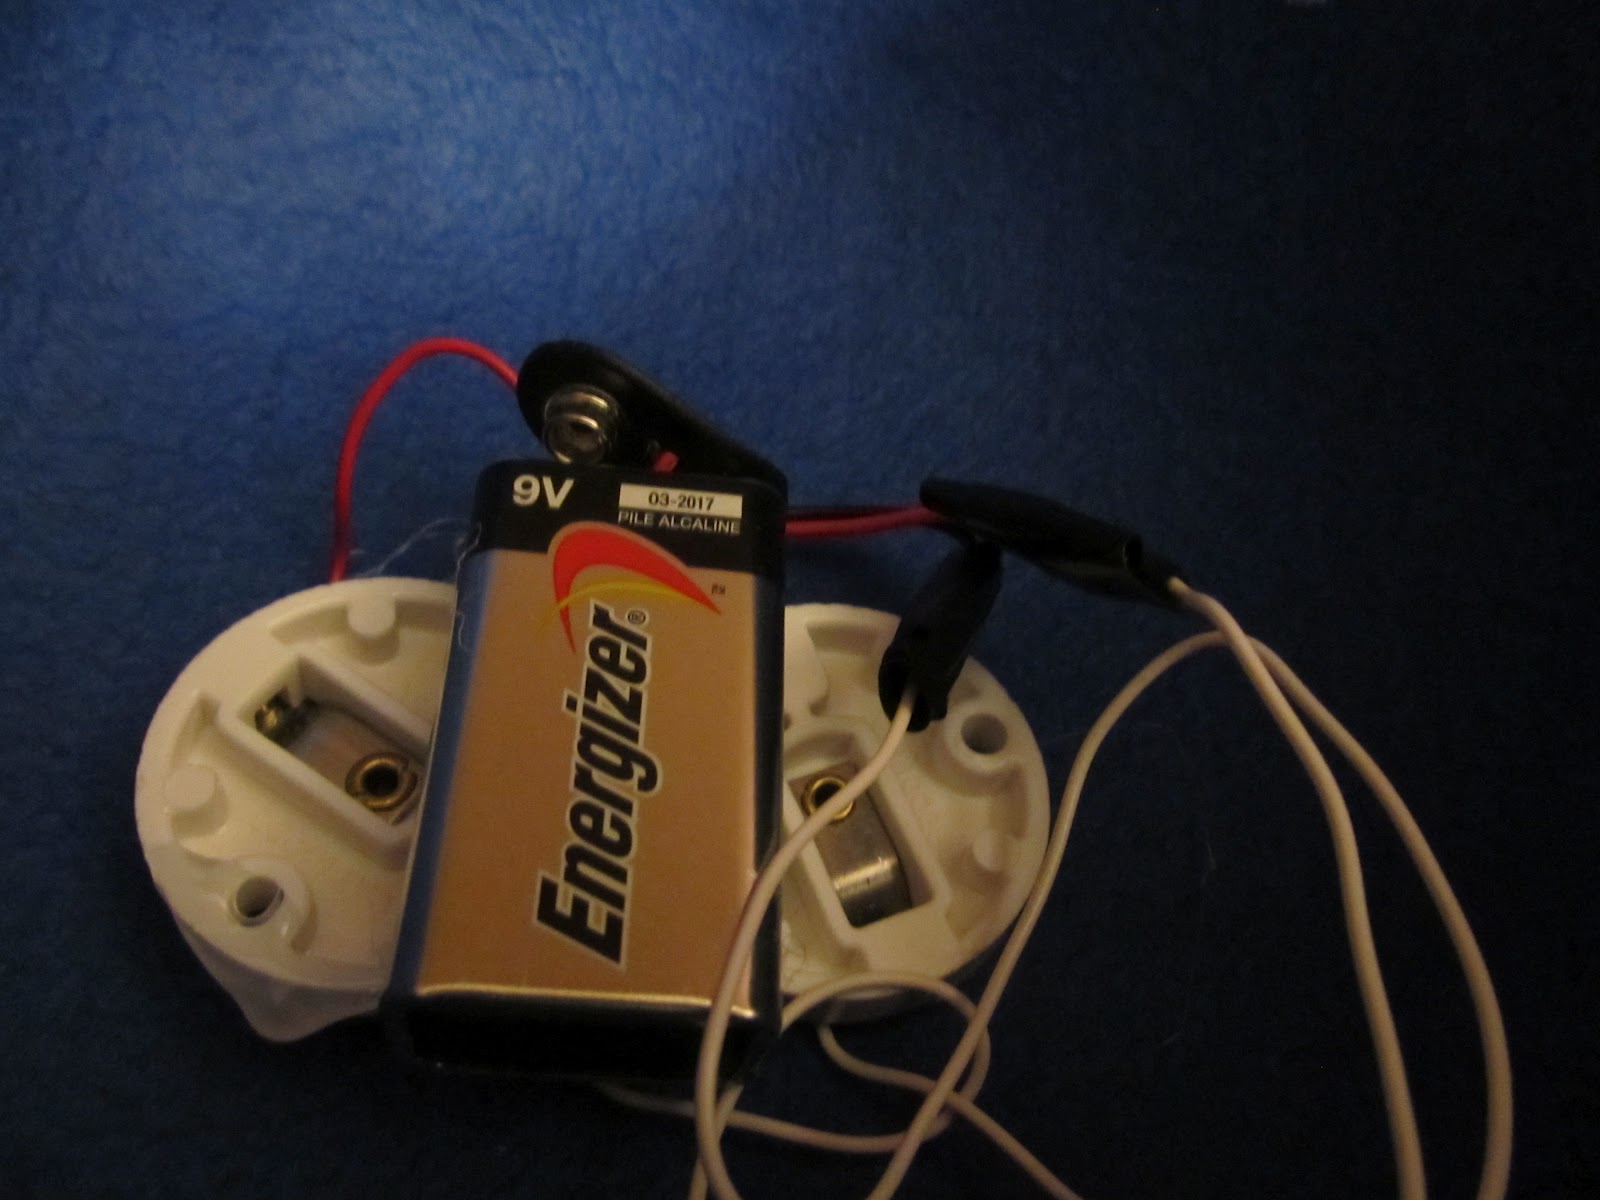
First, strip 3/4 of an inch of the plastic casing from both ends of a 7 inch piece of wire and the 5 inch piece of wire, as shown in the photo above. With you flat head wrench, loosen the two screws on either side of the lamp holder, just enough for you to be able to tie the wire around it . Next, twist the copper tip of one piece of wire firmly around one of the screws of the lamp holder, then retighten the screw. Do the same thing to the other screw of the lamp holder.


Step 2:

Now, loosen the screws of the second lamp holder, the same way as you did with the first one. This time though, you are going to tie the other end of the 5 inch piece of wire to one of the screws on the second lamp holder, then tighten the screw. After this, take the other 7 inch piece of  wire, strip 3/4 of an inch of plastic casing from both sides of it, and coil one end firmly around the final screw. Then tighten the screw. By this time you should have created a necklace-like series with the lamp holders and  wiring.

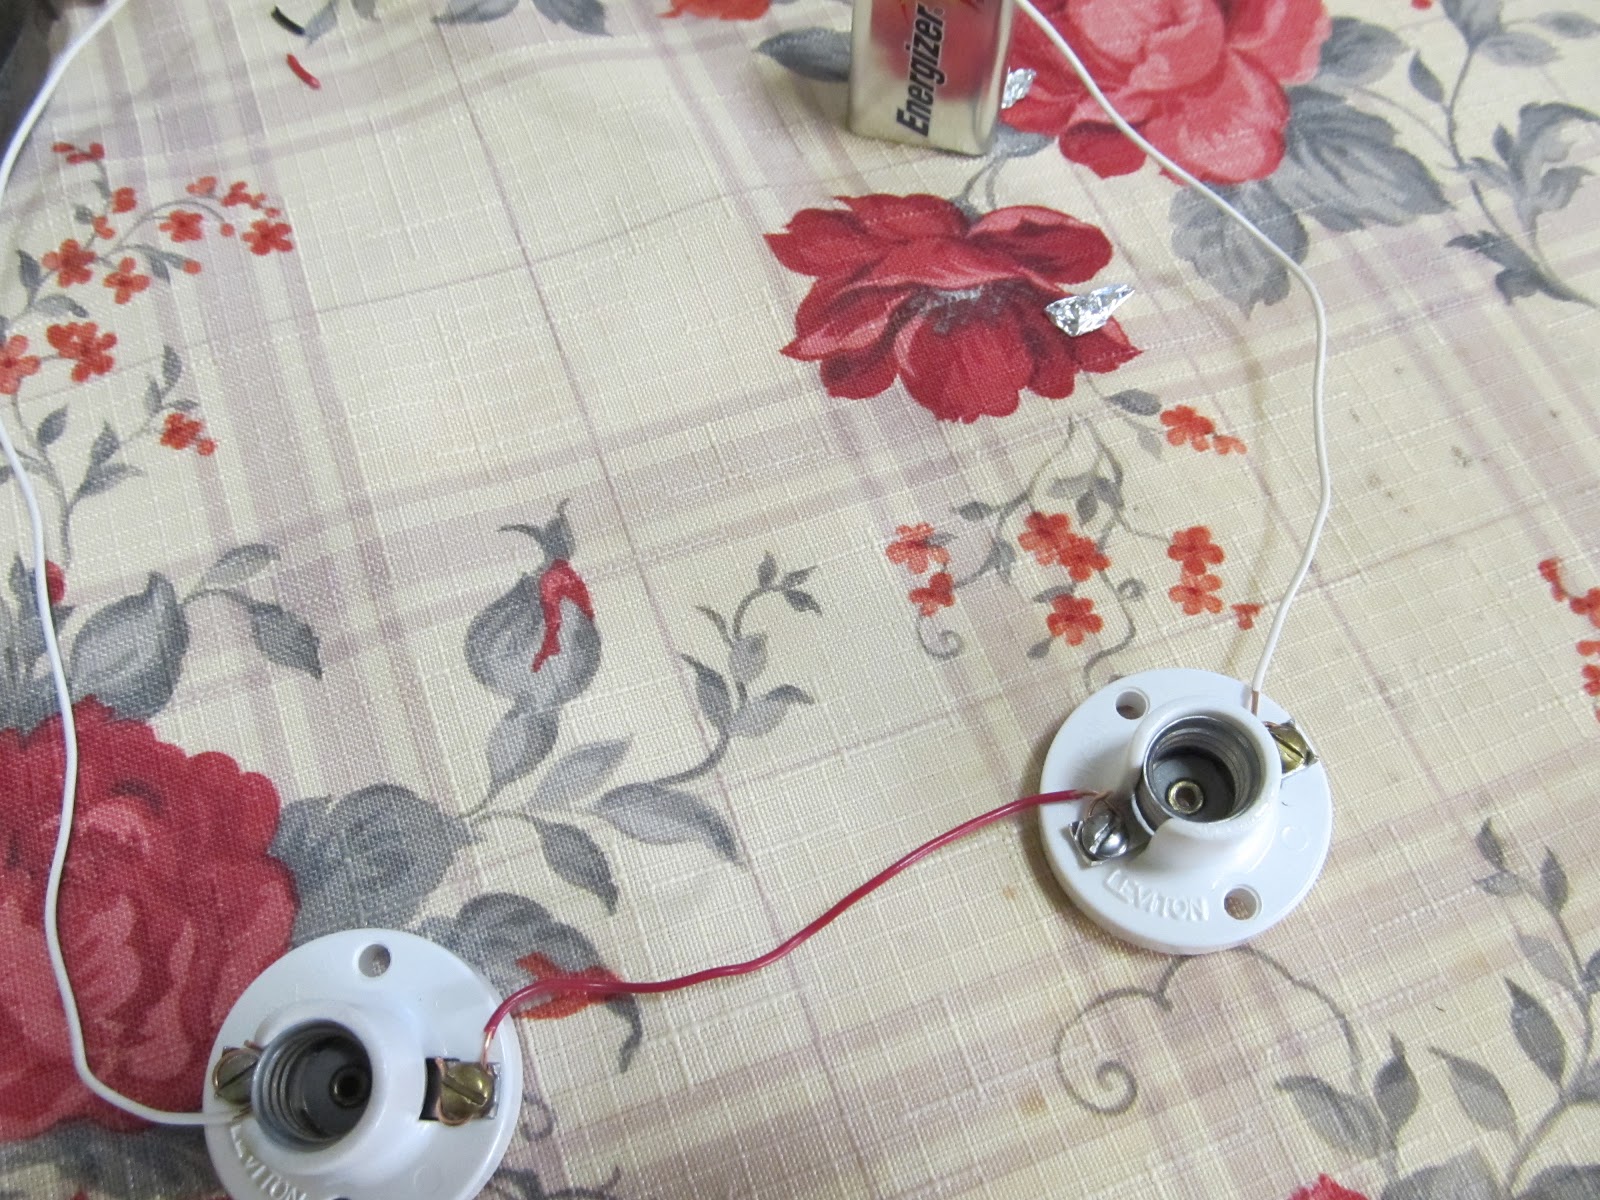
This is what the end result should look like.
You may want to secure the connection between the battery connecter and two wires with electrical tape.

Step 3:
Next, strip about a quarter of an inch of plastic casing from the wires of the battery connector. Once this is done, twist the metal wiring one of the battery connector’s wires to the copper wiring of the adjacent 7 inch piece of wire. Follow this same procedure with the other set of wires. Screw the light bulbs into the sockets of the lamp holders and attach the battery to its connector.
Step 4: You should have a working circuit by this time.  You may wish now to open the circuit for the sake of convenience.  Now is time to install it into the hat. Mark and cut two holes, large enough to insert the light bulbs, at least two inches away from each other on the top of the hat. Then, insert the light bulbs through the hat. It is recommended to secure the light bulbs with small amounts of glue using a hot glue gun. Next, hot glue the battery next to the lamp holders.


Step 5:


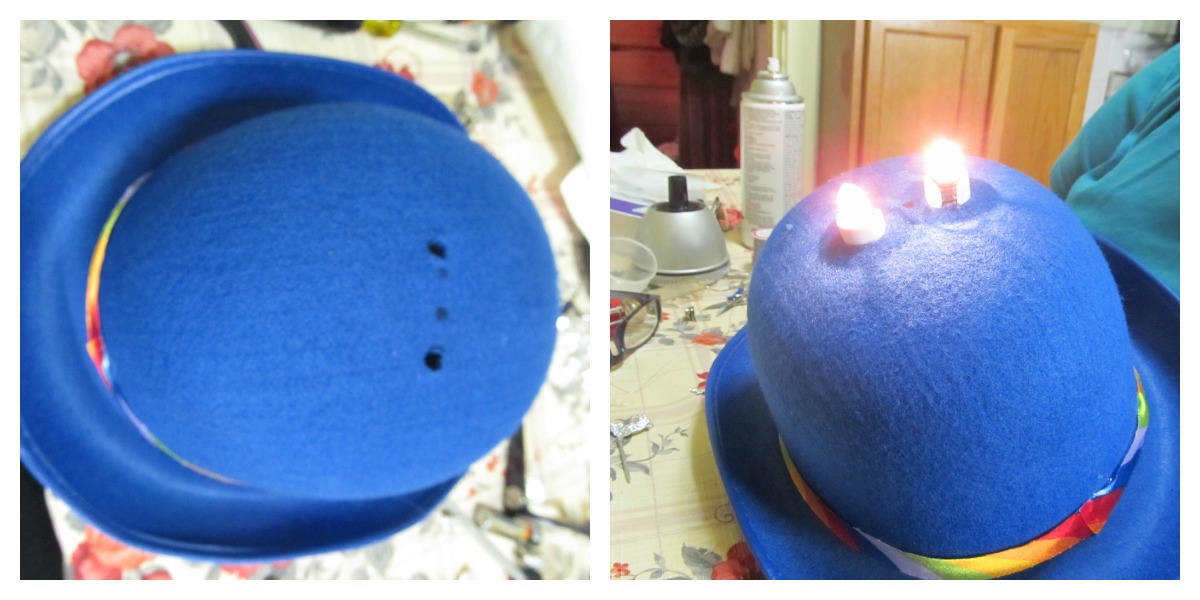
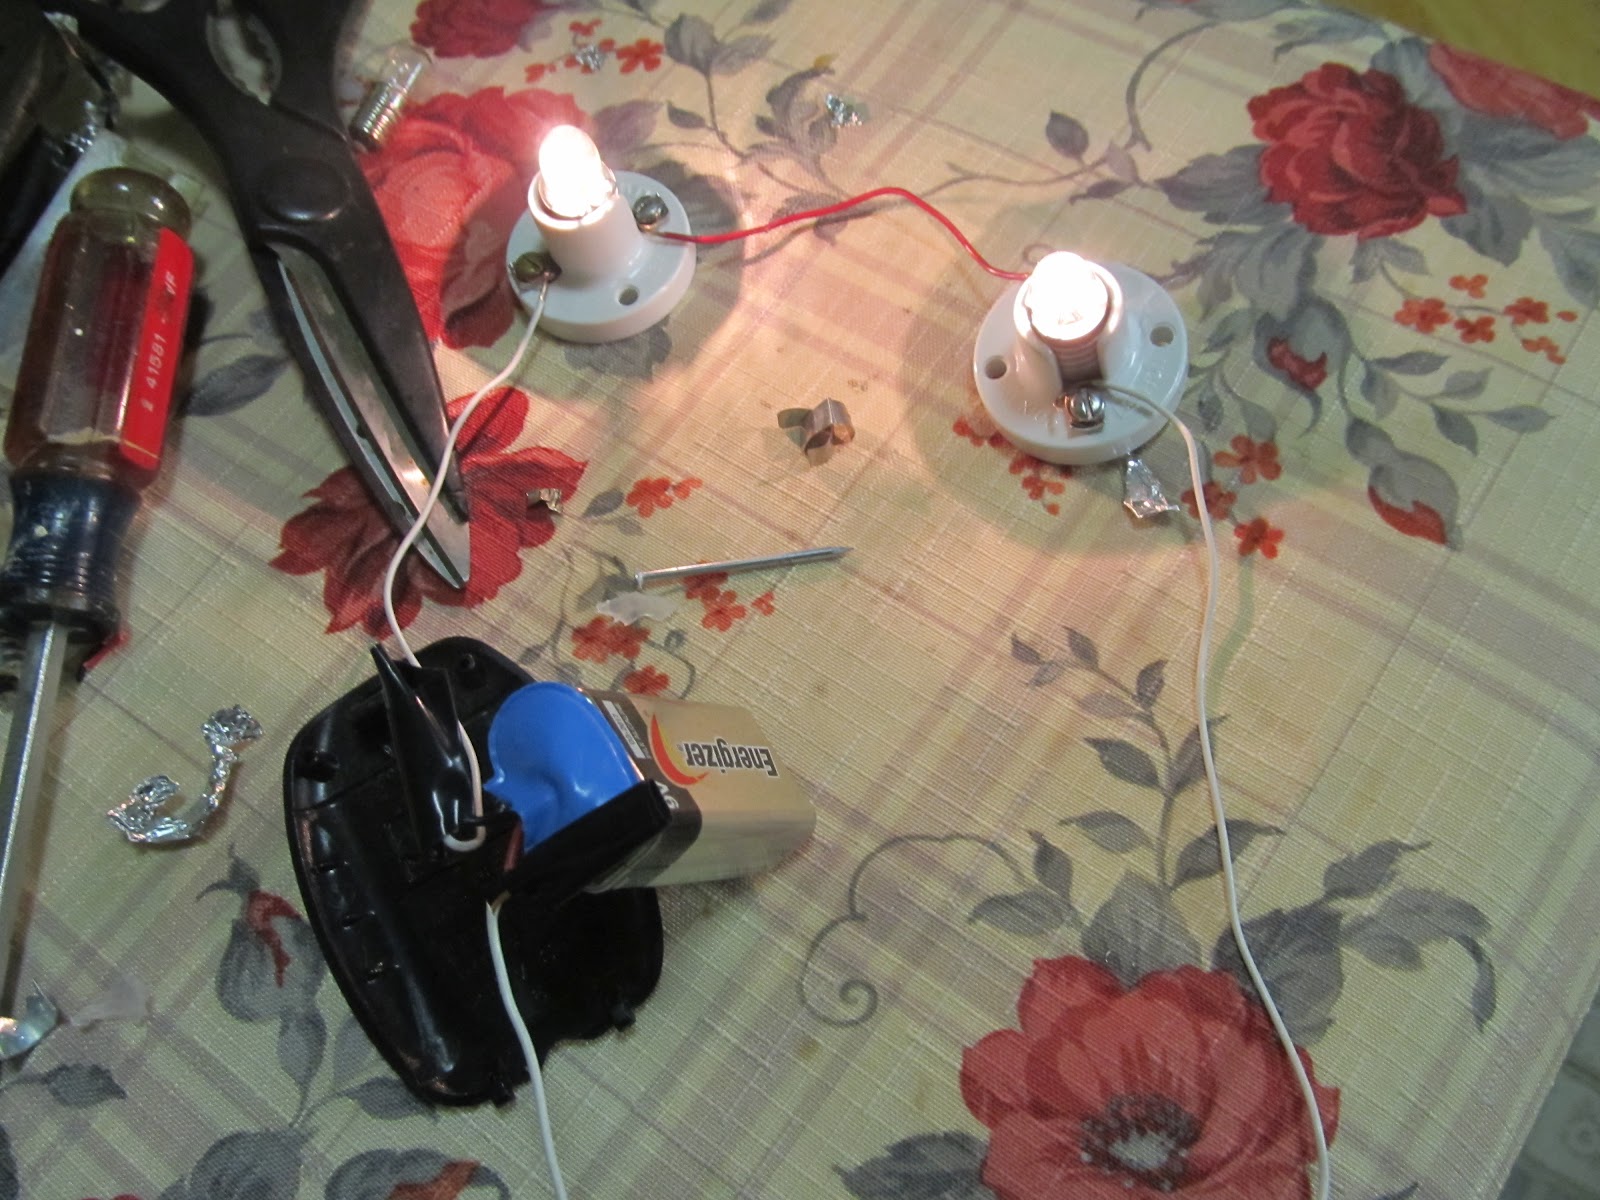
Detach one end of the battery connector just far enough to leave the circuit open, but close enough so that when the individual puts on the hat, the circuit closes (As shown above).

Doesn’t he look smart?

Step 6:
Watch as your “ingenuity” will close the circuit as you put on the hat!

–Bridget Miller