For my new project, I am still working with the same concept with the blinking bracelet. During the in class critique, class mates recommended to make a bracelet that is unisex since my orginal bracelet was kind of masculine. I want this bracelet to fit comfortably for any man or woman, or child. I have not found the new material which I will use for the next bracelet but with a trip to the art store will solve that probem. I also plan on making it more flexible and comfortable since the original bracelet was kind of stiff and bulky.
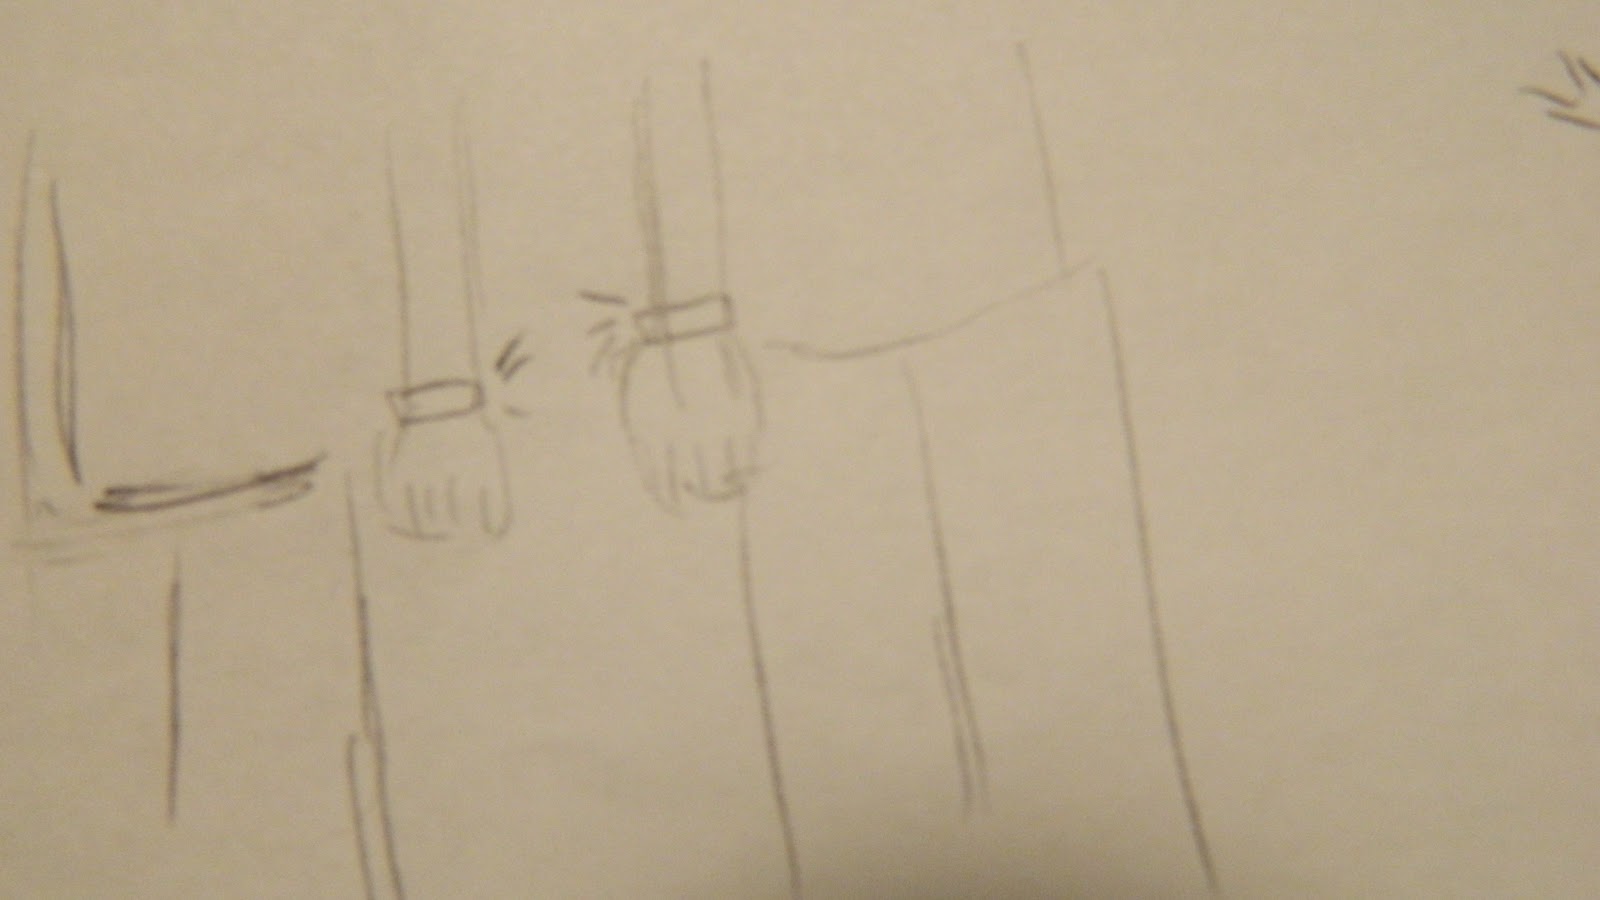
The second new addition that I wanted to add to the bracelet was that it became interactive with other Blinking Bracelets. Since the original idea was for two bracelets to light up whenever someone was shaking hands, I decided to make them so when you high-five or just wave your hands to someone else, it will light up. I also wanted to adjust it so that it will light up according to proximity of that other persons hands.
Overall, I want this bracelet to symbolize and reward the interaction of people. Since it’s more likely and easier to just text someone “hello”, why not shake someones hand or give someone a high-five?
I think by adding more interactive characteristics to the bracelet it will show people enjoying and appreciating the presence of another not through social network or media, but right in front of them. It’s also a really cool accessory to wear to parties and concerts and etc.
my new bracelet will light up according to proximity.
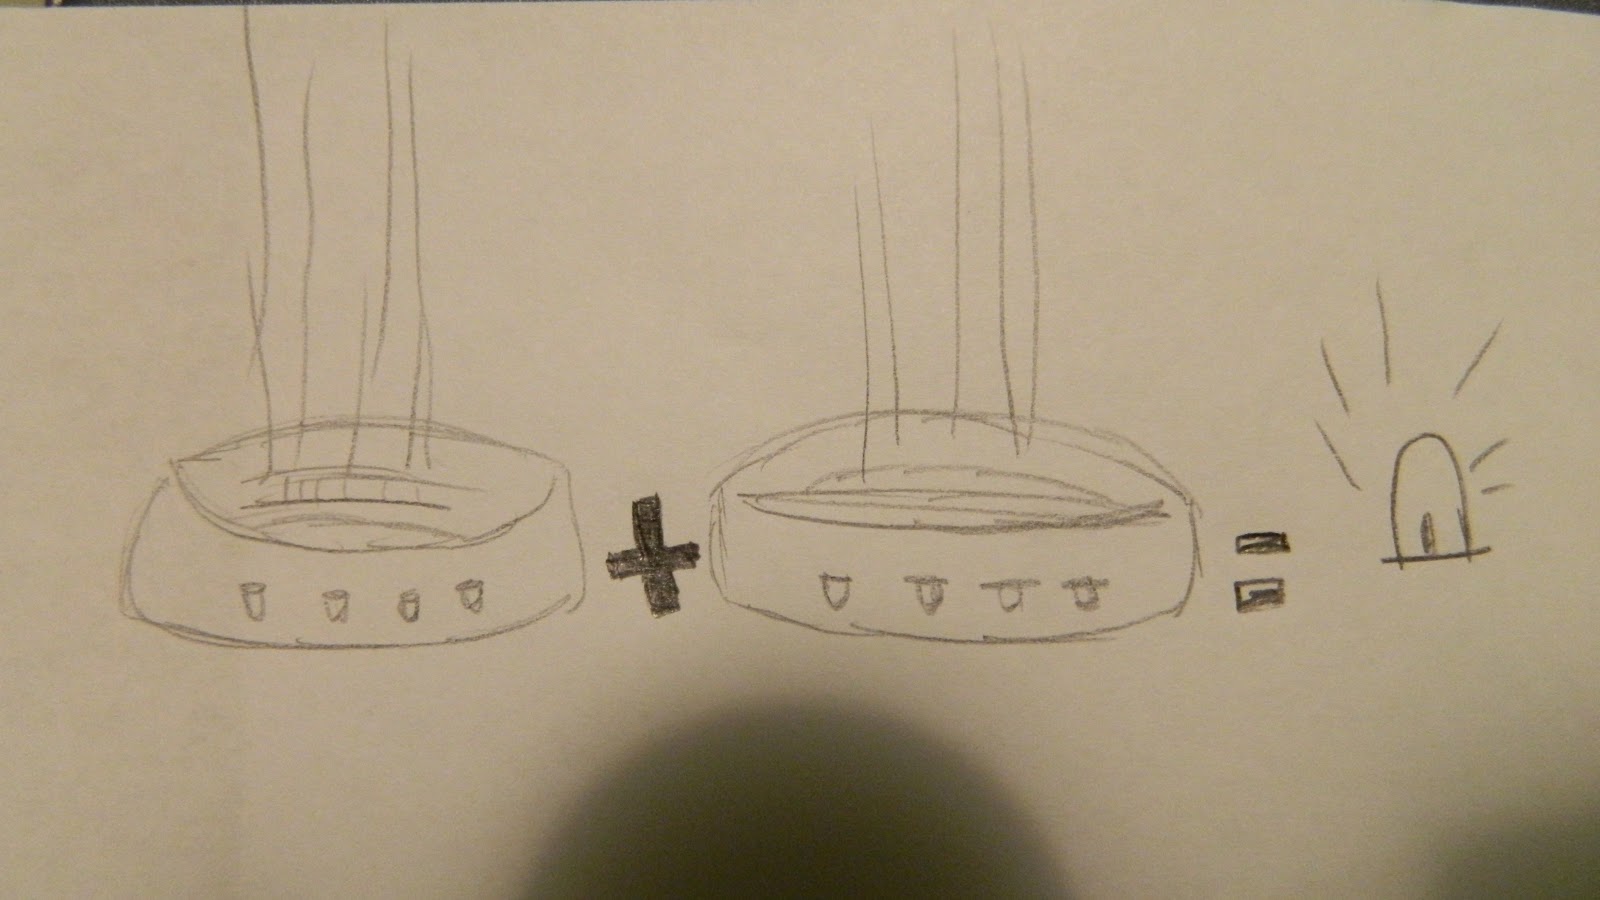
the new bracelets will interactive with one another by touch sensors.
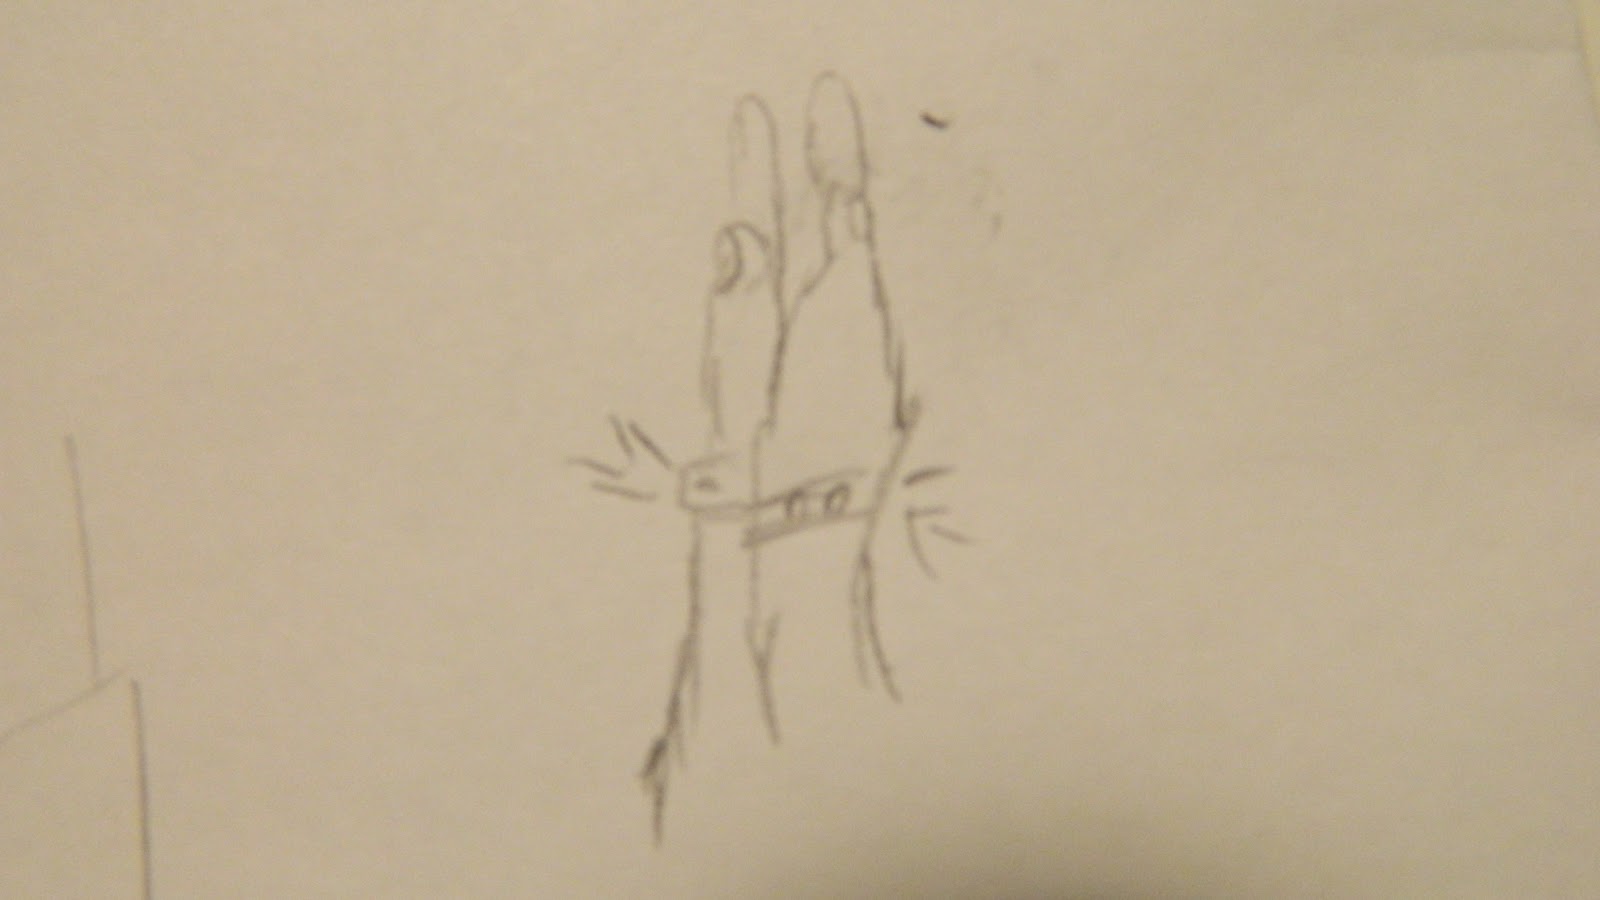
they will light up with a simple high-five or when shaking hands.
Feedback Questions:
1) Which type of material or design should I use to make a bracelet that will be a perfect fit for everyone?
2) Which other ways of communication through different hand gestures will be cool to display through my new bracelets?
3) Would adding noises to the bracelets be a cool affect?
Detailed steps to completion..
What I still have to do to complete my project is buy the rest of my LED’s that are going to be flat so that they look better on a bracelet instead of the old LED’s that were too bulky. I then have to connect the LED’s and resistors onto a bracelet just like I did for the previous bracelet. After that I have to attach the touch sensors to each bracelet. I already recieved my second touch sensor so i will have to make another bracelet and repeat the same steps. When both bracelets are connected with their LED’s and touch sensors, I have to find a way to hide all of the wiring in my sleeve so that it is not too visible.
Final budget..
touch sensor
http://www.trossenrobotics.com/p/phidgets-touch-sensor.aspx (item number: PH-1129)
cost: $20.00
Sample Code..
/*
Flex Sensor and LEDs created by ScottC on 23rd May 2011
updated on 16/05/2012.
—————————————————–*/
//Flex Sensor Pin (flexPin)
//the analog pin the Flex Sensor is connected to
int flexPin = A0;
int val;
void setup() {
for (int i=4; i<14; i++){
pinMode(flexPin, INPUT);
pinMode(i, OUTPUT); //sets the led pins 4 to 13 to output
Serial.begin(9600);
}
}
void loop(){
//Ensure to turn off ALL LEDs before continuing
for (int i=4; i<14; i++){
digitalWrite(i, LOW);
}
/* Read the flex Level
Adjust the value 130 to 275 to span 4 to 13
The values 130 and 275 may need to be widened to suit
the minimum and maximum flex levels being read by the
Analog pin */
val = analogRead(flexPin);
Serial.println(val);
int flexReading = map(analogRead(flexPin), 250, 405, 4, 13);
// Make sure the value does not go beyond 4 or 13
int LEDnum = constrain(flexReading, 4, 13);
/*Call the blink function: this will turn the LED on for 10 milliseconds, and keep it
off for only 1 millisecond. You can change the blink rate by changing these values,
however, I want a quick response time when the flex sensor bends, hence the small
values. LEDnum determines which LED gets turned on.*/
blink(LEDnum, 10,1);
}
// The blink function – used to turn the LEDs on and off
void blink(int LEDPin, int onTime, int offTime){
// Turn the LED on
digitalWrite(LEDPin, HIGH);
// Delay so that you can see the LED go On.
delay(onTime);
// Turn the LED Off
digitalWrite(LEDPin, LOW);
// Increase this Delay if you want to see an actual blinking effect.
delay(offTime);
}
1) I think a good material that is very universal and comfortable for everyone to wear is that same plastic material used in LiveStrong bands. Or maybe something similar to these types of bands: http://image.made-in-china.com/2f0j00AeHTawsBGOoF/Silicone-Wristband-Reflective-Slap-Wristband-Reflective-Slap-Bracelets-MX-1090-.jpg
3) Adding noises would be really cool! You could have sound react in accordance to how close someone is. You may want to consider what the sound will react to. You could make it a component that is a little more difficult to set off compared to the LEDs, just so you don't have little beeping sounds every time you wave your hand! Overall, if you want to, go for it!!!
1. For some reason, the first thing I thought of were slap bracelets! Everyone wore those back in the day! ;P
2. Perhaps…. fist bumping?
3. Adding noises would be awesome! It's one thing to have the bracelets light up, but to have noise would draw even more attention from everywhere.
Right now these will light up when the bracelet gets into close proximity or touches anything – not just another bracelet…
You could use an accelerometer if you want the lights to respond to fast moves or shakes.
s