Proposal:
For my final project, I thought about all the things I’ve learned and explored so far this semester and what I hadn’t yet. Seeing other people use sensors had me interested in coding for them so I decided that I wanted to do something involving a sensor. The challenges I ran into with my drawing machine made me want to look more into motors and servos as well.
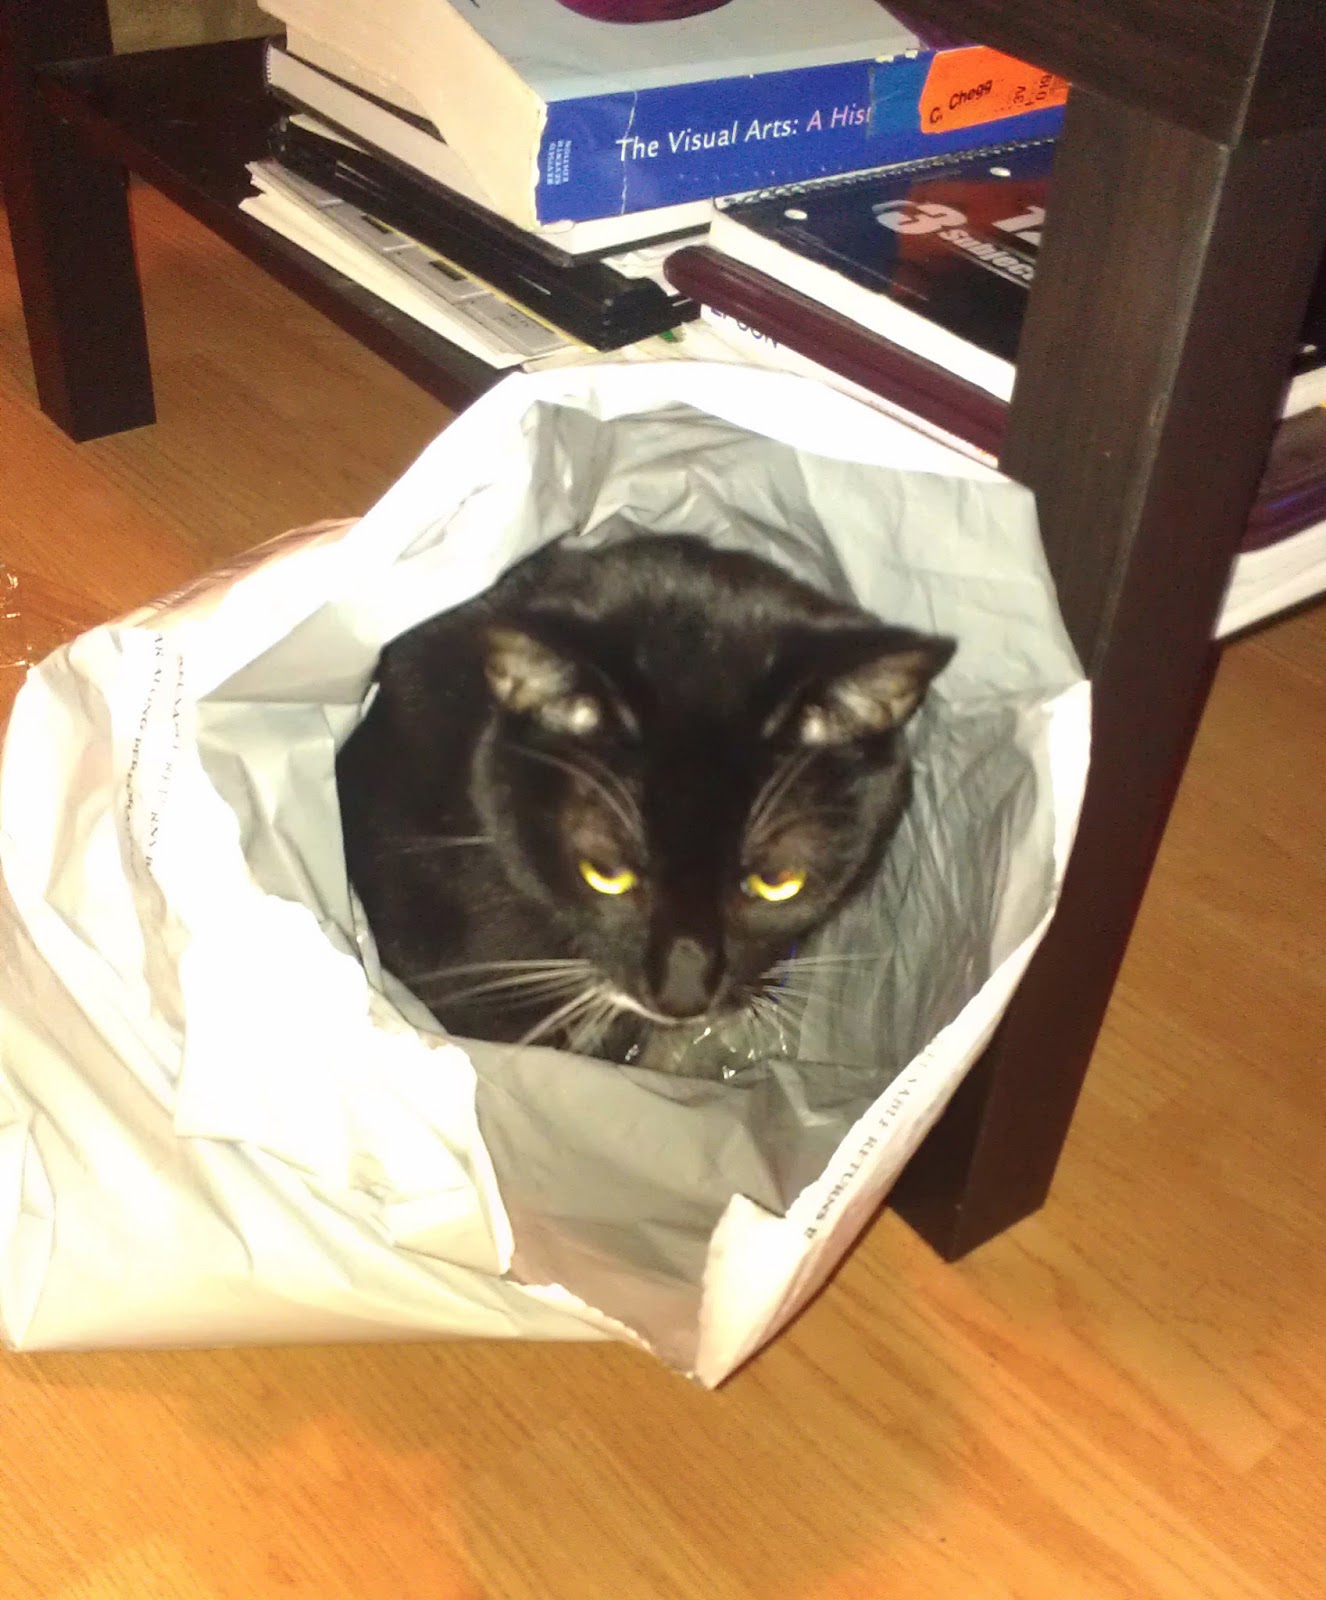
 I am what you could probably call a “cat lady”. As in, my cat is like my kid. He loves to play but I’m not home a lot lately so I came up with the idea to make an automated cat toy that would respond to him and keep him occupied while I am gone.
My initial idea/proposal was to have a sensor encased in a ball or some other toy object that would hang from a string and spin using a rotating dc motor. I wanted different actions to occur depending on the proximity of my cat so that it would keep him interested.

The issues with this initial idea were:
– finding what sensor to use
– where and how to mount a toy that would spin 360 degrees
– what motor would I need so it wouldn’t stall or burn out
– where else could the sensors go that wouldn’t be so vulnerable to feline destruction, or how to make sure the sensors won’t get banged around
Progress:
 After more planning, visualizing and sensor research, I decided that Infrared Proximity Sensors were the best way to go. Compared with ultrasonic (ping) sensors, and infrared distance sensors, the PIR sensor seemed the best fit due to the sensor only reacting to living creatures. Through thermal sensors and infrared sensors, this would ensure the toy reacting to just me or my cat, therefore when the sensor in the ball toy moved, it wouldn’t continuously go off when it pings off of walls or inanimate nearby objects. Ultrasonic sensors were the best in terms of programming different behaviors based on distances, but I prioritized the PIR’s motion detecting over this fact. The PIR sensor I used were the Parallex Rev. B PIR Sensor. This particular sensor was better labeled than the PIR sensor on Sparkfun.com and lights up when motion triggers it. I found this to be more aesthetically and practically useful for my project. It also comes with a jumper pin setting where you can set the sensor to be short or long range. It’s not very precise, but helped to adjust the ranges for what I was using my toy for.
 Final Materials List:
– 3 Parallex PIR Motion Sensors
– 2 10k resistors
– 1 560 resistor
– 1 100uf capacitor
– 1 6v servo with jumper
– stranded hook up wire
– 1 LED
– 1 circuit board
– 1 9-volt battery with clip/Arduino power jack
– 1 SPDT switch
 – 1 Arduino
– plastic project case
– plastic wire wrap tubing
– wall bracket
– plexiglass
– feathers
– rubber ball
– elastic cord
– screws, pins, epoxy, krazy glue
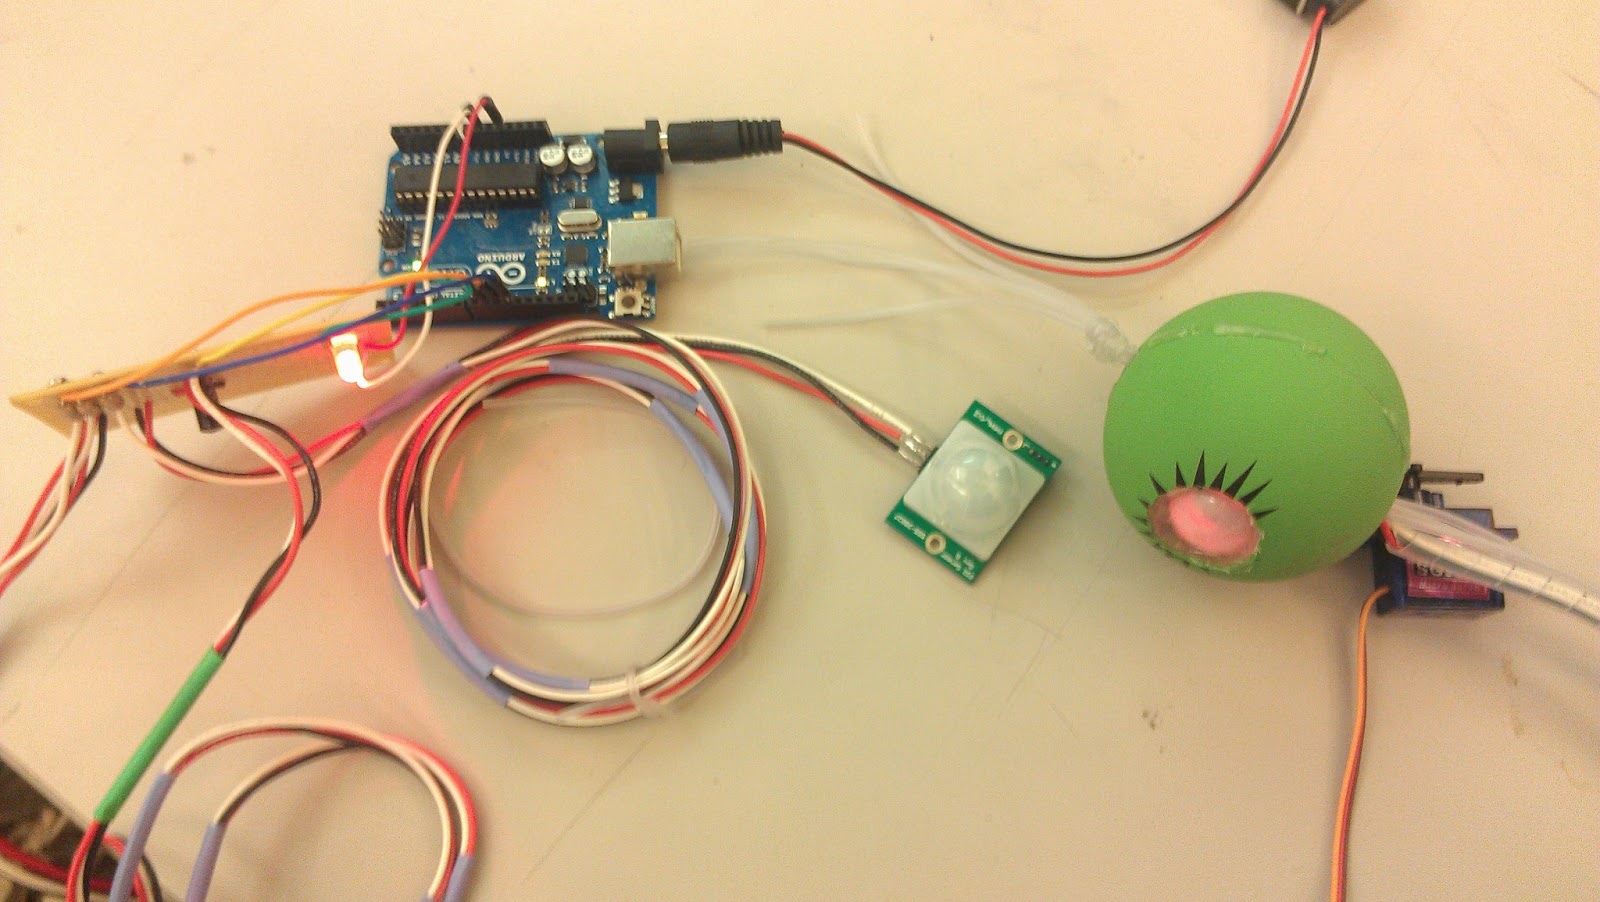
 I chose to construct the sensing component using 3 PIR sensors. Two sensors would face outwards from a toy rubber ball that would insulate and protect the sensors without blocking their detection. The field of view for two of the sensors back to back would be sufficient enough to detect my cat’s movements. The third sensor would be above with the motor/servo mechanism and create a cone of detection faced downwards. The 2 sensors in the ball would detect motion outwards and at a longer range – “Zone 1”. The sensor on the top of the project would create a shorter, narrower range downwards around the toy – “Zone 2”. When Zone 1 is activated, I have the servo move the toy to attract my cat’s attention. If the cat comes into both Zone 1 and Zone 2, then I have the servo constantly move to play with my cat. This cross-section of zones allowed me to program two different behaviors based on distances without having to rely on a precise distance sensor.
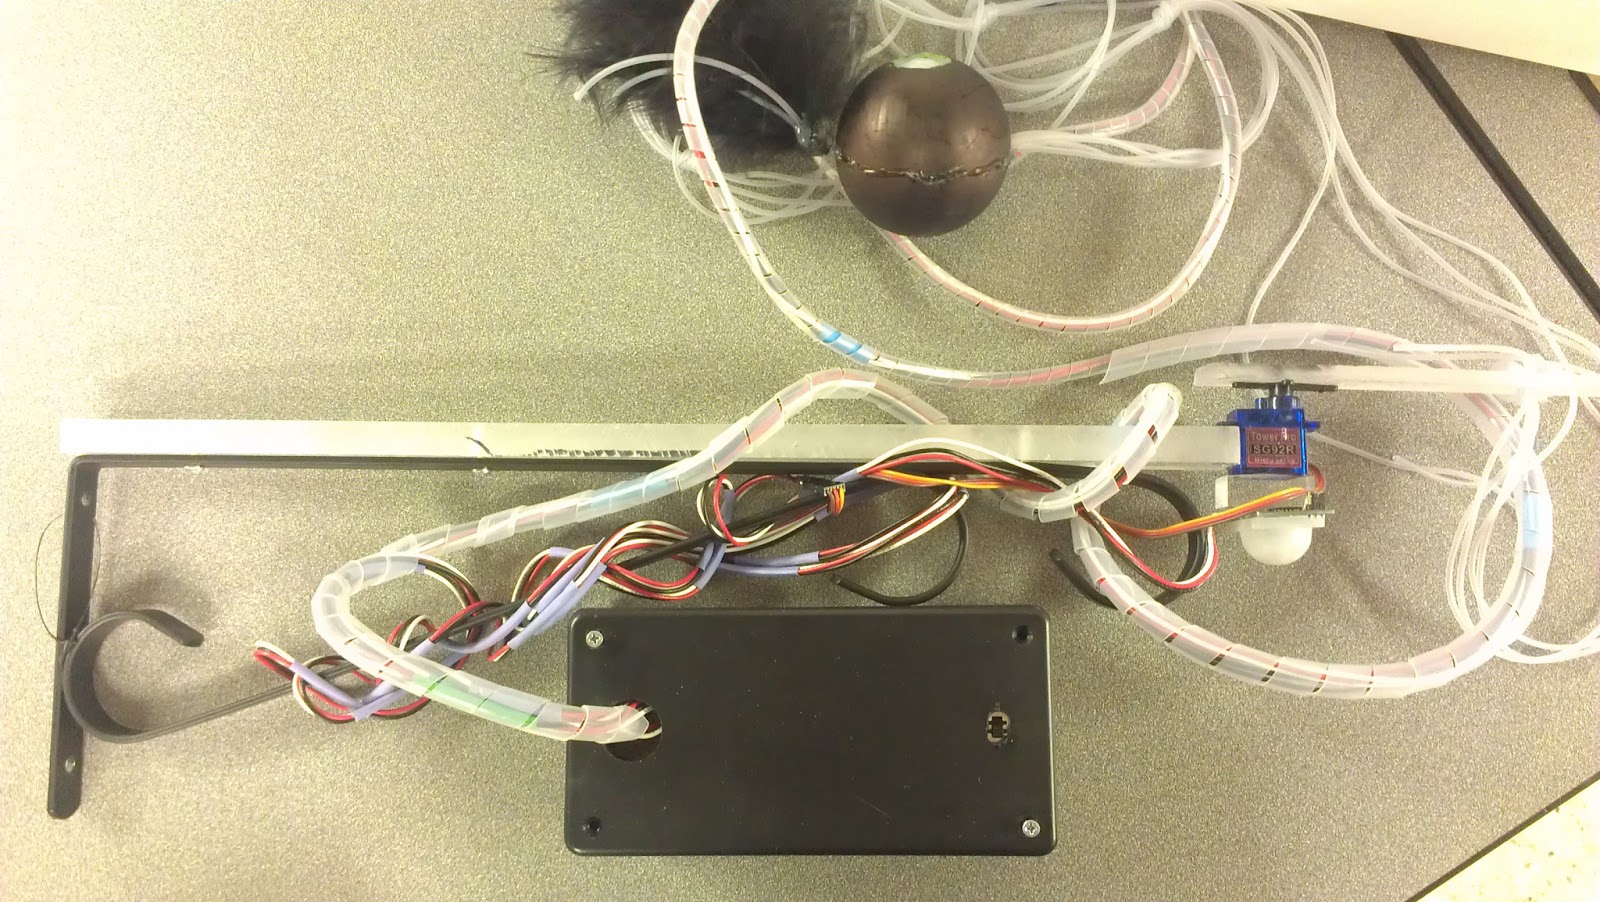
I used a simple toy servo instead of a dc motor to move the toy due to the fact that a 360 degree movement would whiplash against a wall or wherever I would be mounting this (unless it were the ceiling). I used a bracket to attach the top base to a wall and built a mount out of plexiglass for the servo and Zone 2 PIR sensor using epoxy, pins, and screws. I used a slimmer piece of plexiglass secured to the servo’s base to extend the range of the servo’s movement that pulls the strings for the toy.
 I used a separate cord to bear the weight and strain of the toy ball with the sensors inside so that my cat wouldn’t destroy or pull on the wiring too much. I encased the wiring of the ball sensors and ran it in a looser cord up to the top where it would lead back into the arduino case.
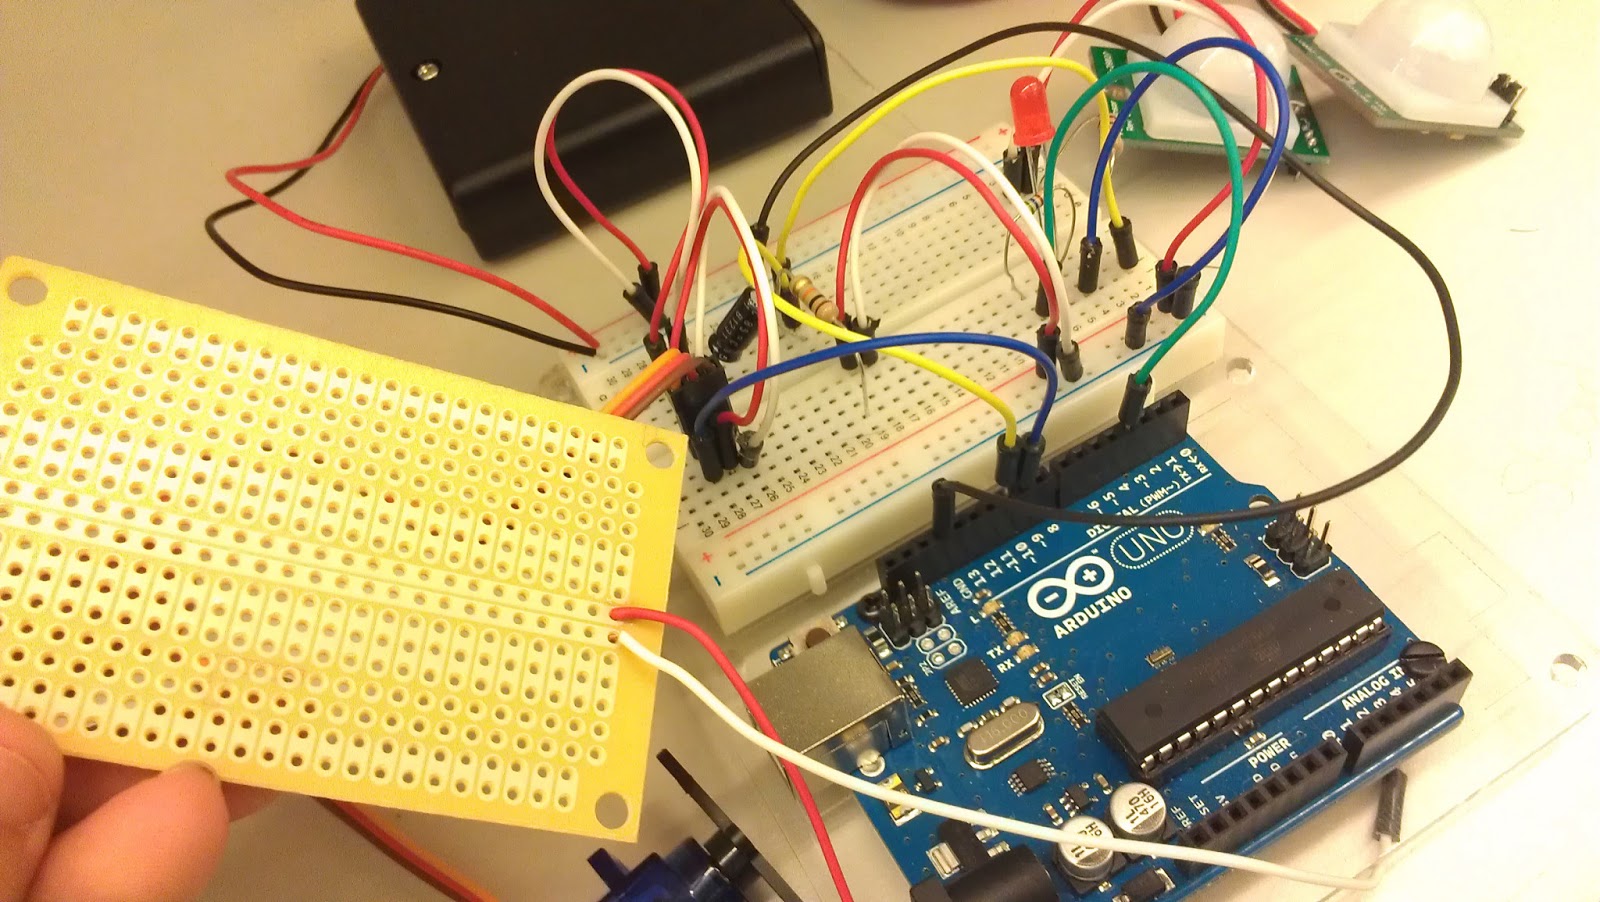
I ran the servo wiring, Zone 2 PIR sensor wiring, and Zone 1 (ball) sensor wiring into a project case that holds the circuit board and Arduino board along with a 9-volt power source for the Arduino. I soldered a switch between the power of the 9-volt and Arduino and installed it in the case to give an easy way to switch the entire project on and off.
 Originally I bought a separate 6-volt battery pack to power the servo in case the 3 sensors and servo would draw too much power from the Arduino, but it turns out that the power drain wasn’t too much. I used a 100uf capacitor with the servo to make sure it ran smoothly just in case. If I wanted to use a larger servo to power a better version of this project, I would run it off of a separate power source.
Final Product:
My cat was all over the project as I was setting it up, but when I finally hung it and pulled him away from the feathers and activated the servo, the noise caught most of his attention. While he did interact with and play with the toy, and while the toy responded exactly how I wanted it to, at the end of the day he either found it too predictable, too noisy, lost interest after a short bout of playing, or just really likes when it’s my boyfriend or me physically playing with him.
 If I were to rework this project, I would find a stronger, larger servo to increase weight bearing load and range/speed of movement by extending the arm holding the string and making that able to bear more weight as well (because of the extension). I would also just use the wiring as the string attached to the ball. My cat really didn’t destroy it and the way that I mounted the sensors on the inside made the strain on the stranded wires not very critical. This way, when the servo moves, there wouldn’t be an anchoring weight (however slight) to disrupt the flow of the ball’s movement. I would also use another servo to perhaps alternate a pull-up movement with the swing to create a more jittery and varied movement to keep my cat on his toes.
I’m really happy with the code though. That was my favorite part of this project. I enjoyed reading and figuring out what kind of functions would best suit what I was aiming for. I experimented with “while” statements and have a firm understanding of the basic “if/else” statements. Once I figured out how to create separate void functions and use them inside the void loop, my code became much cleaner and I was able to trigger the movements and variable changes I wanted to (especially the delay function). Kristine really helped me solve my delay issue since I only wanted the Zone 1 trigger to activate the servo once every 2-5 minutes. Using a simple delay just stopped the code for that amount of time and didn’t allow for a lot of flexibility. Using the “timeInital” and millis function was much more precise and easier to edit.
My code concept is pretty simple:
– When BallSensor (either one) is triggered, then servo moves. The servo is then “delayed” for another 2 minutes even if the BallSensor is still triggered.
– If the TopSensor is triggered, then the servo moves in its constant pattern. This overrides the delay set by the BallSensor trigger.
– If both sets of sensors are not triggered, then nothing moves.
– The LED code is for testing purposes, lighting up when both zones/sensor sets are triggered.
– There is a separte Void to encase the servo movement that I use. This was programmed in a certain pattern and the speed adjusted to create one sharp movement and two slower ones to gain momentum in the ball.
– The PIR sensors were simple to code for. The sensor outputs a HIGH signal when triggered and is LOW when no motion is detected. I was able to run both of the BallSensors on a single Input Pin.
I used original code, but learned the functions from different sites (including the class tutorials on servos etc.) and the Arduino reference library examples. Kristine helped me conceptualize and refine the delay/timing code.
#include <Servo.h>
const int servoPin = 9;
const int pirballPin = 10; //digital 10, ball sensors motion = LOW
const int pirtopPin = 11; //digital 11, sensor above motion = HIGH
const int ledPin = 3;
Servo servo;
int angle = 90; // servo position in degrees
long timeInitial = 0;
void setup()
{
servo.attach(servoPin);
pinMode(pirballPin, INPUT);
pinMode(pirtopPin, INPUT);
pinMode(servoPin, OUTPUT);
pinMode(ledPin, OUTPUT);
timeInitial = millis()+120000; //2 minute counter
}
void servomovement(){
for(angle = 90; angle < 180; angle = angle++)
{ servo.write(angle);
delay(10); }
for(angle = 180; angle > 0; angle = angle * 1.5)
{ servo.write(angle);
delay(10); }
for(angle = 0; angle < 90; angle = angle++)
{ servo.write(angle);
delay(10); }
}
void loop()
{
int pirballState = digitalRead(pirballPin);
int pirtopState = digitalRead(pirtopPin);
if (pirballState == HIGH && pirtopState == HIGH){
//motion detected close to toy ball, both sets of PIR sensors triggered together
//servos will move in a pattern to move the ball until movement stops
digitalWrite(ledPin, HIGH);
servomovement();
delay(2000);
}
else if (pirballState == LOW && pirtopState == LOW) { //no motion
digitalWrite(ledPin, LOW); }
else if (pirballState == HIGH && pirtopState == LOW && millis() – timeInitial > 120000) {
digitalWrite(ledPin, LOW);
//motion within 20ft
//servo will perform quick, small, movements every 2 minutes while motion is within range
servomovement();
timeInitial = millis();
}
}