 |
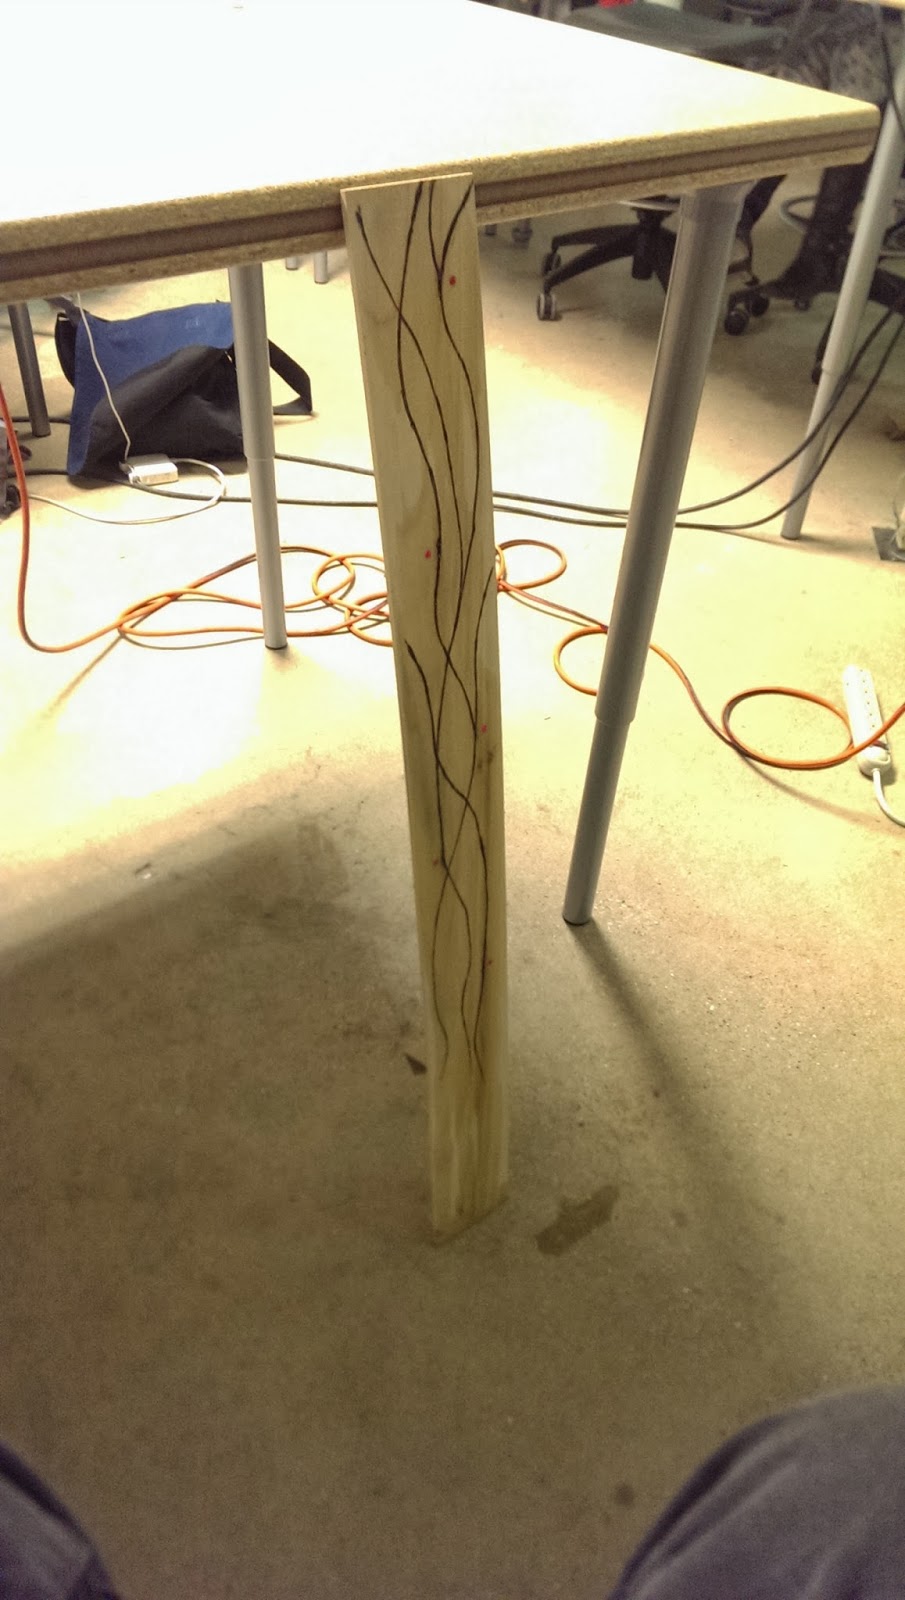
| Drip Lights, 2014 |
The purpose of this assignment was to explore different ways to activate a switch. In this case the switch will light up an LED light. The switch works by having water close the circuit when the water drops come in contact with the open part of the circuit. This piece is meant to be placed along with plants and is an attempt at combining nature and technology.
Material + Tools
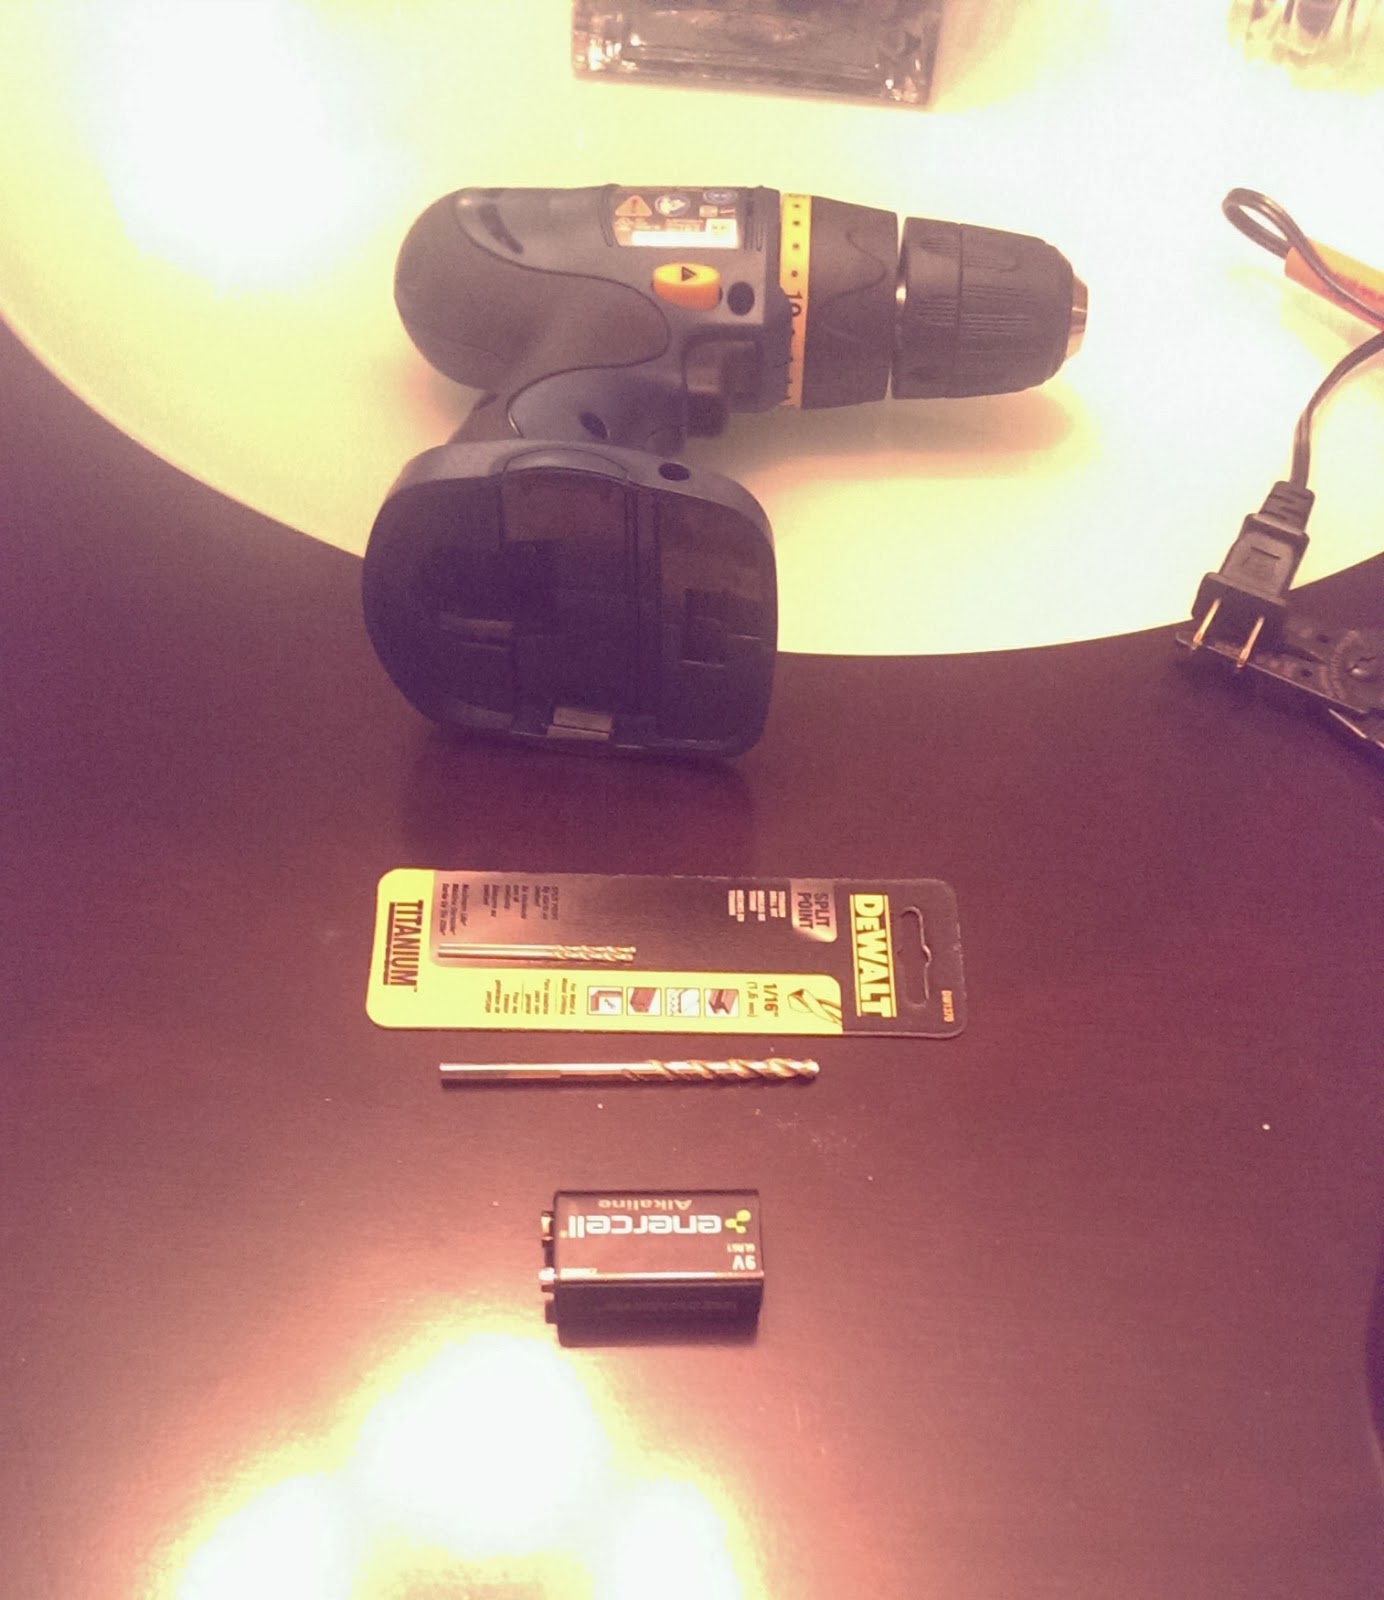

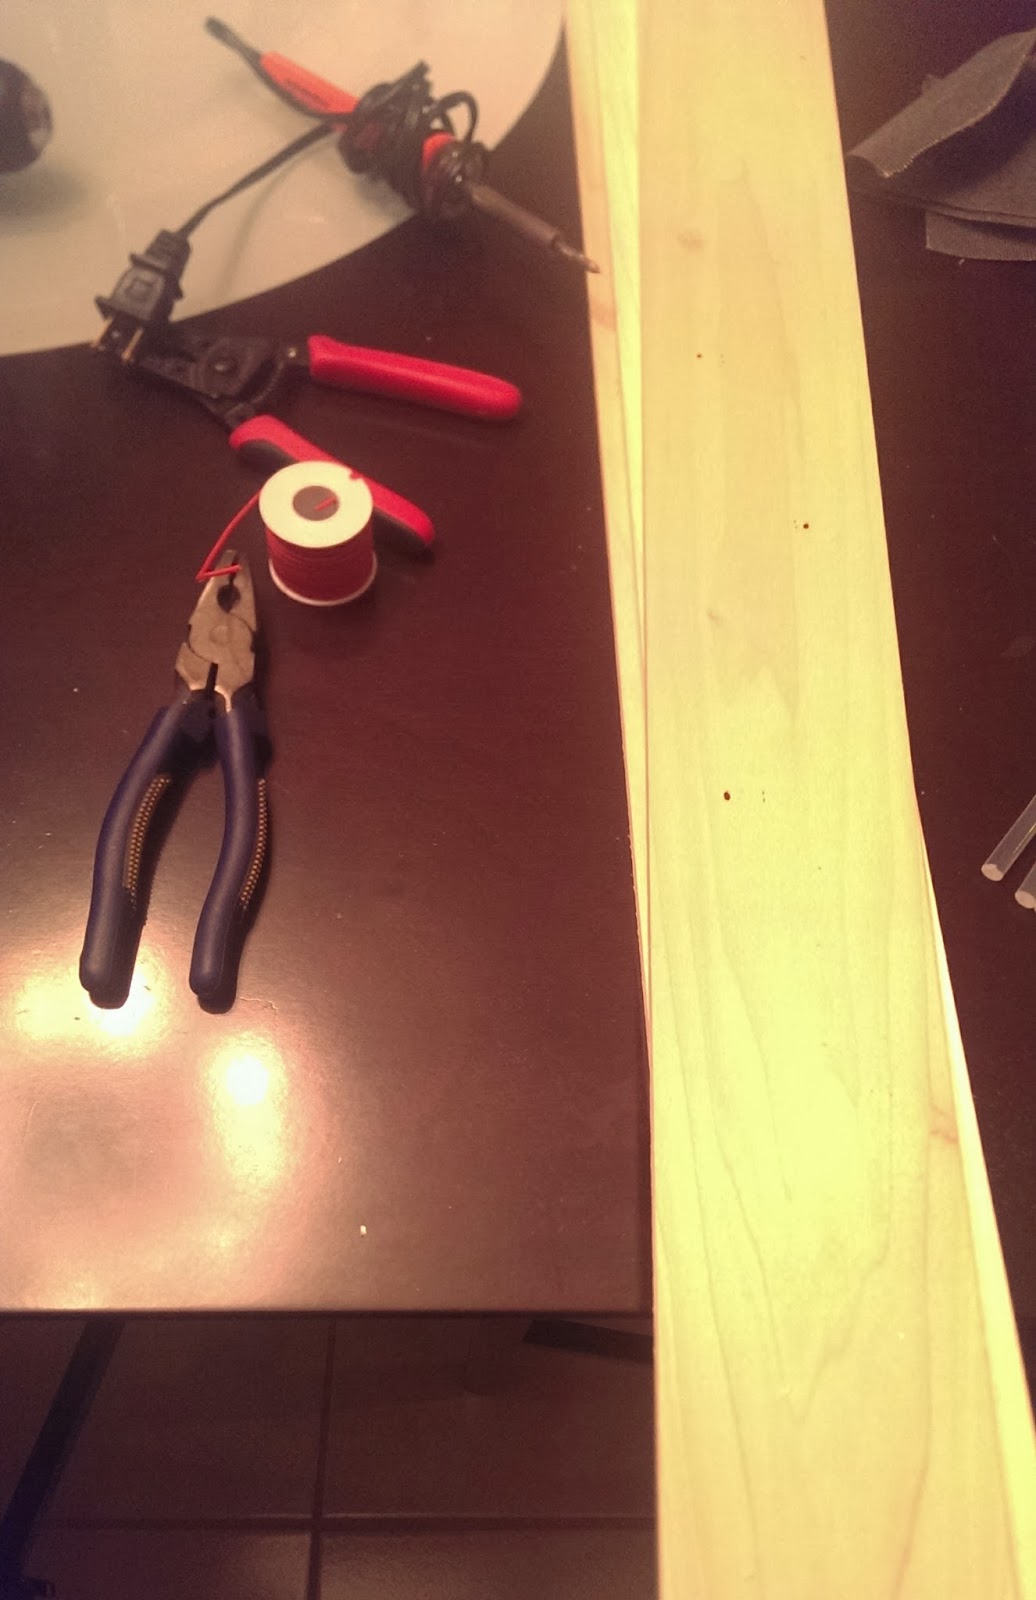
– Glue Gun with glue sticks
– 5 LED lights(red)
– Sand paper
– Wire
– Wire strippers
– Pliers
– Soldering iron
– Solder (not pictured)
– Plank of wood (4ft x 4in x 1/4in)
– Drill
– 1/16in drill bit
– 3/16in drill bit
– 9v battery
– Water + salt
Steps
Step 1: Drill
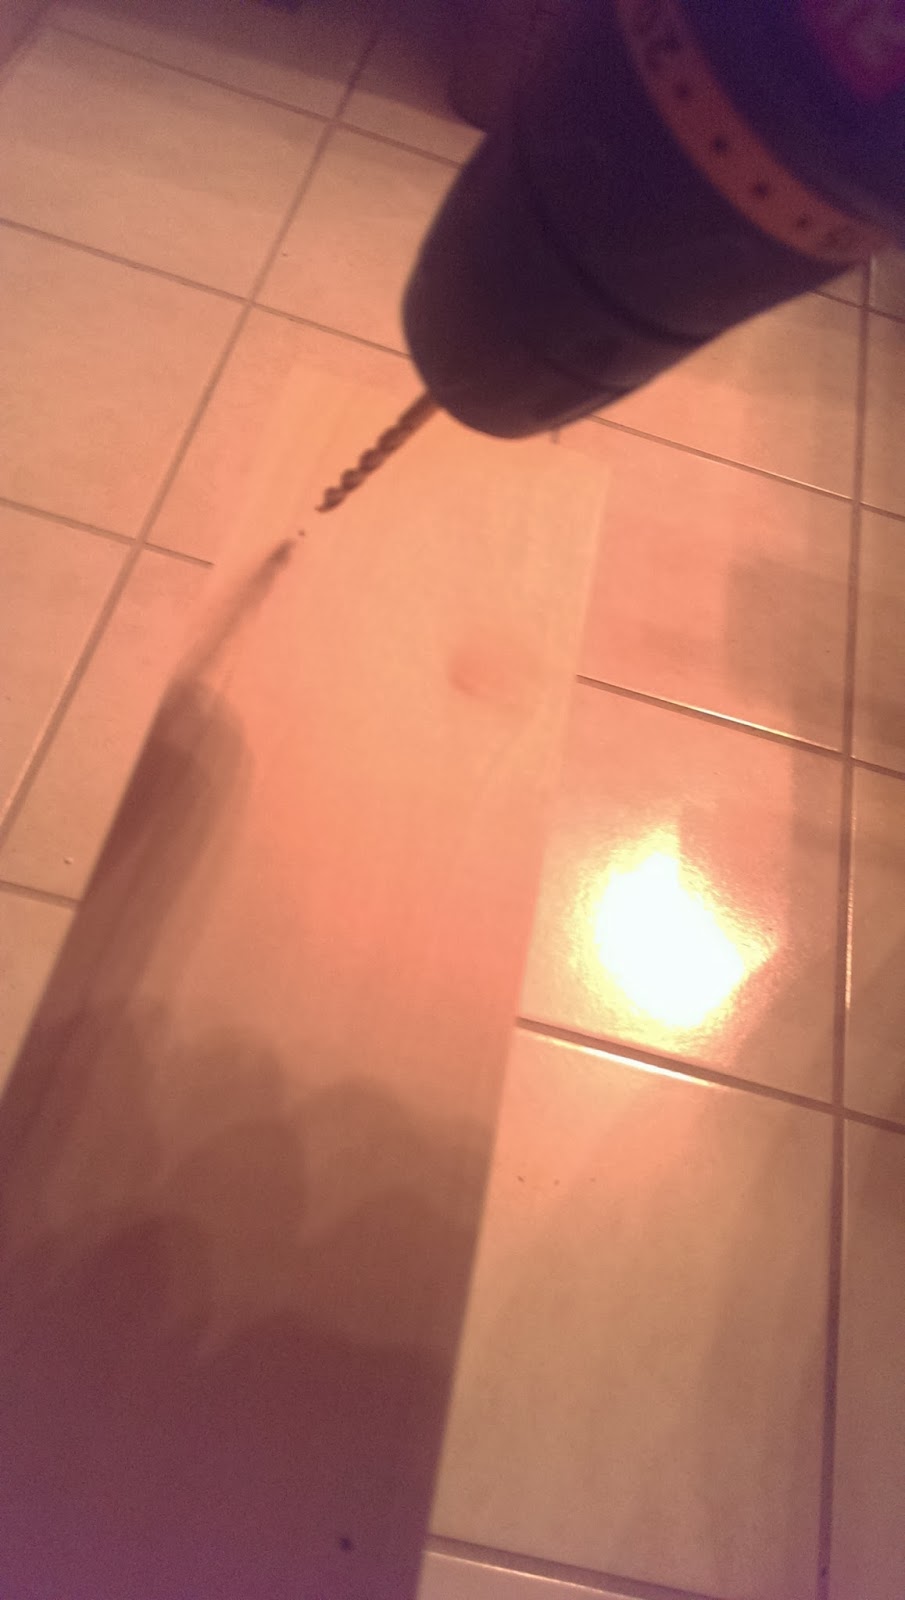
After you have acquired the necessary materials and tool you need to draw the spots where you want the LEDs to be places, then use a drill with the 3/16 drill bit to drill 5 holes.
Step 2: Drill Again
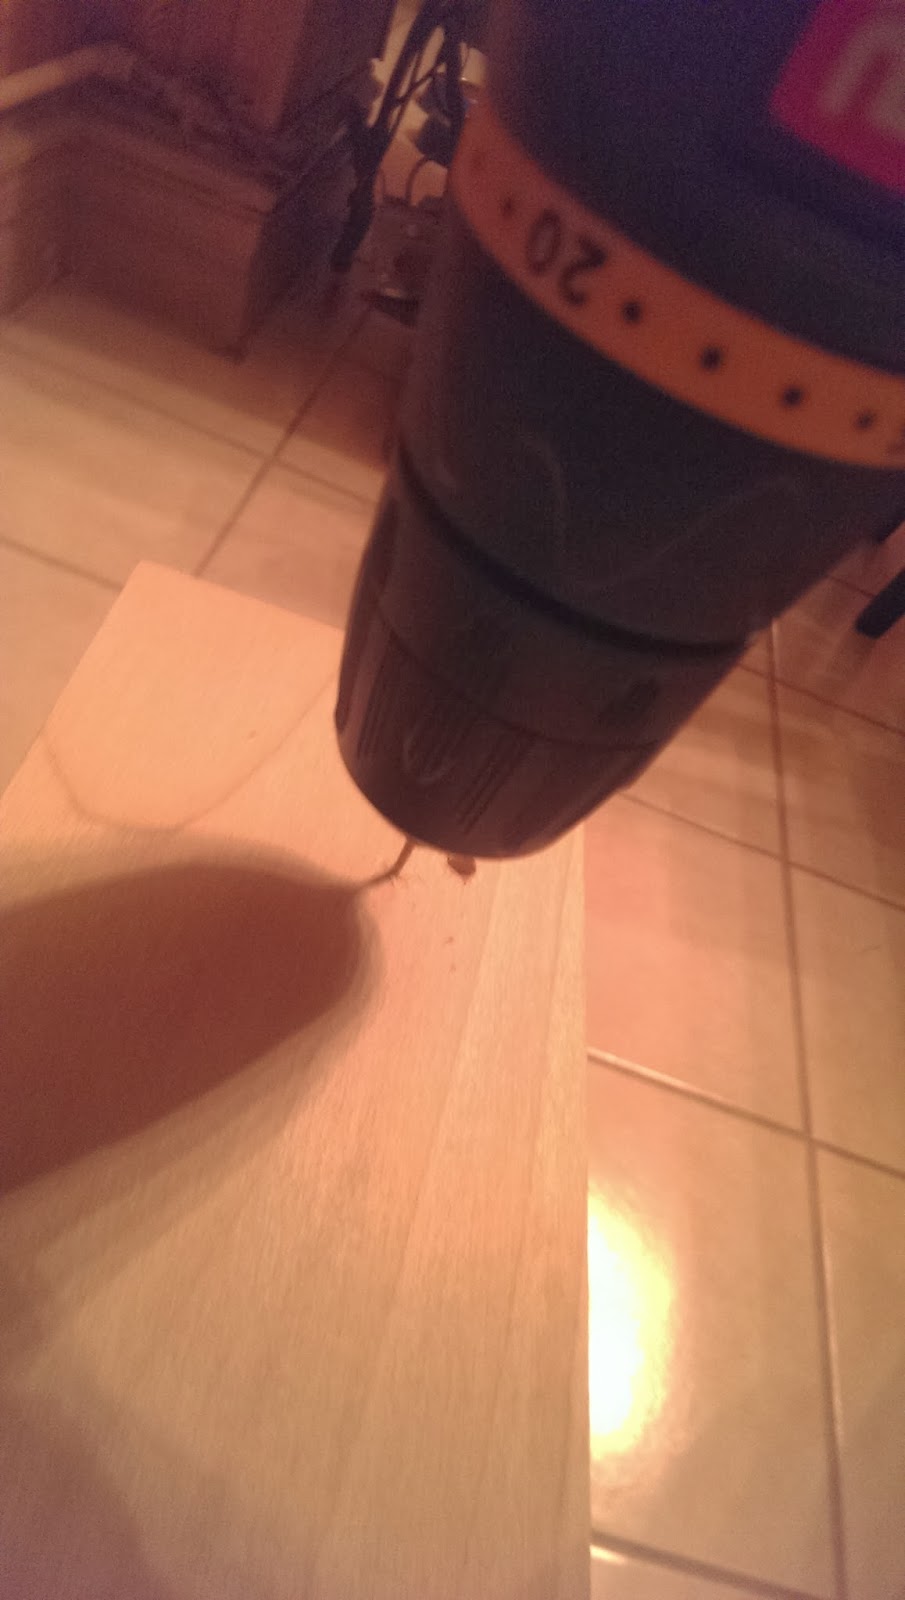
Next you need drill holes for the wires using the 1/16 drill bit. You need to have two holes next to each LED light for a total of 10 small holes. These holes is where the wires will come trough creating an open circuit and creating the switch.
Step 3(optional): Test LEDs

This step is optional but I recommend that it is done. Using your 9v battery and a 300 ohm resistor connect each LED at a time to see if it indeed works.
Step 4: Remove Debris
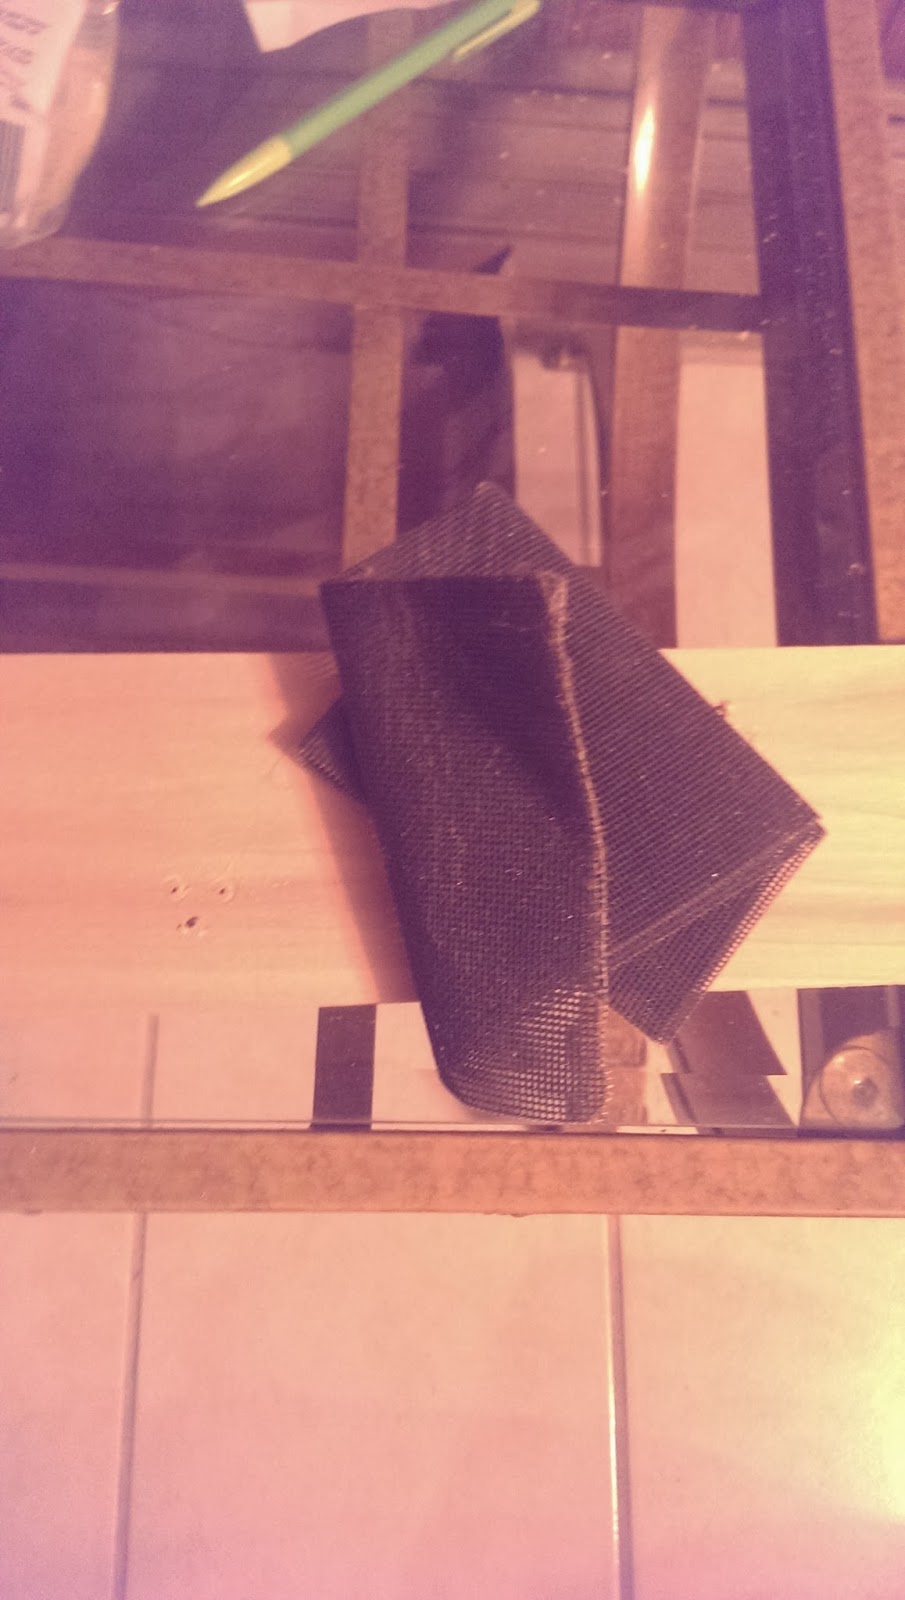
Using the sand paper, scrub the area of the plank where the holes where made in order to remove pieces of wood that are leftover.
Step 5: Draw Design
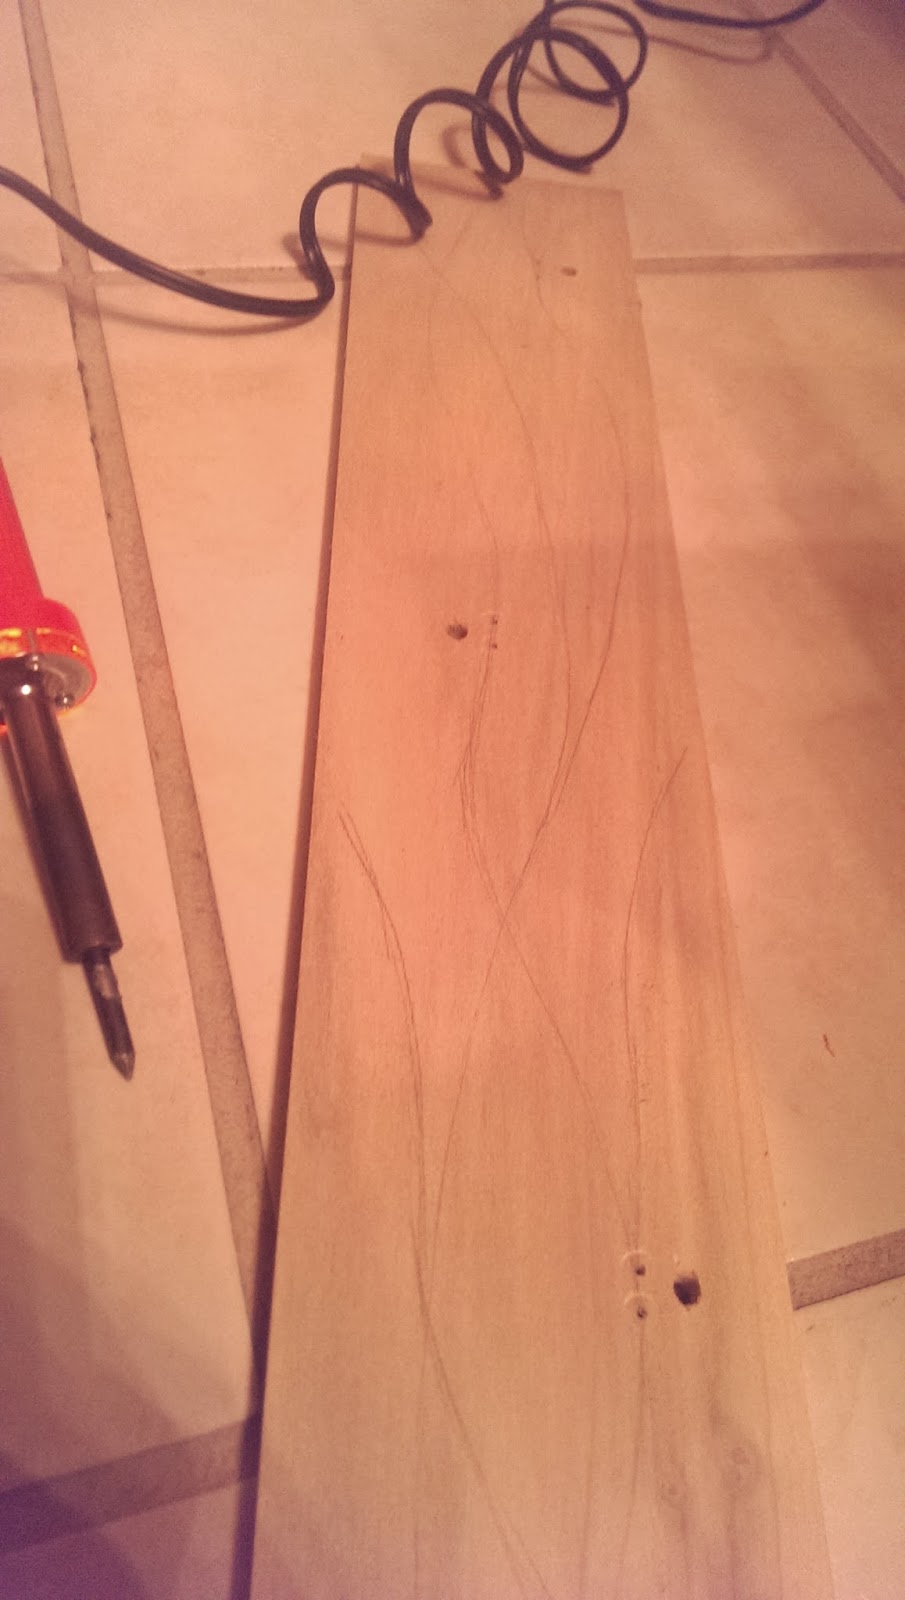
With a pencil lightly draw the desired design for the channels. Make sure that the channels go over the holes for the wires. These channels will help the water close the circuit by making contact with the two leads of the wire.
Step 6: Wood Burn
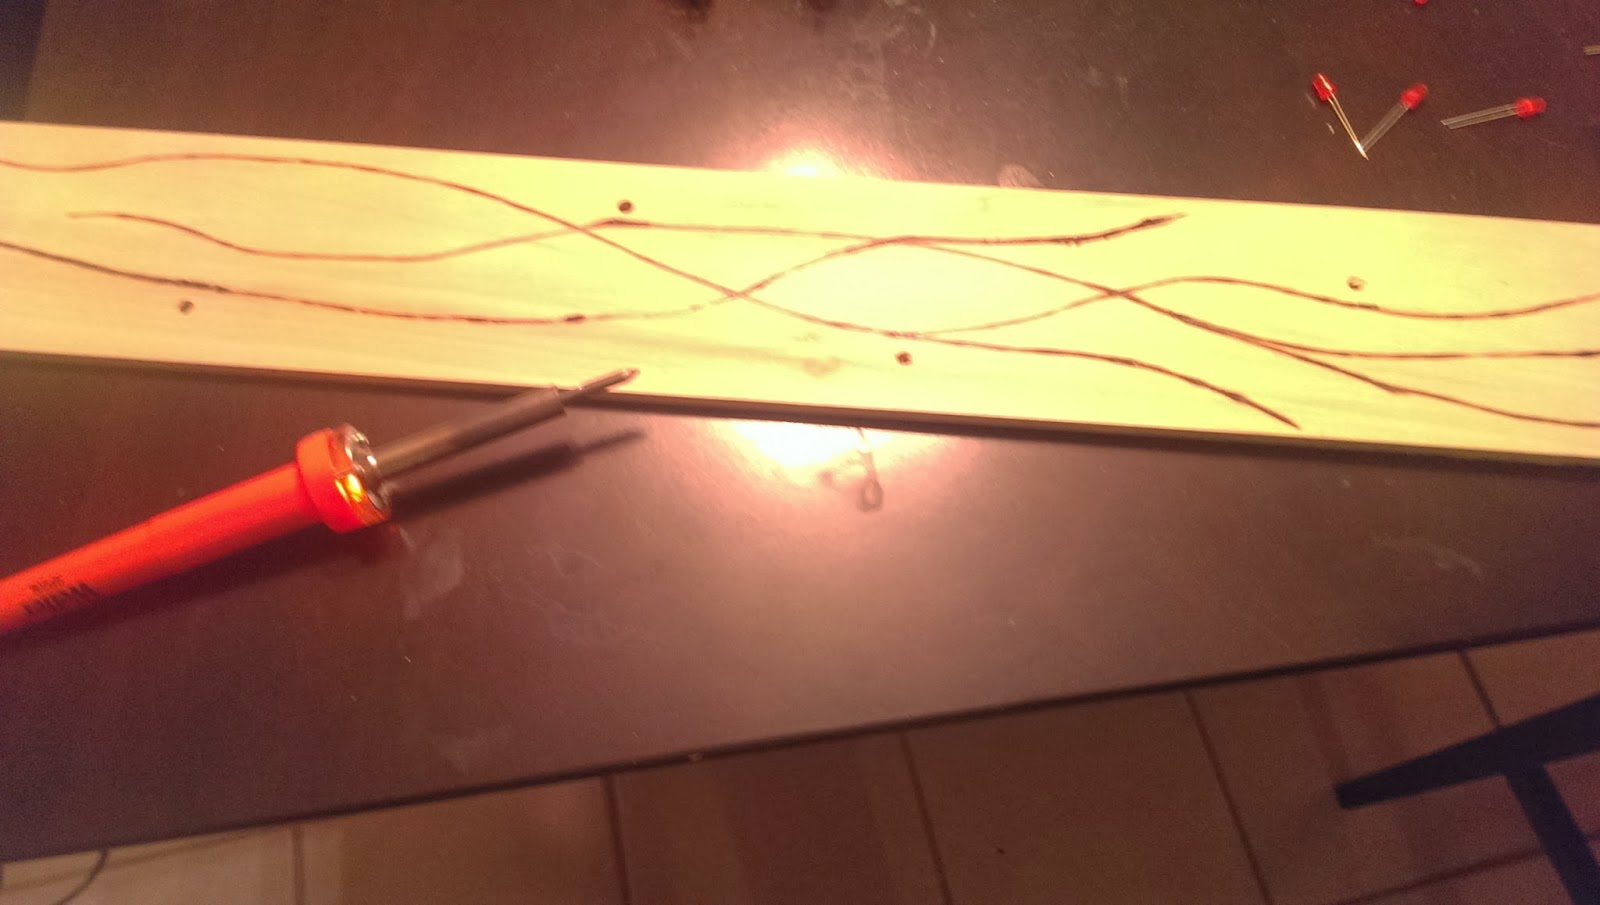
Let the soldering iron heat up. Then using the soldering iron trace over your design carving a channel for the water. Do this until you are satisfied with the depth of the channels. Experimentation is required for this.
Step 7: Place LEDs

Place the LEDs in place. The holes are about the same size as the LEDs, this means that you can just push the LEDs until the base of the LED hits the plank.
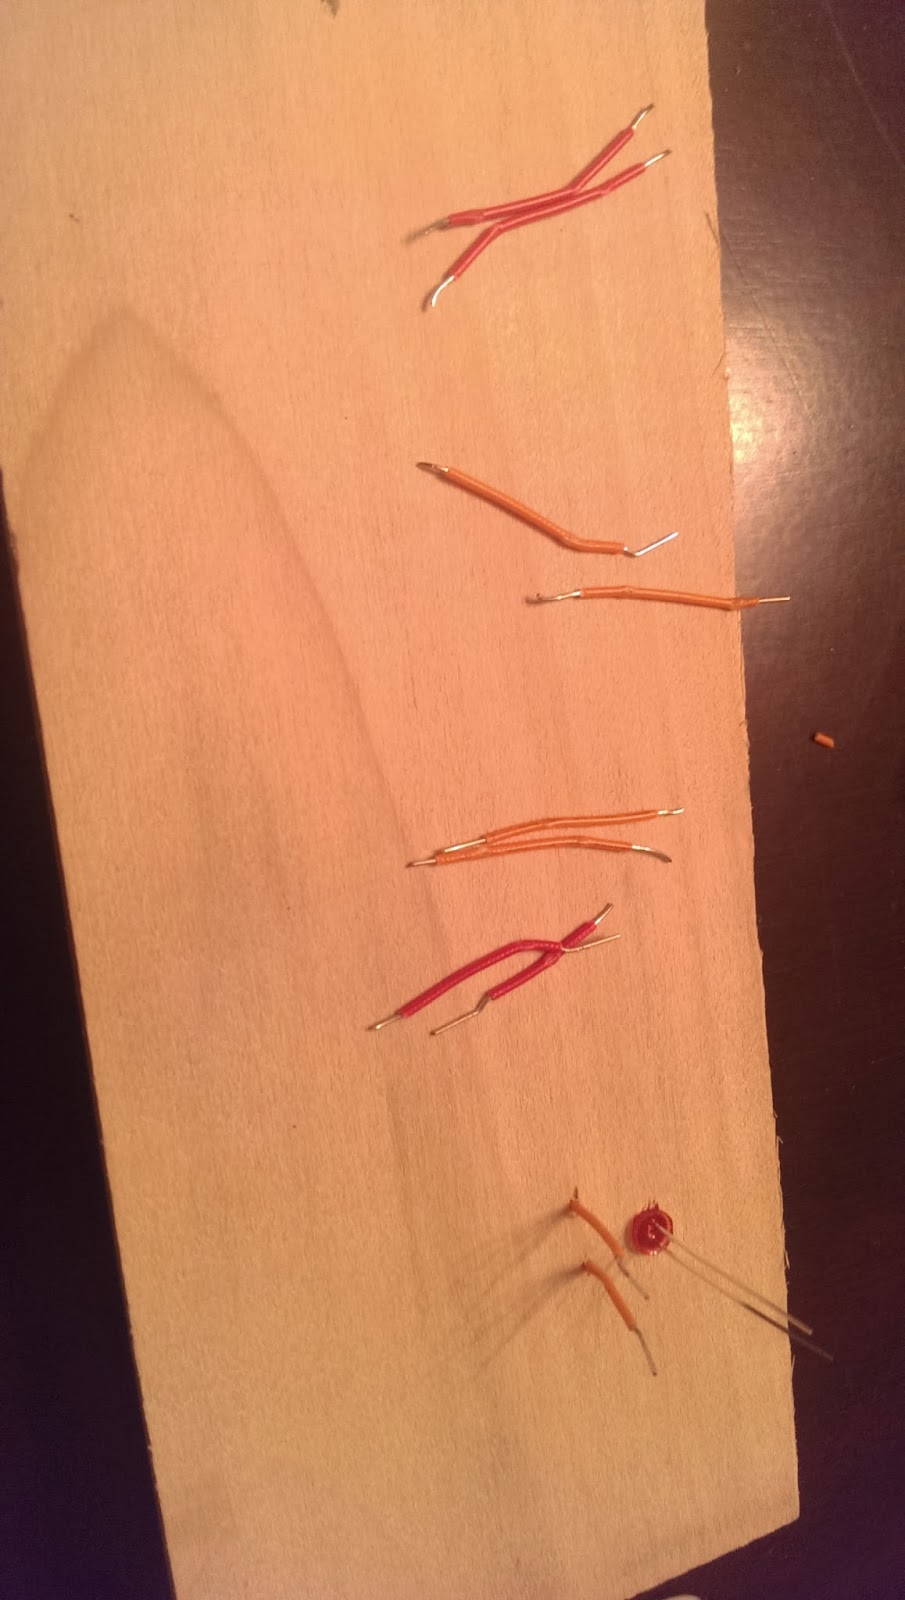
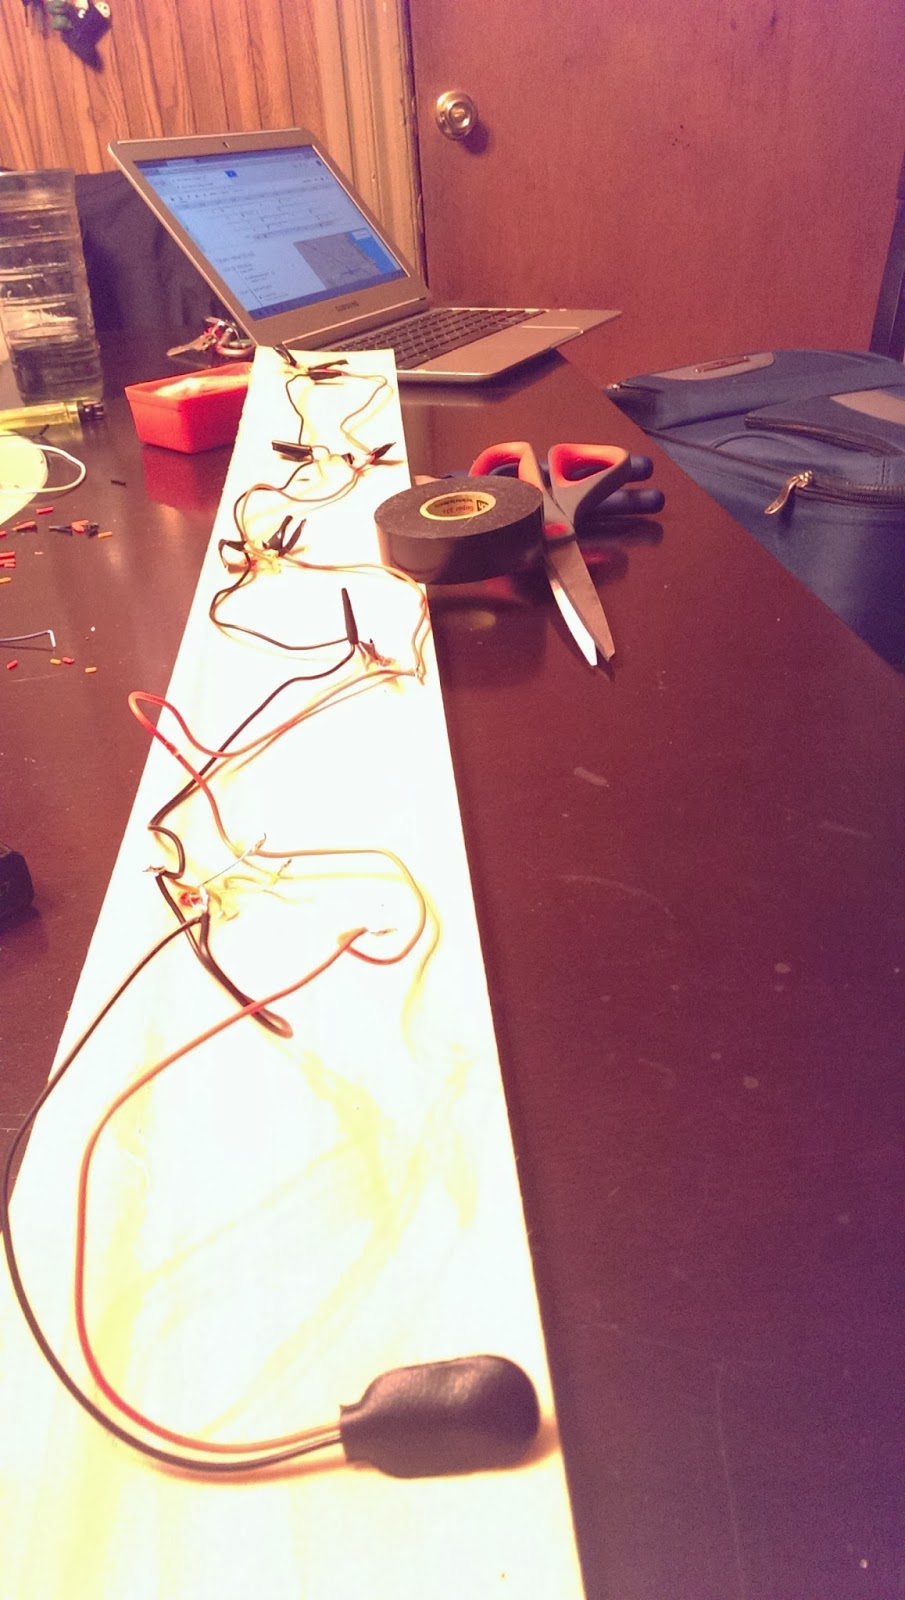
Step 8: Cut Wire + Place
 Using wire cutters cut 10 wire segments. Each one should be around 1.5in long. After strip off about 1/4in of plastic from each side of the wire. Finally place the pieces of wire in such a way so that only the part of the wire that does not have casing is exposed from the other side. These will serve as that open switch.
Step 9: Glue
Using wire cutters cut 10 wire segments. Each one should be around 1.5in long. After strip off about 1/4in of plastic from each side of the wire. Finally place the pieces of wire in such a way so that only the part of the wire that does not have casing is exposed from the other side. These will serve as that open switch.
Step 9: Glue
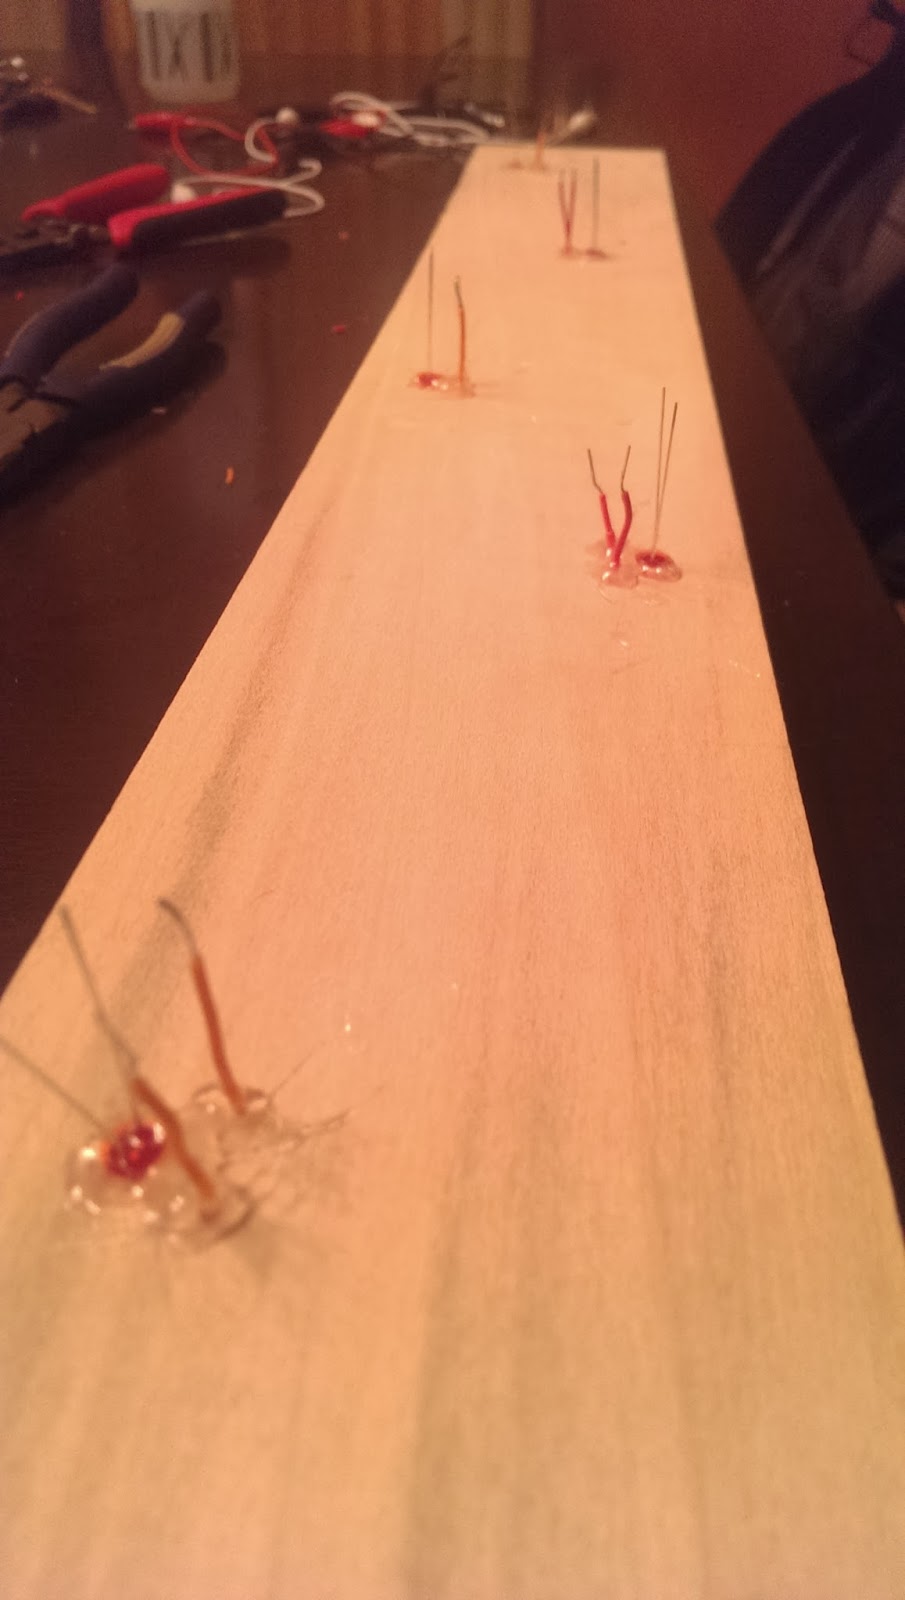
Being careful not to move the wires and LEDs too much use the hot glue gun to glue the components in place so that they may stay protected from the water and stay in place.
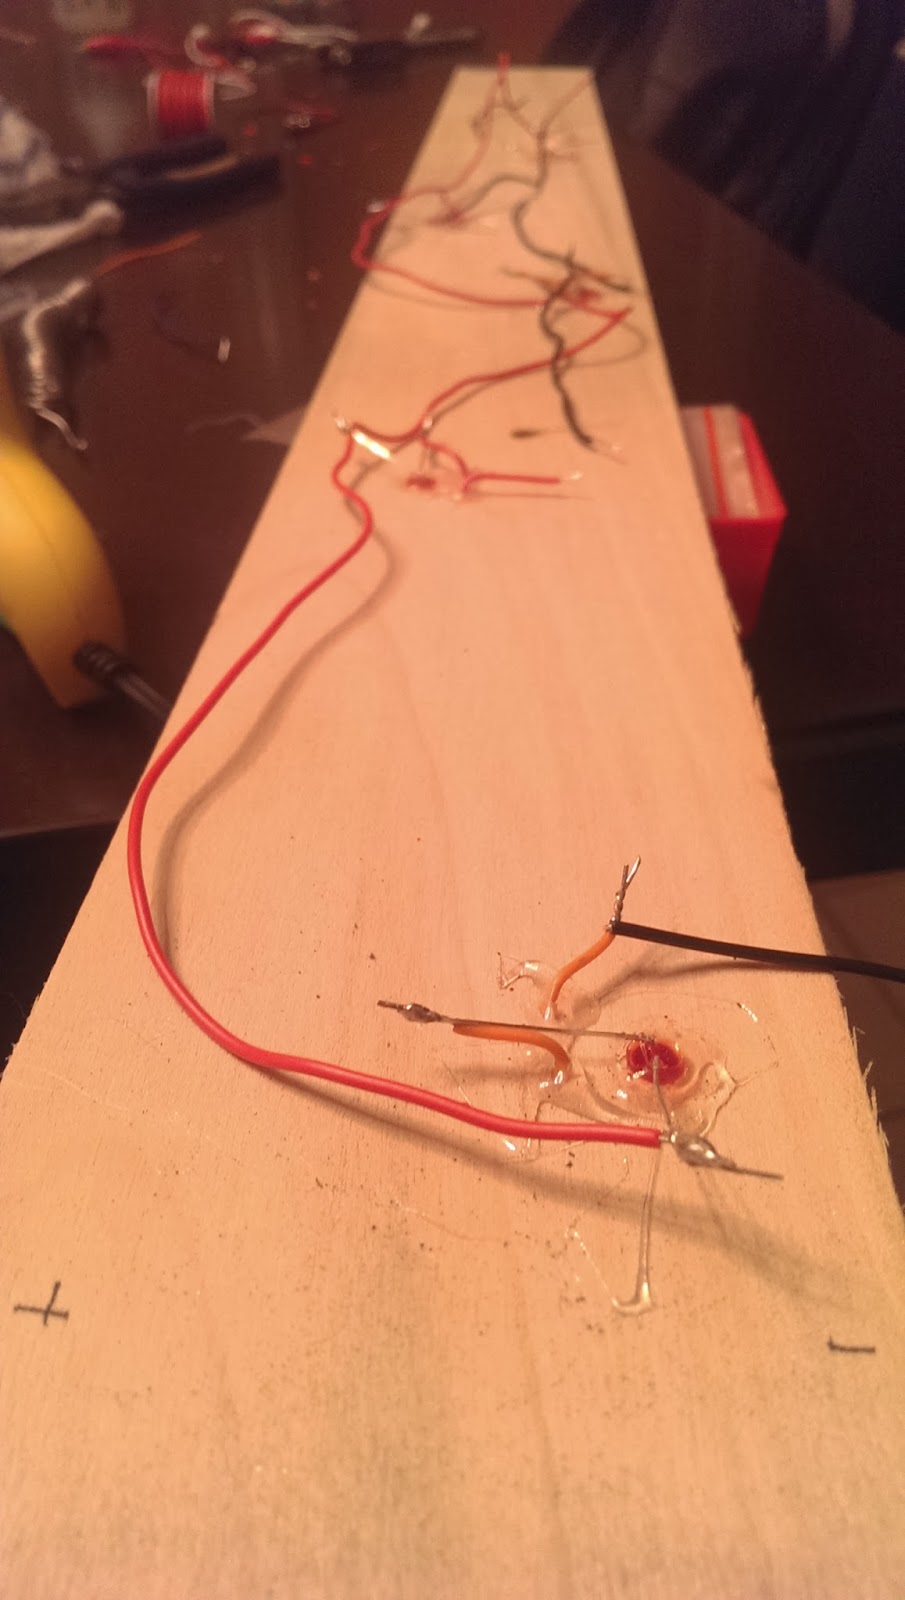
Step 10: Solder
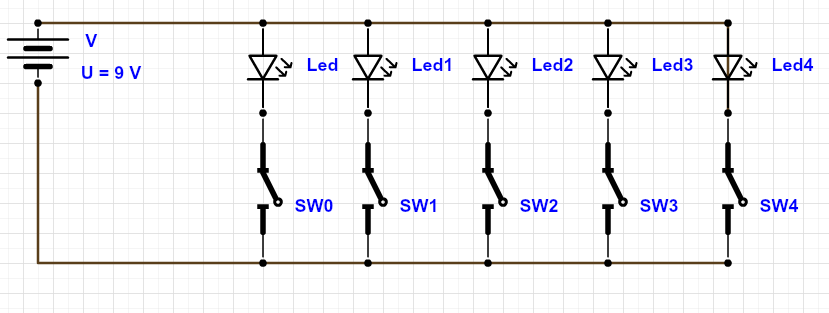 |
| The schematic diagram |
Cut segments of wire that will be long enough to connect each part. Connect the segments by twisting the wires together using pliers. After solder the sections together.
Step 11: Finalize
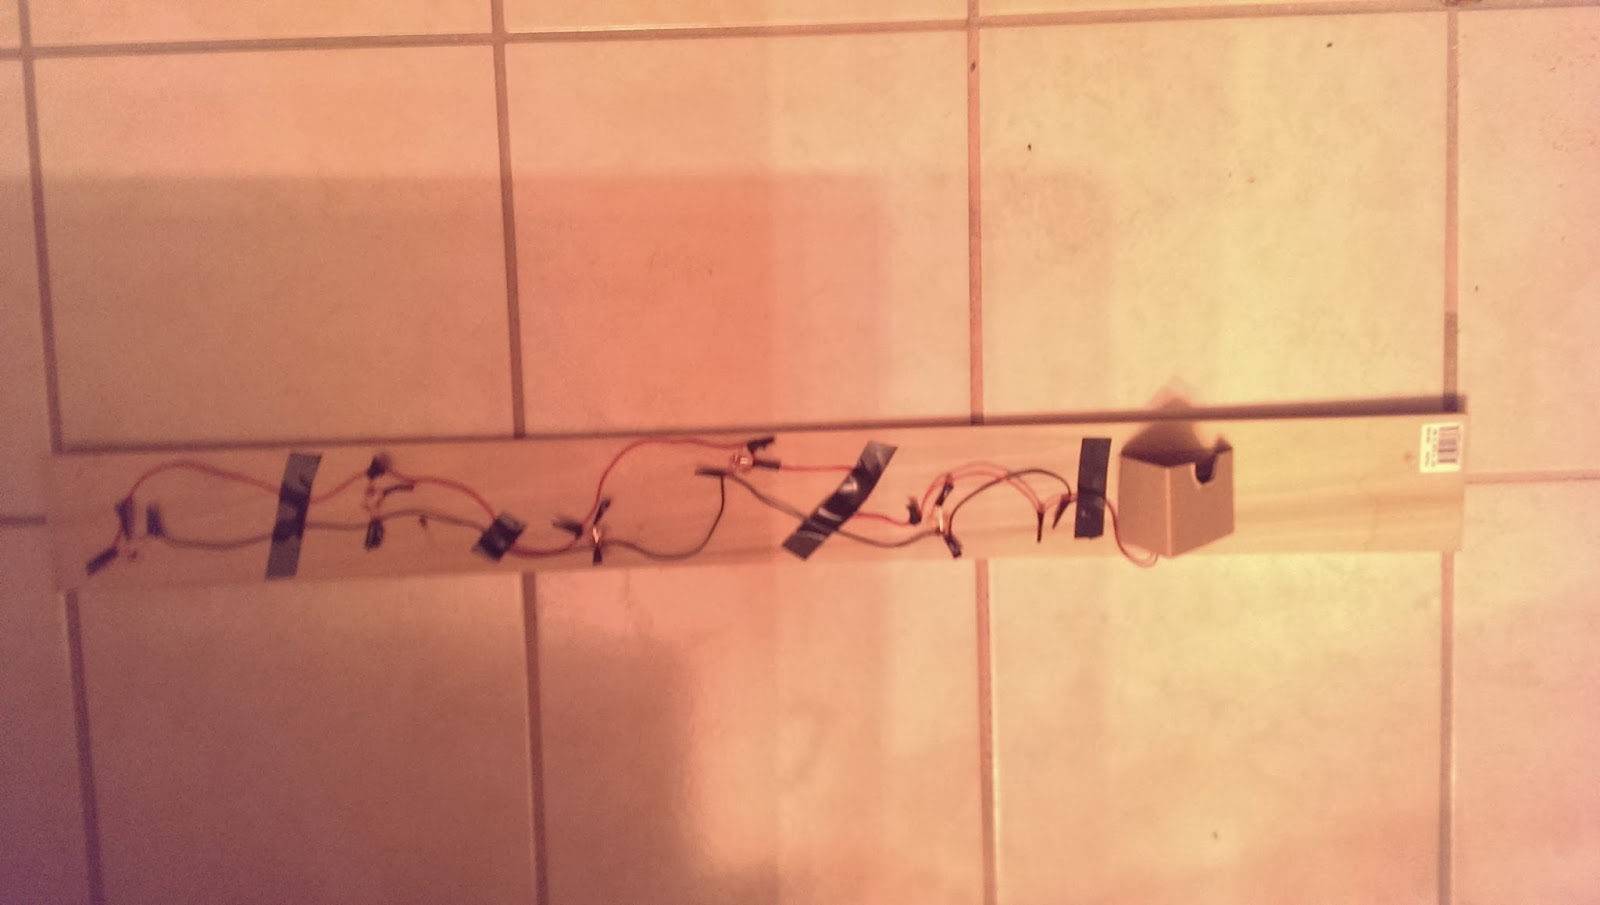
Using wire cutters trim the soldered sections and then wrap these section with electrical tape. It might also be helpful to create a space for the battery.