Creative Switch:
Meloncholy
Meloncholy
By: Cori Steinberg
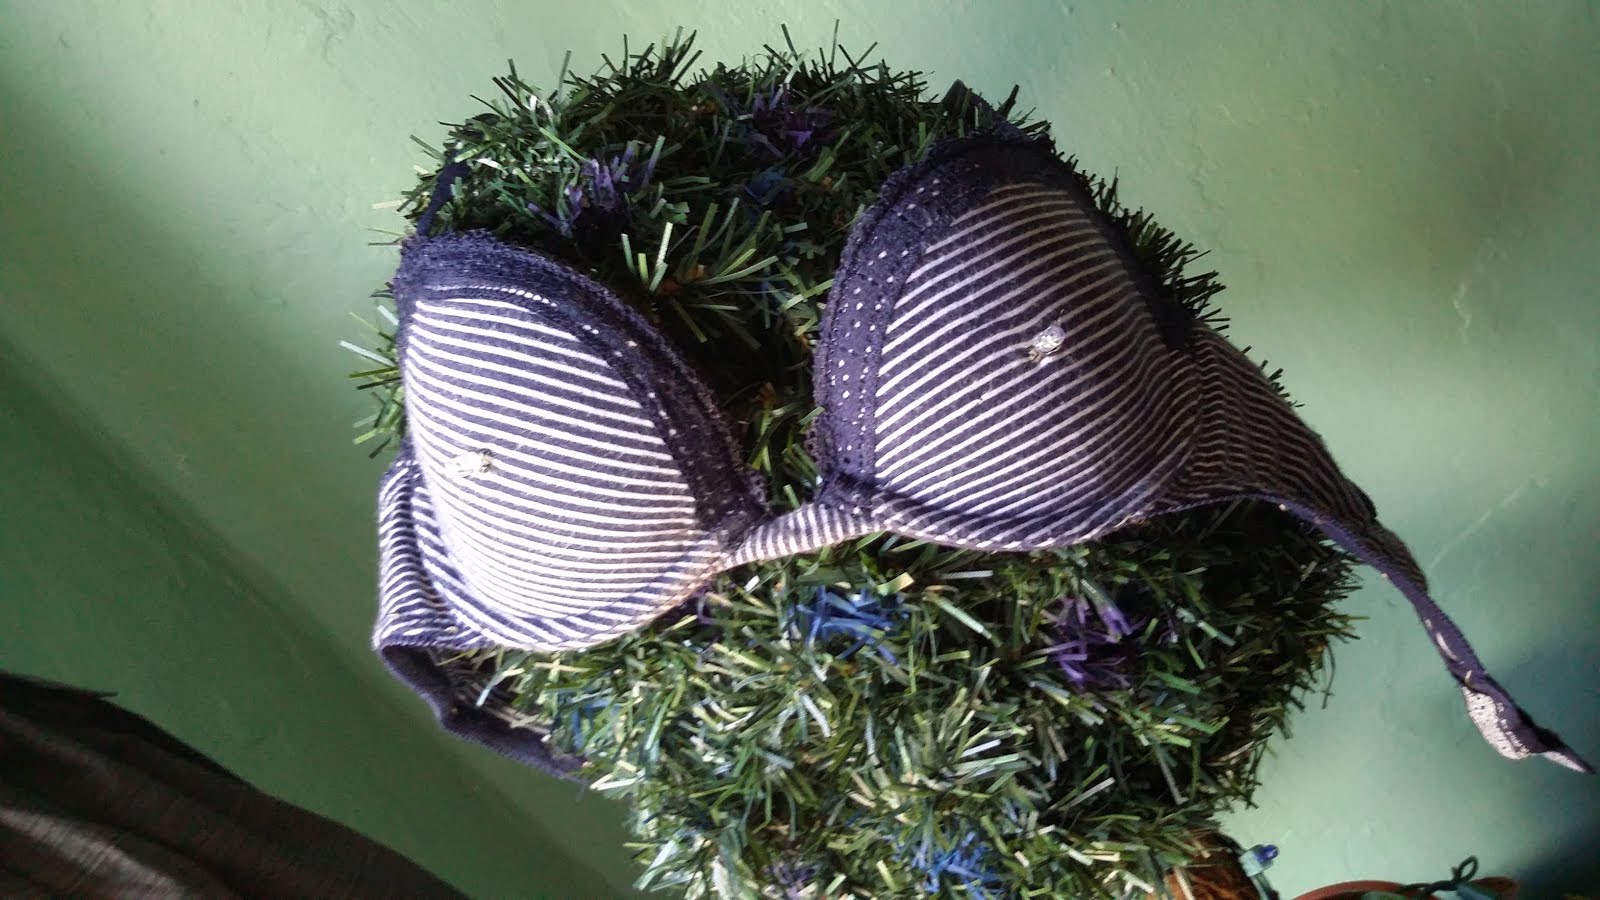
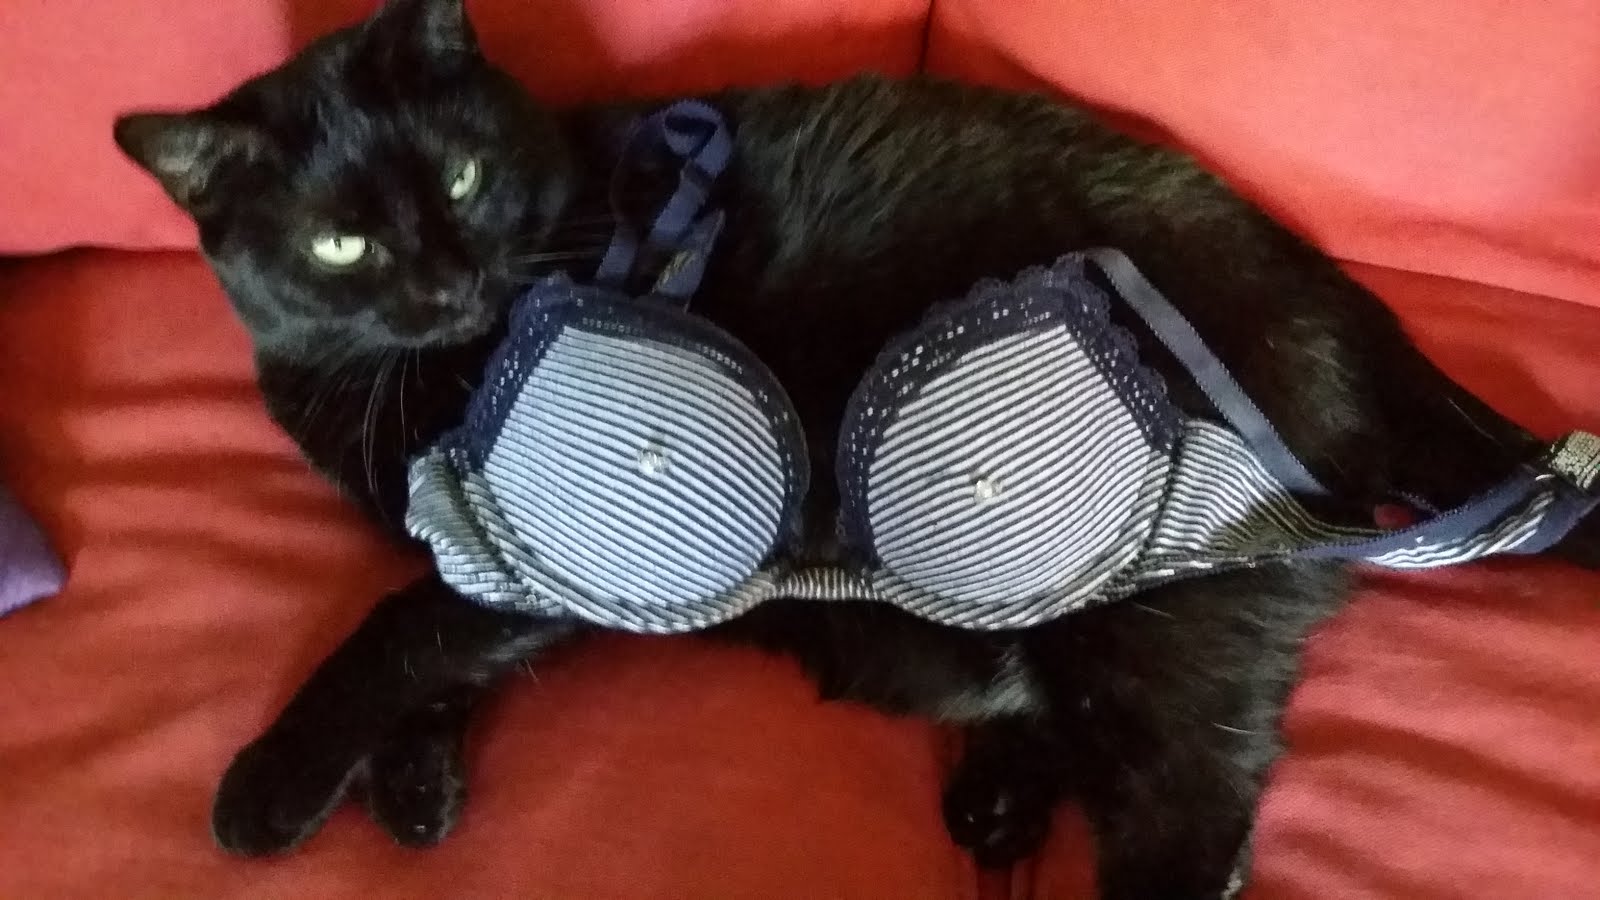
Have you ever felt
like the challenge of being creative is weighing down on your chest?
Not feeling the support you need? Lacking a bright idea? Happy days
are to come with this LED light up nipple bra. DI-Why not I say.
like the challenge of being creative is weighing down on your chest?
Not feeling the support you need? Lacking a bright idea? Happy days
are to come with this LED light up nipple bra. DI-Why not I say.
Uses
include: Nighttime bike riding, interpretive dance, father’s 50th
birthday party to outshine his girlfriend that is younger than
you, or Church “look at me Jesus!”.
include: Nighttime bike riding, interpretive dance, father’s 50th
birthday party to outshine his girlfriend that is younger than
you, or Church “look at me Jesus!”.
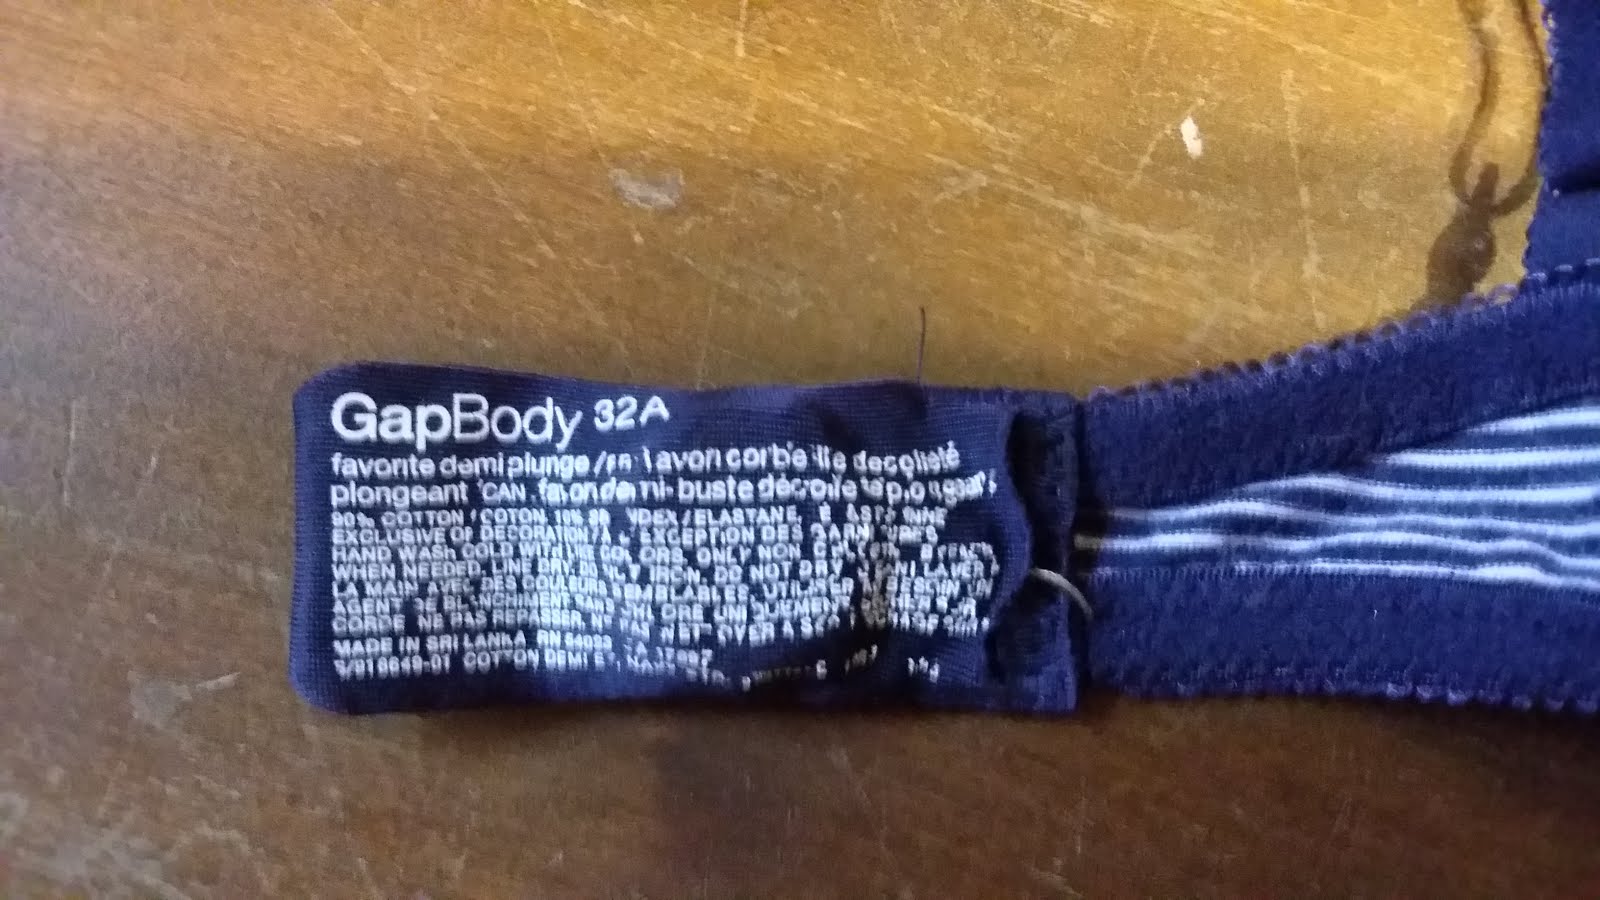
What you need:
-
An
uncomfortable bra that smashes your breast down which you were about
to throw away. -
2- 3v
batteries -
Small piece
of electrical or duck tap -
2- LED
lights; preferably ones that change color to emphases the level of
attention you need. -
Conductive
thread -
Small amount
of plastic coated wire. -
Gel super
glue -
Large needle
-
Scissors
-
wire cutters
-
wire
strippers or wire “alternative dancers”
Step 1:
Lock yourself in a
bathroom and cry while drinking wine because your trust fund is
gone and you are almost thirty.
bathroom and cry while drinking wine because your trust fund is
gone and you are almost thirty.
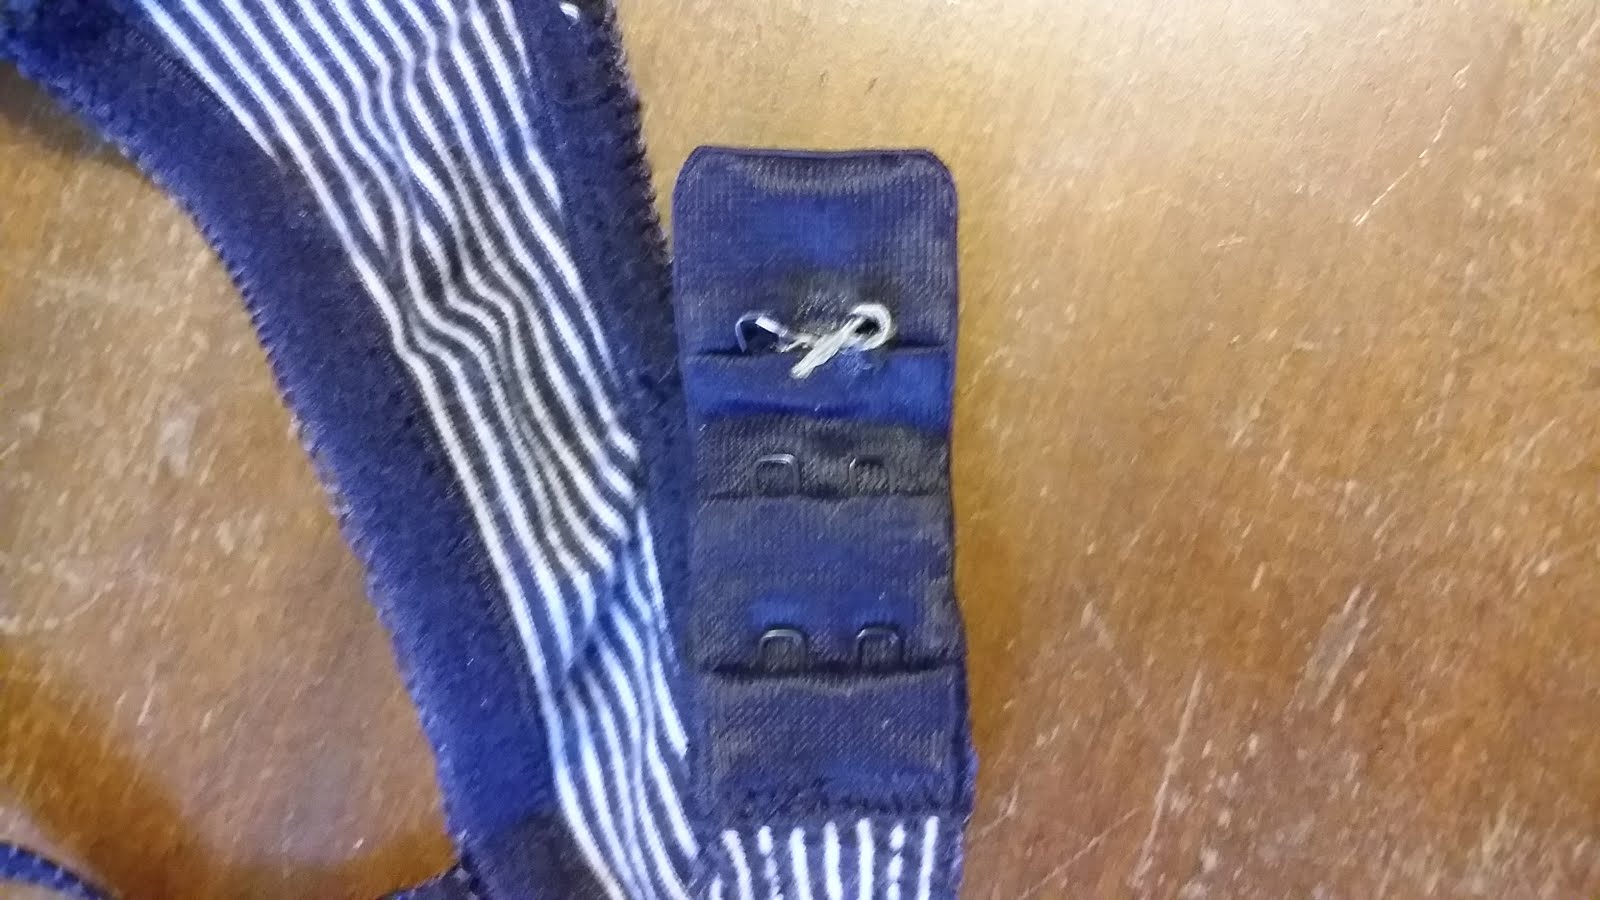
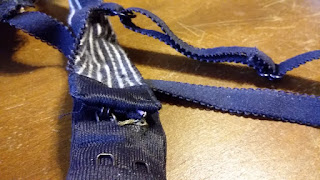
Step 2:
On the side with
the adjustable clasps seam rip a small opening big enough for the
batteries to fit into.
the adjustable clasps seam rip a small opening big enough for the
batteries to fit into.
Step 3:
Connect the two
batteries together along with two long pieces of conductive thread
using the tape. The positive side of one battery lays on the
negative side of the other to create a
positive-negative-positive-negative cycle. Then place a long piece
of conductive thread to the negative side of one battery and
another piece to the positive side of the other battery. Wrap the
tap around the thread and batteries to securely hold them in place.
Make sure the thread will not slip out of the tape nor touch each
other.
Step 4:
Thread the
negative side thread through a needle and slide it through the fabric
at the base of the clips you intend to latch the bra to. Gently
pull on the thread while working the batteries in the pocket
through the hole you created by seam ripping the fabric. Once the
batteries are in place, make sure the thread attached to the negative
side is taught. Meaning, there isn’t a wad of thread bunched up
within that pocket.
Step 5:
Wrap the thread
tightly and generously around the loop latch of the bra right where
the thread comes out of the fabric. Cut off any excess thread and
place a small amount of glue to the ends of the thread to hold
them together
tightly and generously around the loop latch of the bra right where
the thread comes out of the fabric. Cut off any excess thread and
place a small amount of glue to the ends of the thread to hold
them together
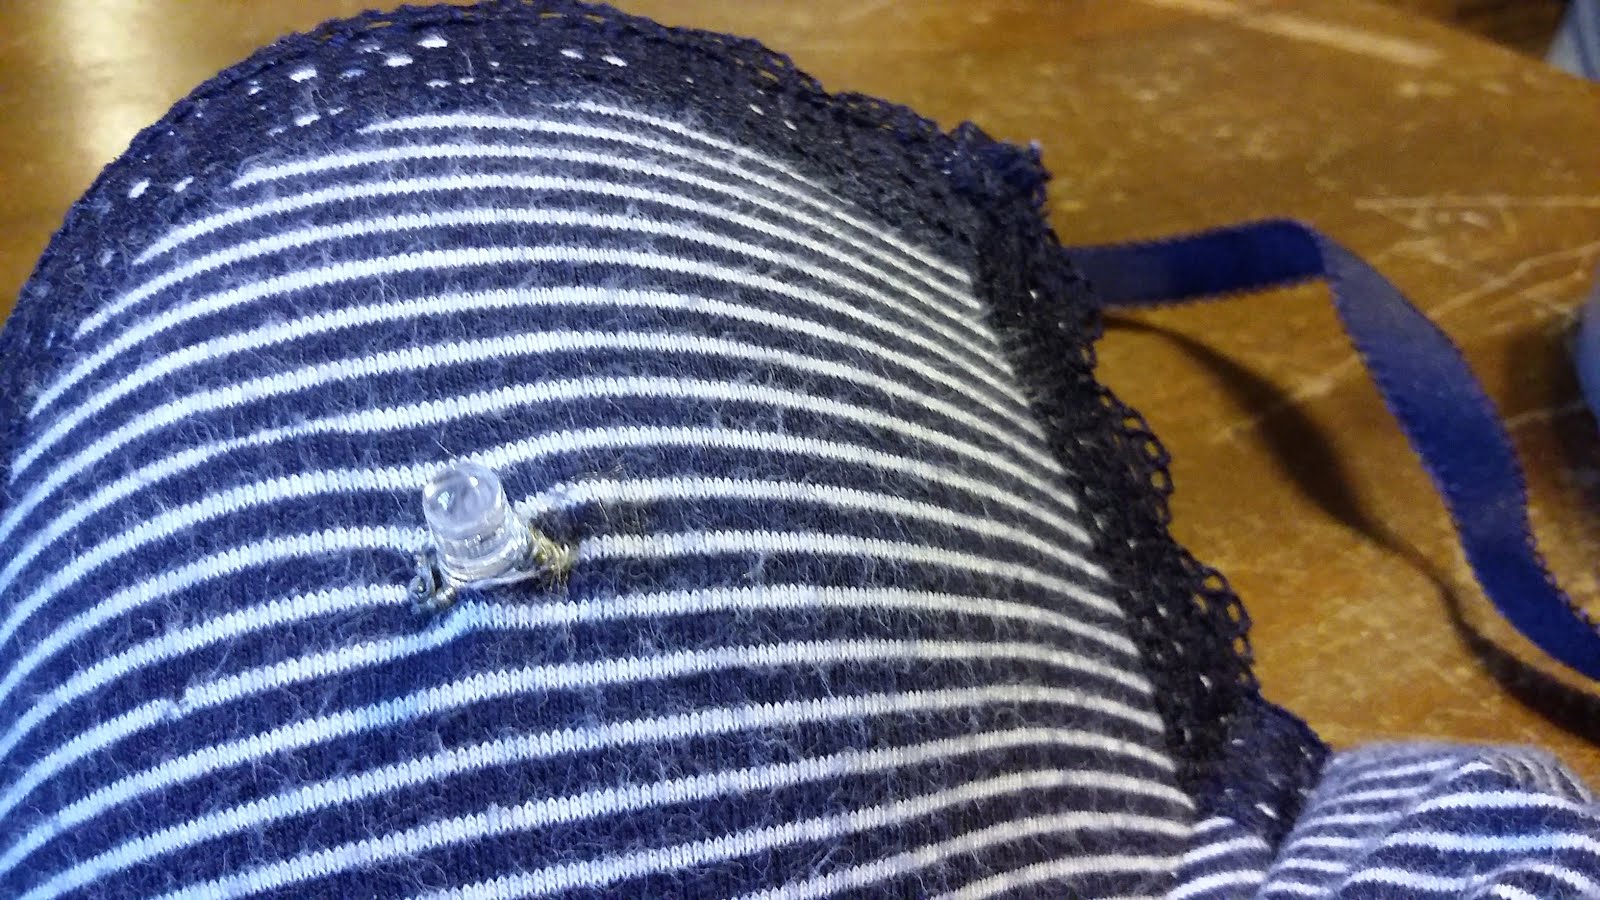
Step 6:
Bend each side of
the LED wires into a loop and cut off the access wire. Take the tread
attached to the positive end of the battery and work in through
the fabric to the center of the right breast cup. Wrap the string
through/around the positive loop of the Led light. Cut off excess
thread and glue ends together to keep in place.
Step 7:
Take a new piece
of conductive thread and wrap it around the negative side of the LED
in the same manner to which the positive side was done. Glue ends
together to hold in place and also place a small amount of glue to
the base of the LED and hold it firmly into place until dried.
Work thread through fabric to the center of the left breast cup and
repeat.
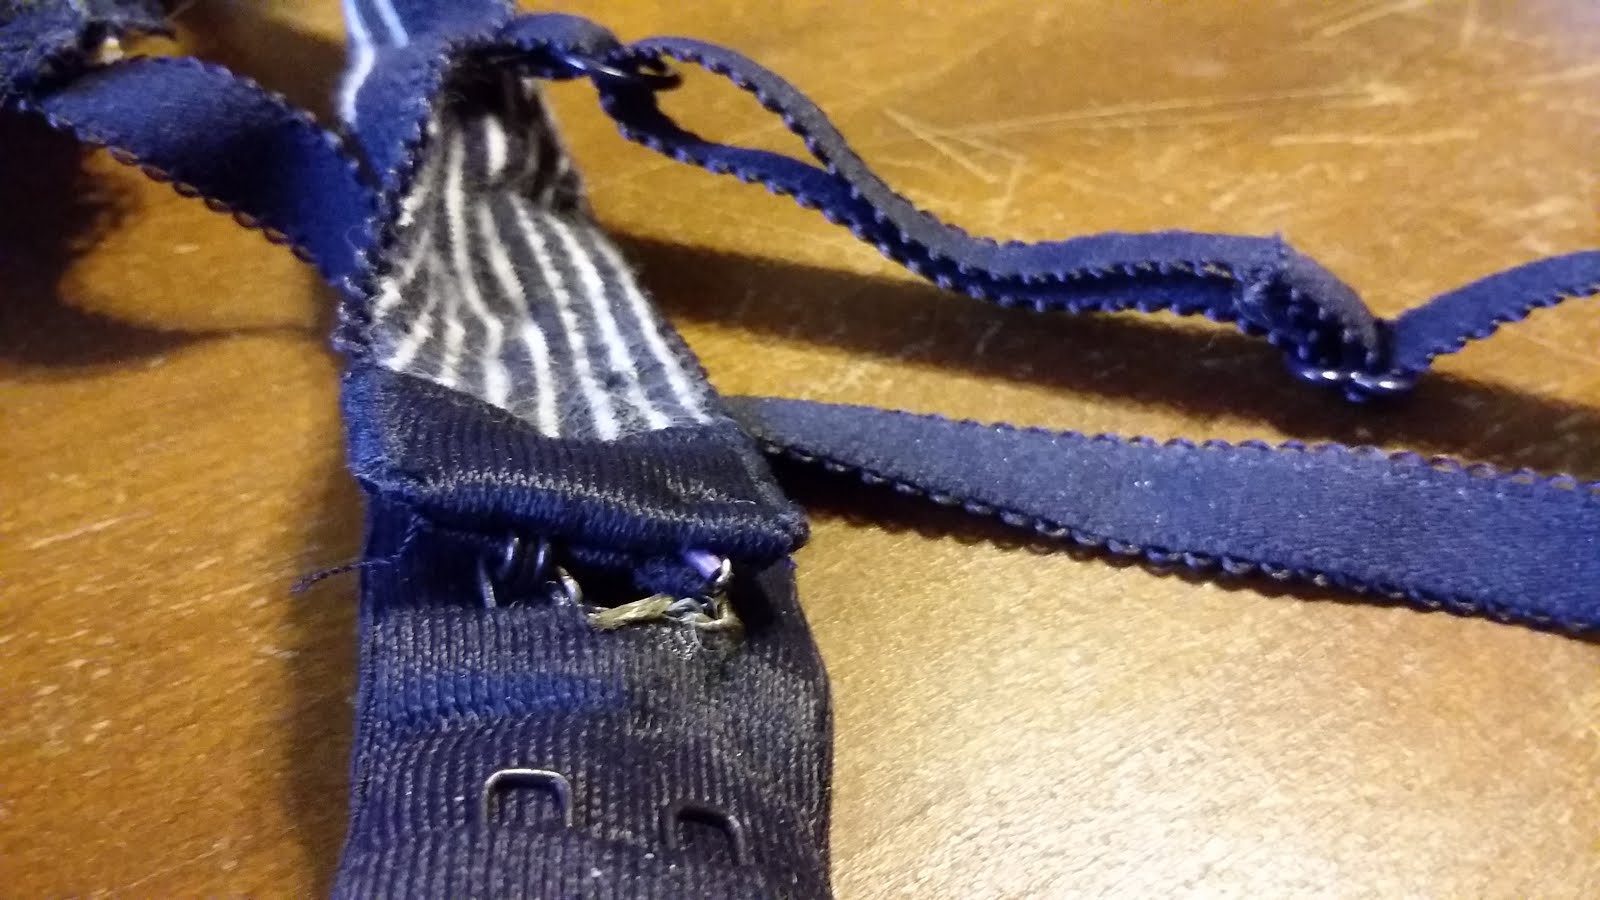
Step 8:
Once the two LEDs
are secure and firmly attached to the thread, create a small hook out
of the wire you have by stripping the two ends and small piece of
the center. Bend the two ends together at the point in the center
where you stripped the wire. Then twist the ends together and bend
into a hook shape. Using all your repressed anger, rip the hook
that is currently in place in the bra strap out, leaving a hole
where it should be. Wrap conductive thread around the loop of the
wire in the center which you stripped and glue it down once this
is complete.

Step 9:
Work the thread
through the bra fabric to the left breast cup led light. Attach it to
the negative loop and secure using glue.
through the bra fabric to the left breast cup led light. Attach it to
the negative loop and secure using glue.
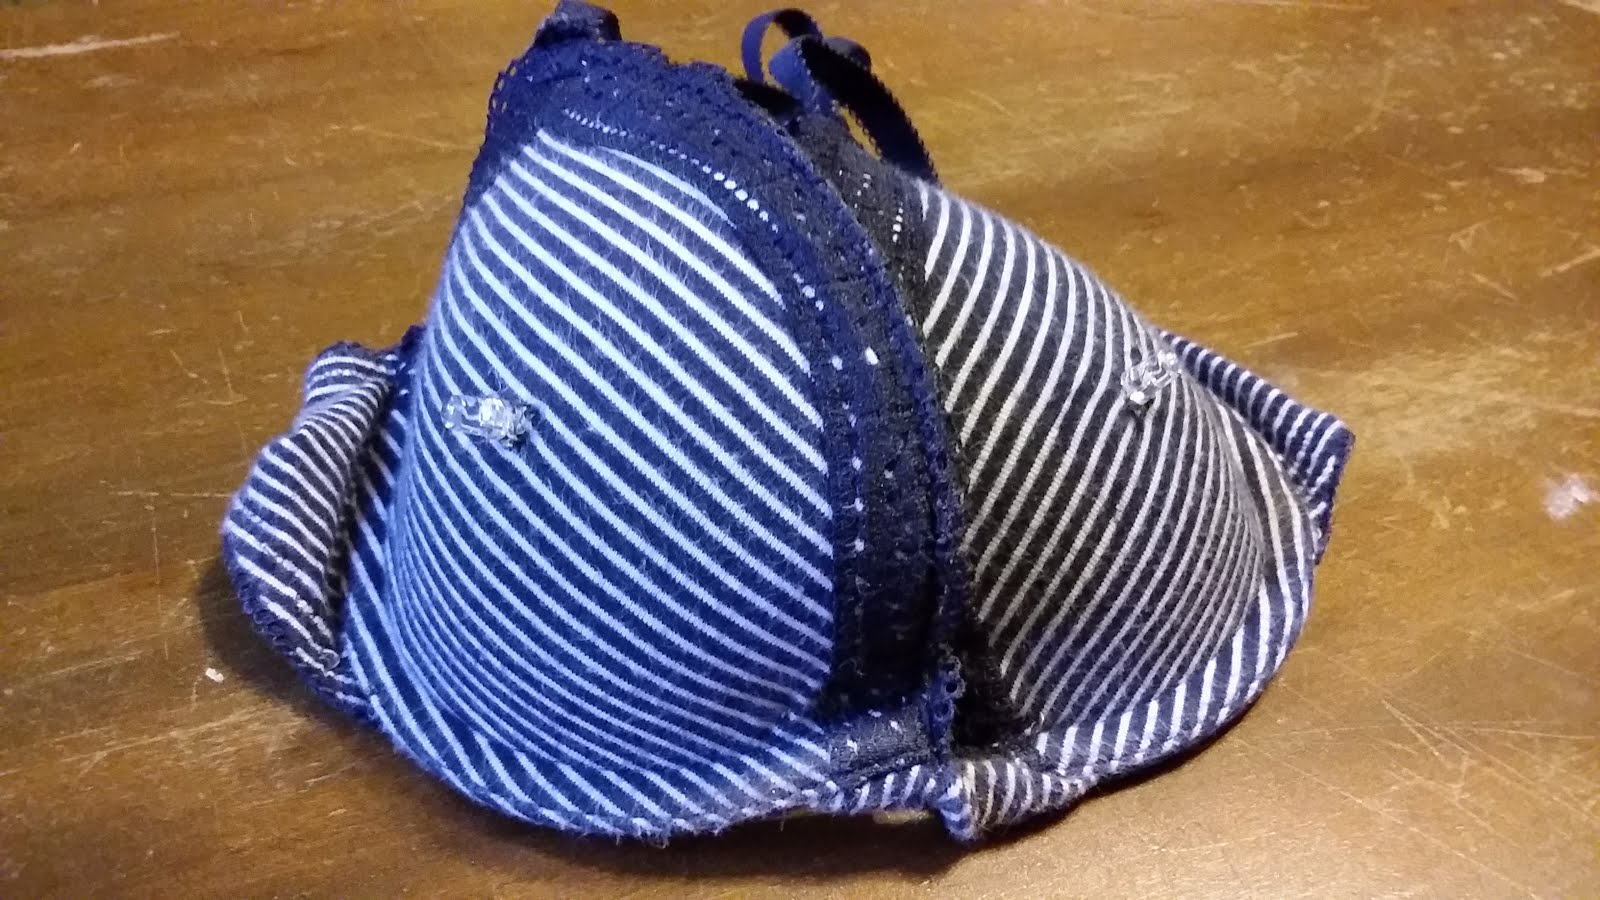
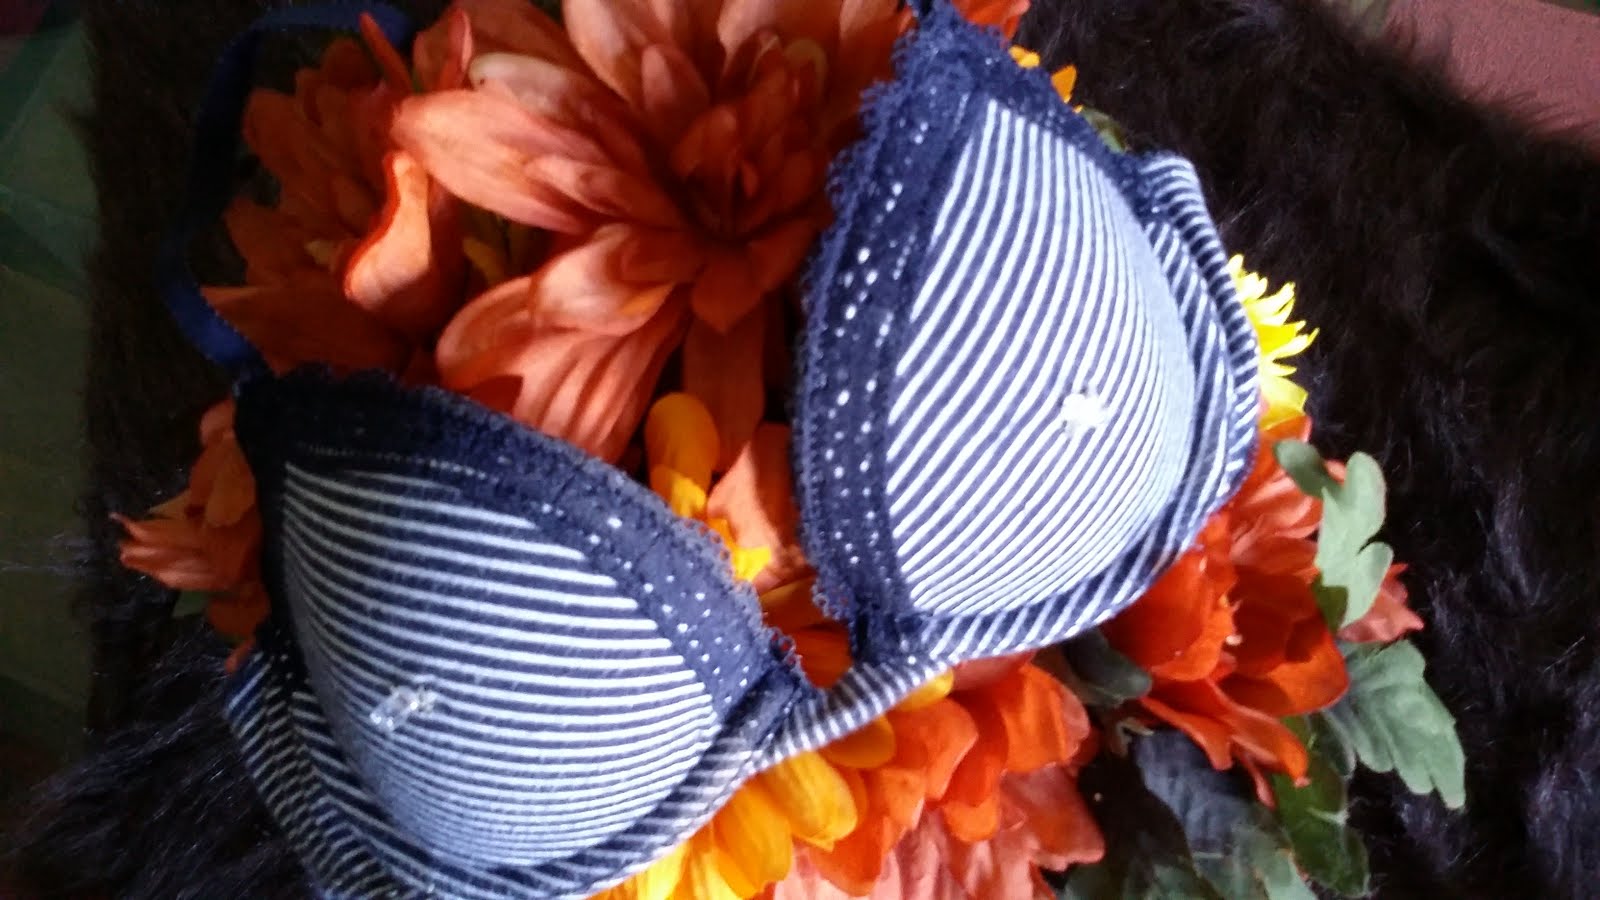
Now you should have
a finished product and can go about living your life. Be sure to
attach the hook to the loop with the thread wrapped around it to
complete the circuit.
a finished product and can go about living your life. Be sure to
attach the hook to the loop with the thread wrapped around it to
complete the circuit.

