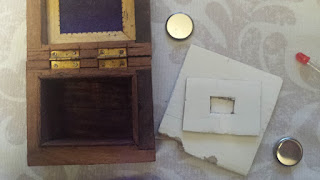
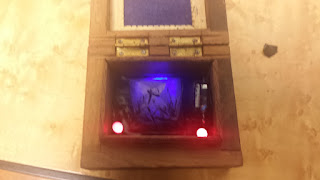
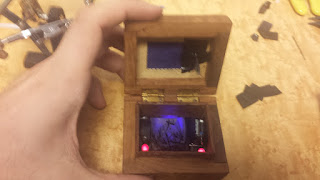
Here are instructions on how to make a box that lights up on the inside, but only when opened.
First, gather these materials:
1 Box
Any number of led lights of chosen colors [In the end, I will use 2 blue and 2 red but I started with 4 red]
Copper tape
Wires
Soldering supplies [Iron, solder, cleaner]
An appropriate amount of button batteries [I will use 3 3V batteries]
An appropriate amount of resistors [I ended up needing none, but started with a couple.]
Some thin cardboard
Some rigid plastic that can also be cut
Electrical tape
Some fun to put in the box [I will use a glass pyramid]
Something flat and conductive, preferably hard. I was able to find two small pieces of conductive scrap metal.
Something soft and spongey, such as rolled up tissue or cloth, or actual small sponges.
Step 1: Shape your cardboard to fit in your box as a false bottom. I also cut a hole in the middle because I needed to fit some lights underneath the subject.
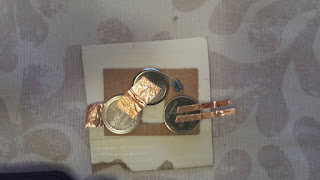
Step 2: Attach your batteries and resistors to the false bottom, all wired in series. I used copper tape because it lies flat, but any wire works. [I will end up removing these resistors later as I change my mind on the colors of my lights.]
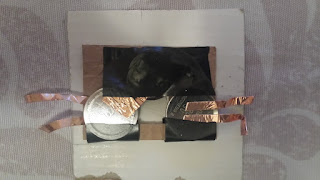
Step 3: Tape the arrangement to the board, and prepare the wires that will lead to the other side.
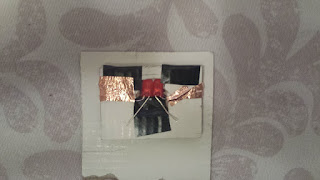
Step 4: After flipping the board, hook up the lights that will go into the hole.
Step 5: Hook up the remaining lights. I forgot to photograph this step but you will see them in the next steps.
Step 6: Take your two conductive surfaces and attach a wire to each, possibly soldered, or with copper tape. Press them together between two pillows made of the soft material, all bundled tightly in tape.
Step 7: Attach your “pillow” to the circuit, it will function as a switch once the project is complete, so attach as such. The switch is currently in the ON position until later steps, so it should complete your circuit and light up once added. Experiment with putting a barrier between the contacts, it should turn the switch off, turning off your lights. This photo is also missing.
Step 8: Attach your centerpiece to the board. I used the tape underneath the edges, and forgot to photograph.
Step 8: Cover the remaining untaped space with tape for aesthetic. Lower your false board with circuit into the box. [Finally a photo]
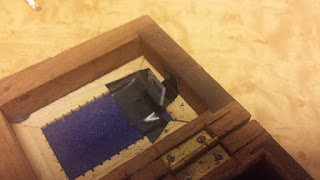
Step 9: Use your rigid plastic to create a barrier that will attach to the box roof in a way such that when the lid is lowered, the barrier will come between the metal contacts inside your pillow switch, putting it into an OFF state. Getting it to stay upright and in the correct position is tricky, be prepared to rig it up strangely, perhaps with something at the base for extra stability, and experiment with where it needs to be before fully fastening it to the lid.
Step 10: Assure that your barrier, switch, and “circuit board” are securely attached and aligned, and text out closing the box very slowly at first to see if it functions as wanted. If so, congratulations! Enjoy your shiny box.
