1. You must chose your color preference for LED lights. In this case, I have chosen three red LED bulbs.

2. You want to make sure that you take two LED bulbs and bend an anode leg on one of the bulbs at 90º and the take the other bulb and bend its cathode leg at 90º. You will then spread both legs of your third LED bulb opposite ways. The bulbs should be set as seen below.
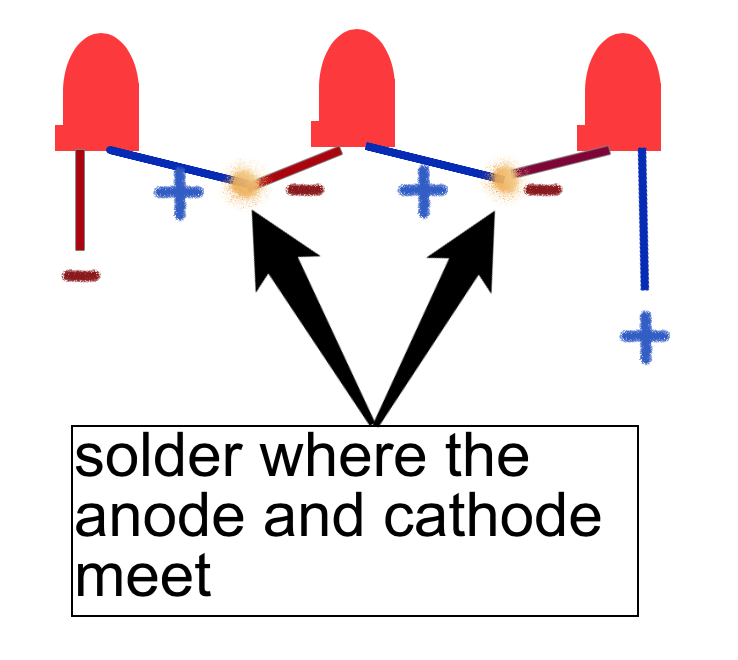
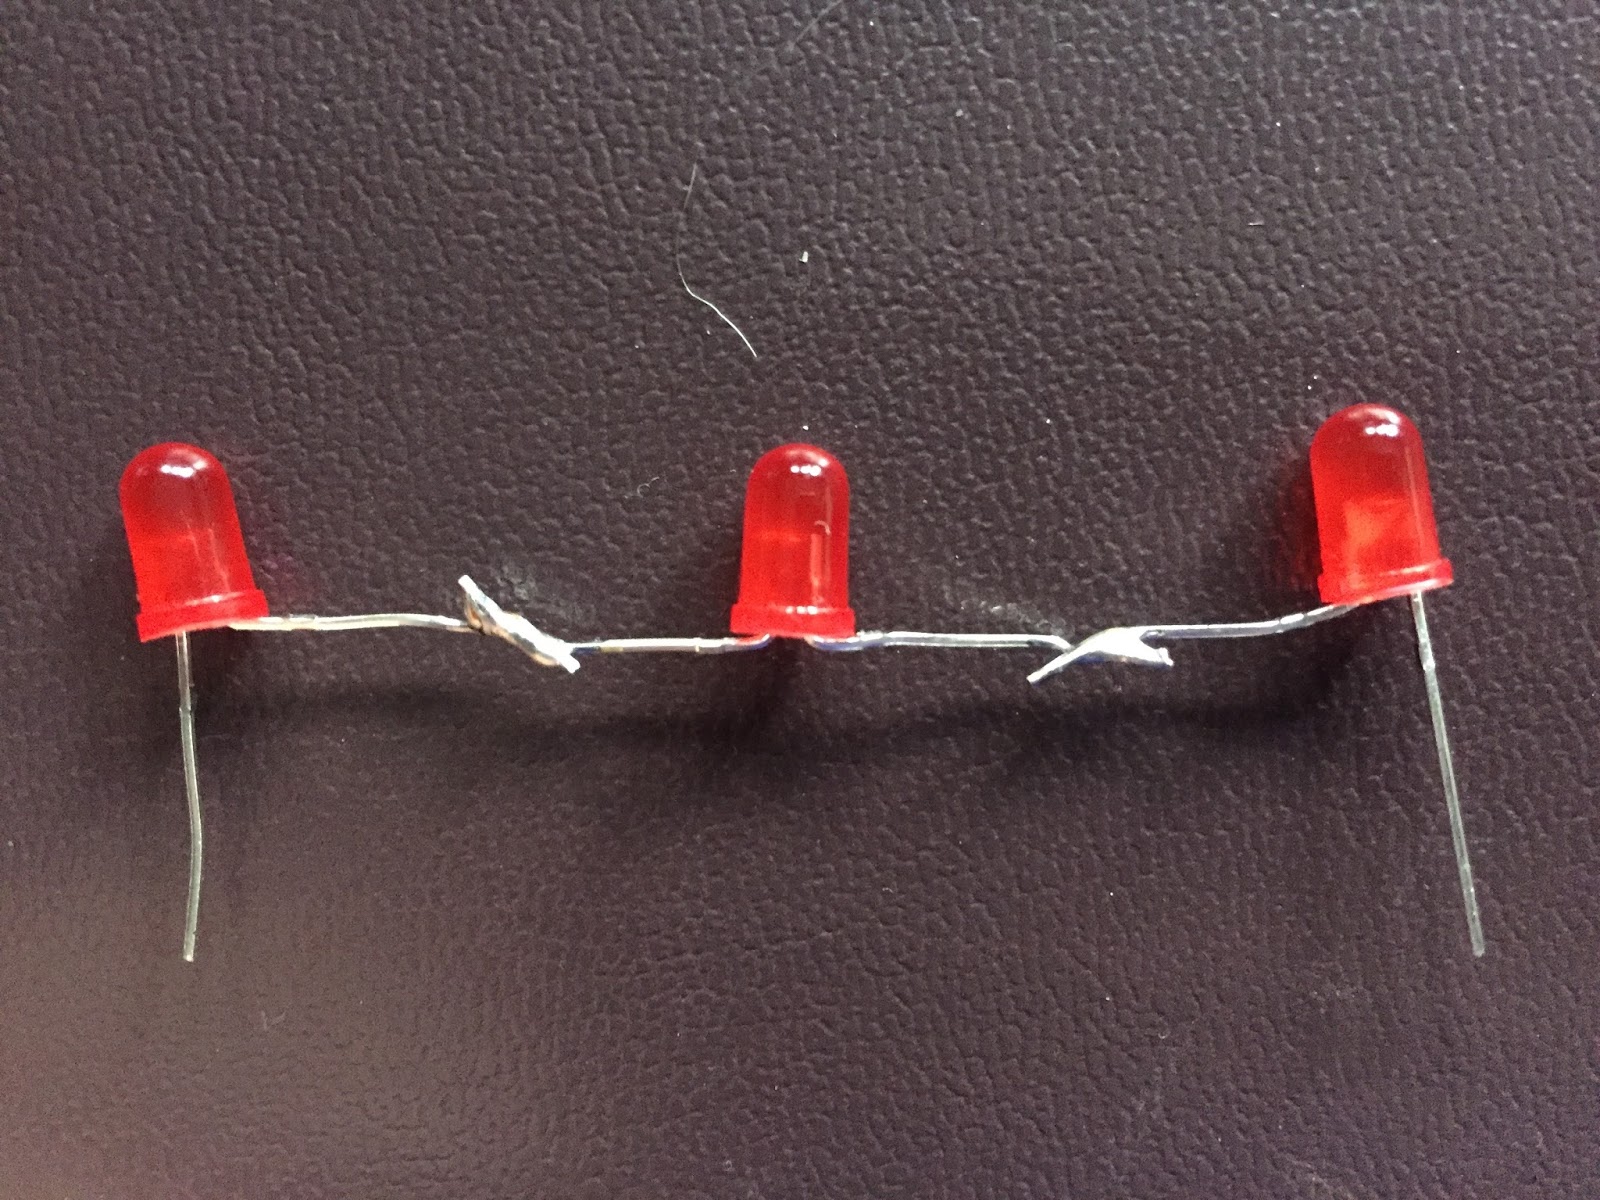
3. Then you should twist the legs where the anode and cathode ends meet and solder them, as seen from my drawing above. The picture below is what your results should look like.
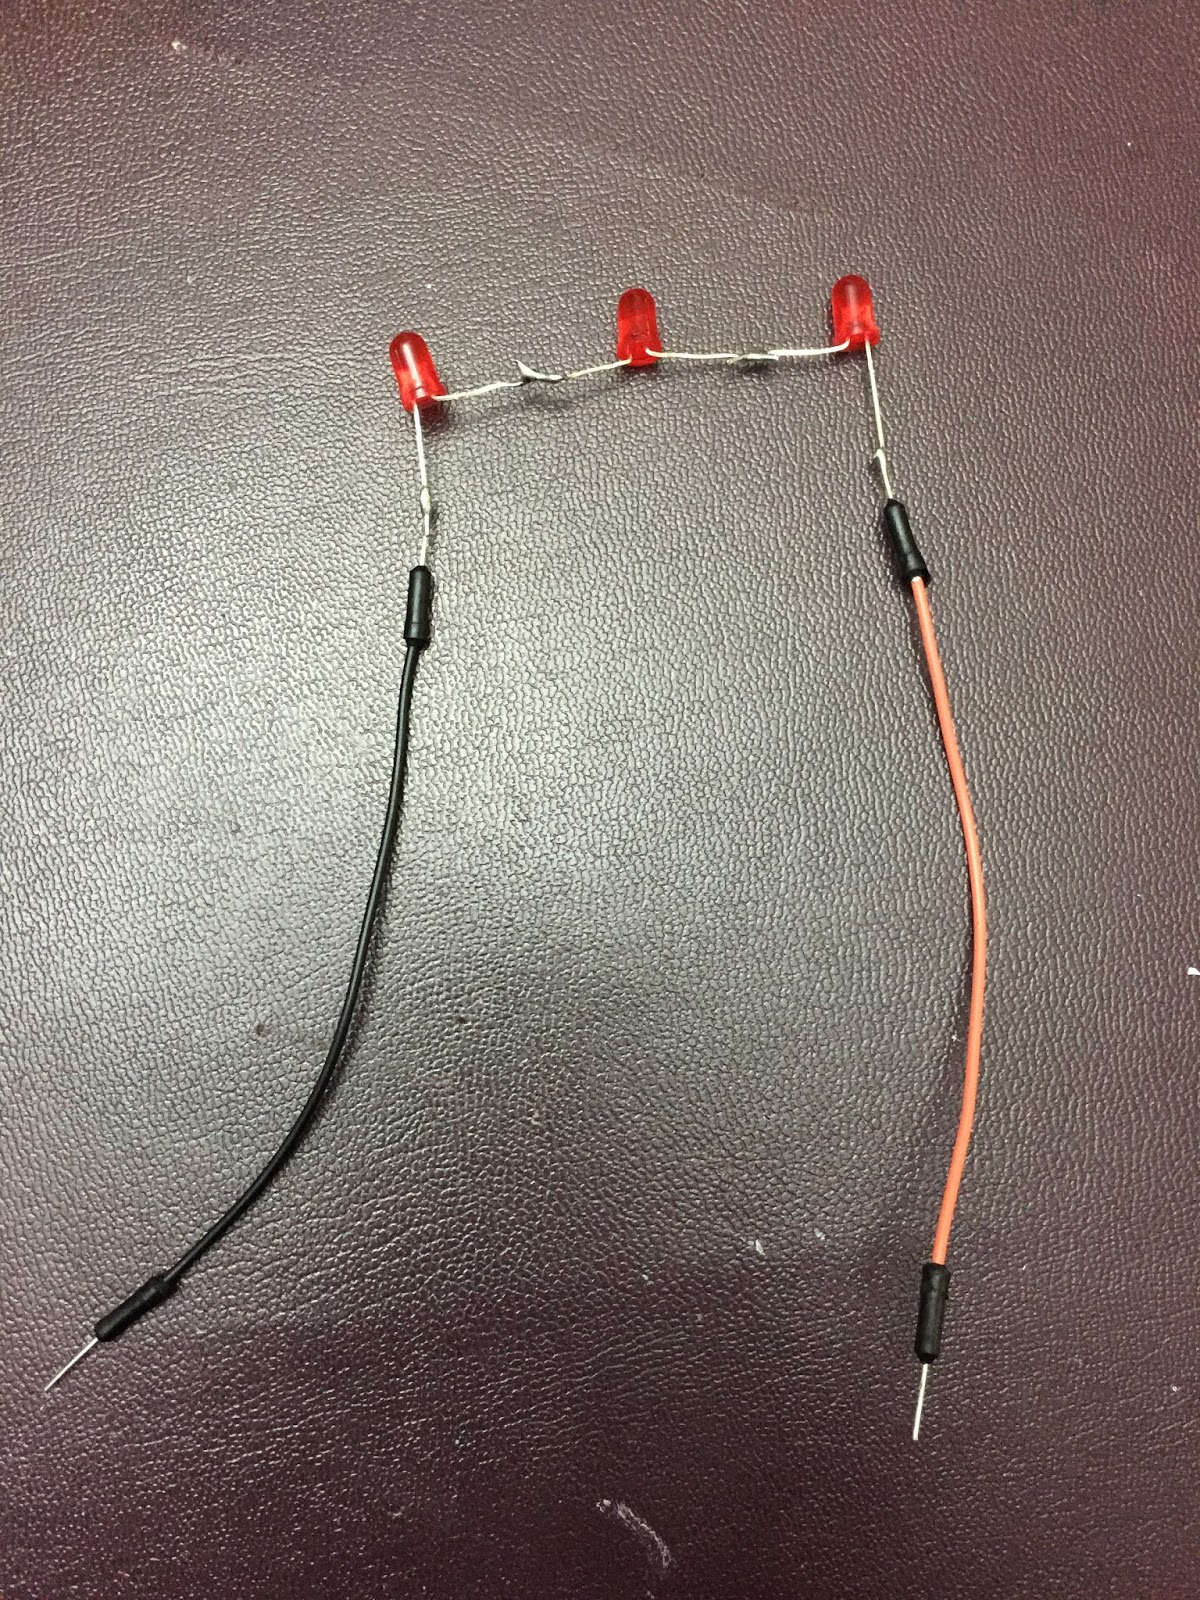
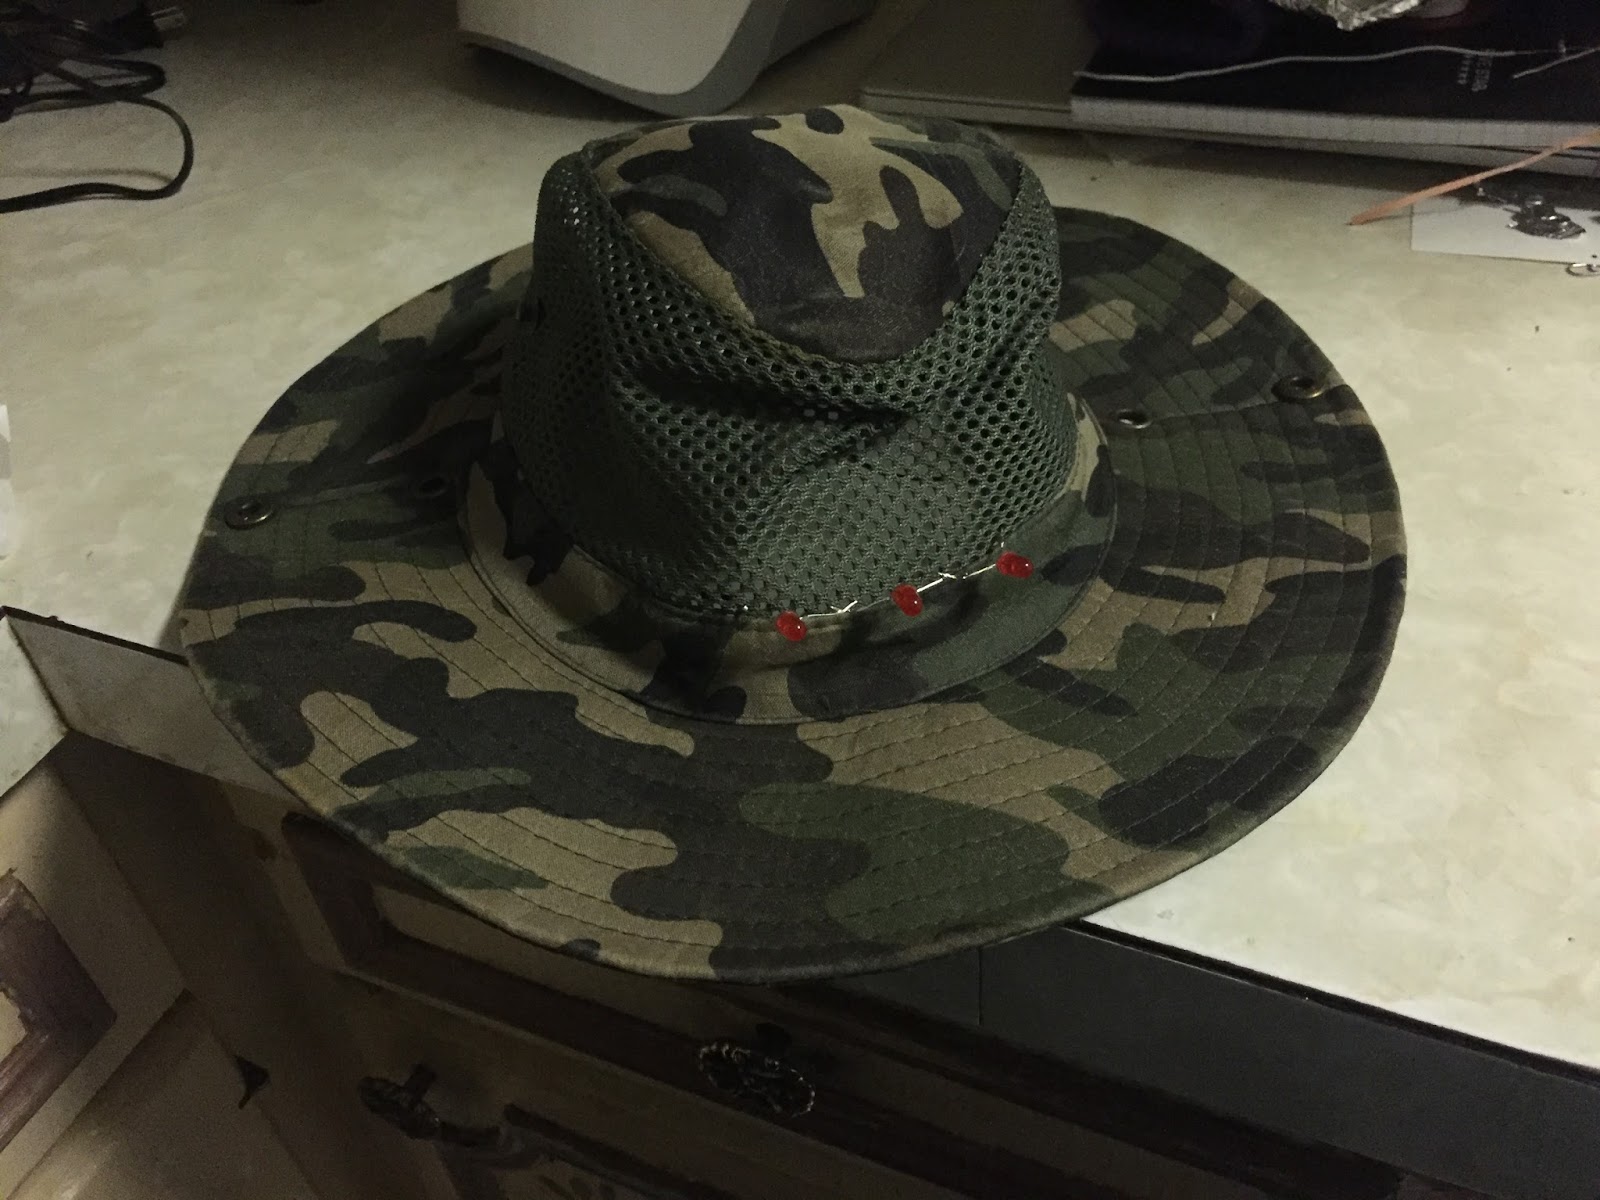
5. Take your hat and place the LED series circuit somewhere where both ends of the wires will be able to connect to the power source (battery).
6. Take your two three-volt batteries and stack them on top of each other.
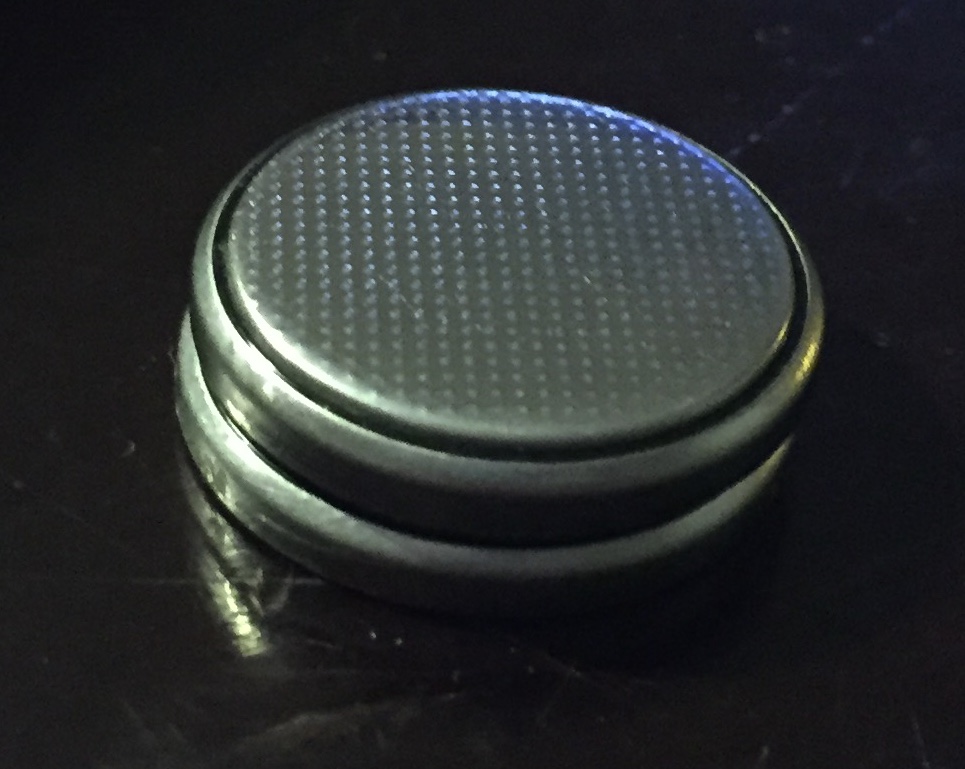 |
| (Both 3V batteries stacked on top of each other. The sequence from top to bottom should be negative, positive, negative, positive). |
7. Finally, take your 4-inch wire that’s connected to the cathode side of your series and place it on the negative side of the 3V batteries. Then place your 4-inch wire from the anode side to the bottom of the battery (where there is a “+” symbol) and use electrical tape to insulate the wires, and use a hot glue gun to bond the battery to the hat. Make sure to leave an open space to insert the small piece of paper in between the batteries. The piece of paper serves as a switch.
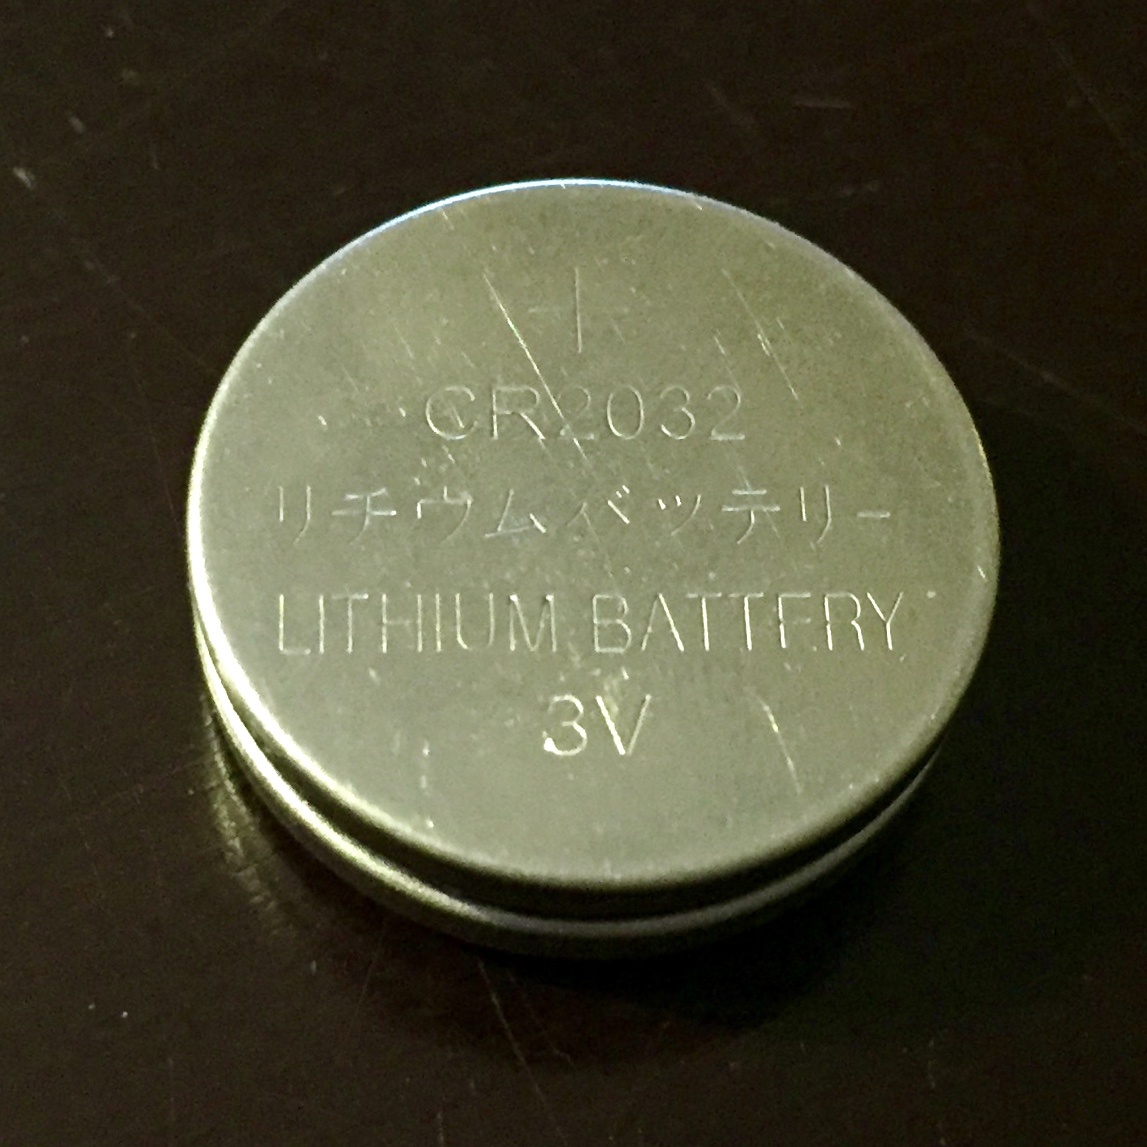 |
| (Bottom of the 3V batteries. The “+” is shown on top). |
|
|
(Top of 3V battery).
|
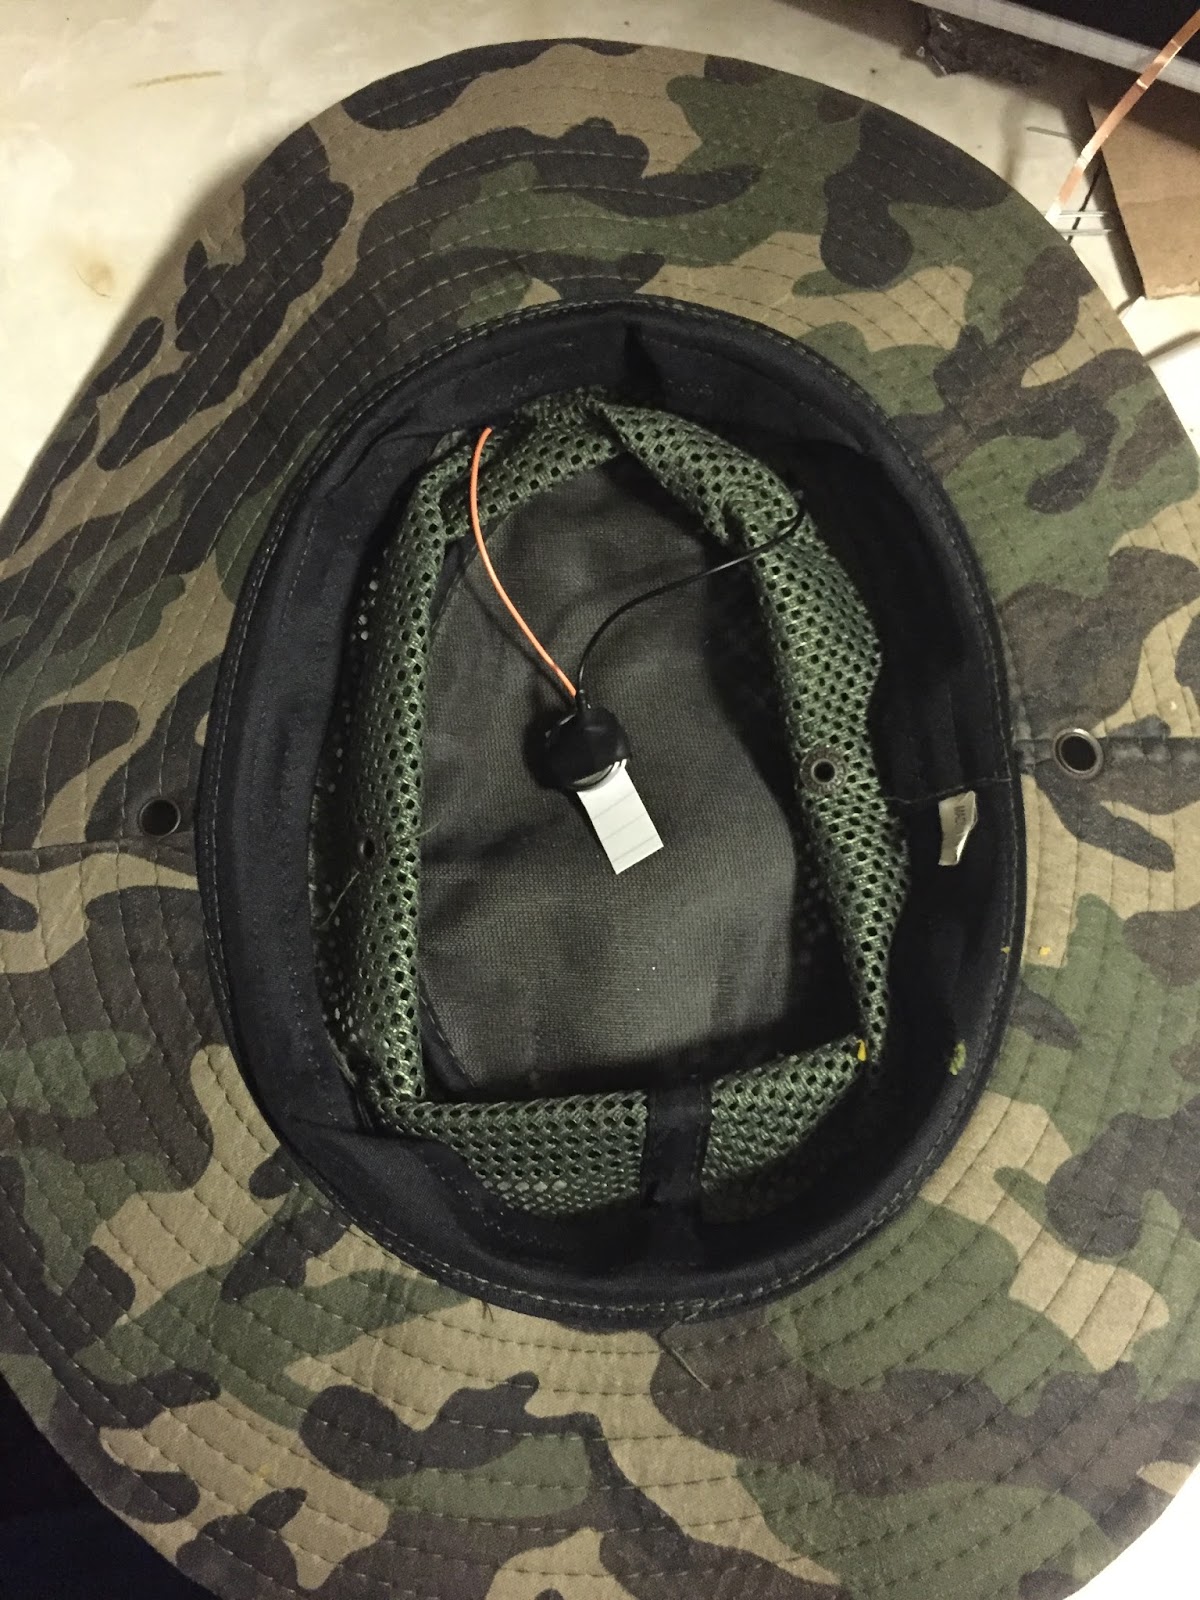 |
| (A small piece of paper is inserted between the batteries. When the paper is taken out of place, the LED bulbs will light up). |
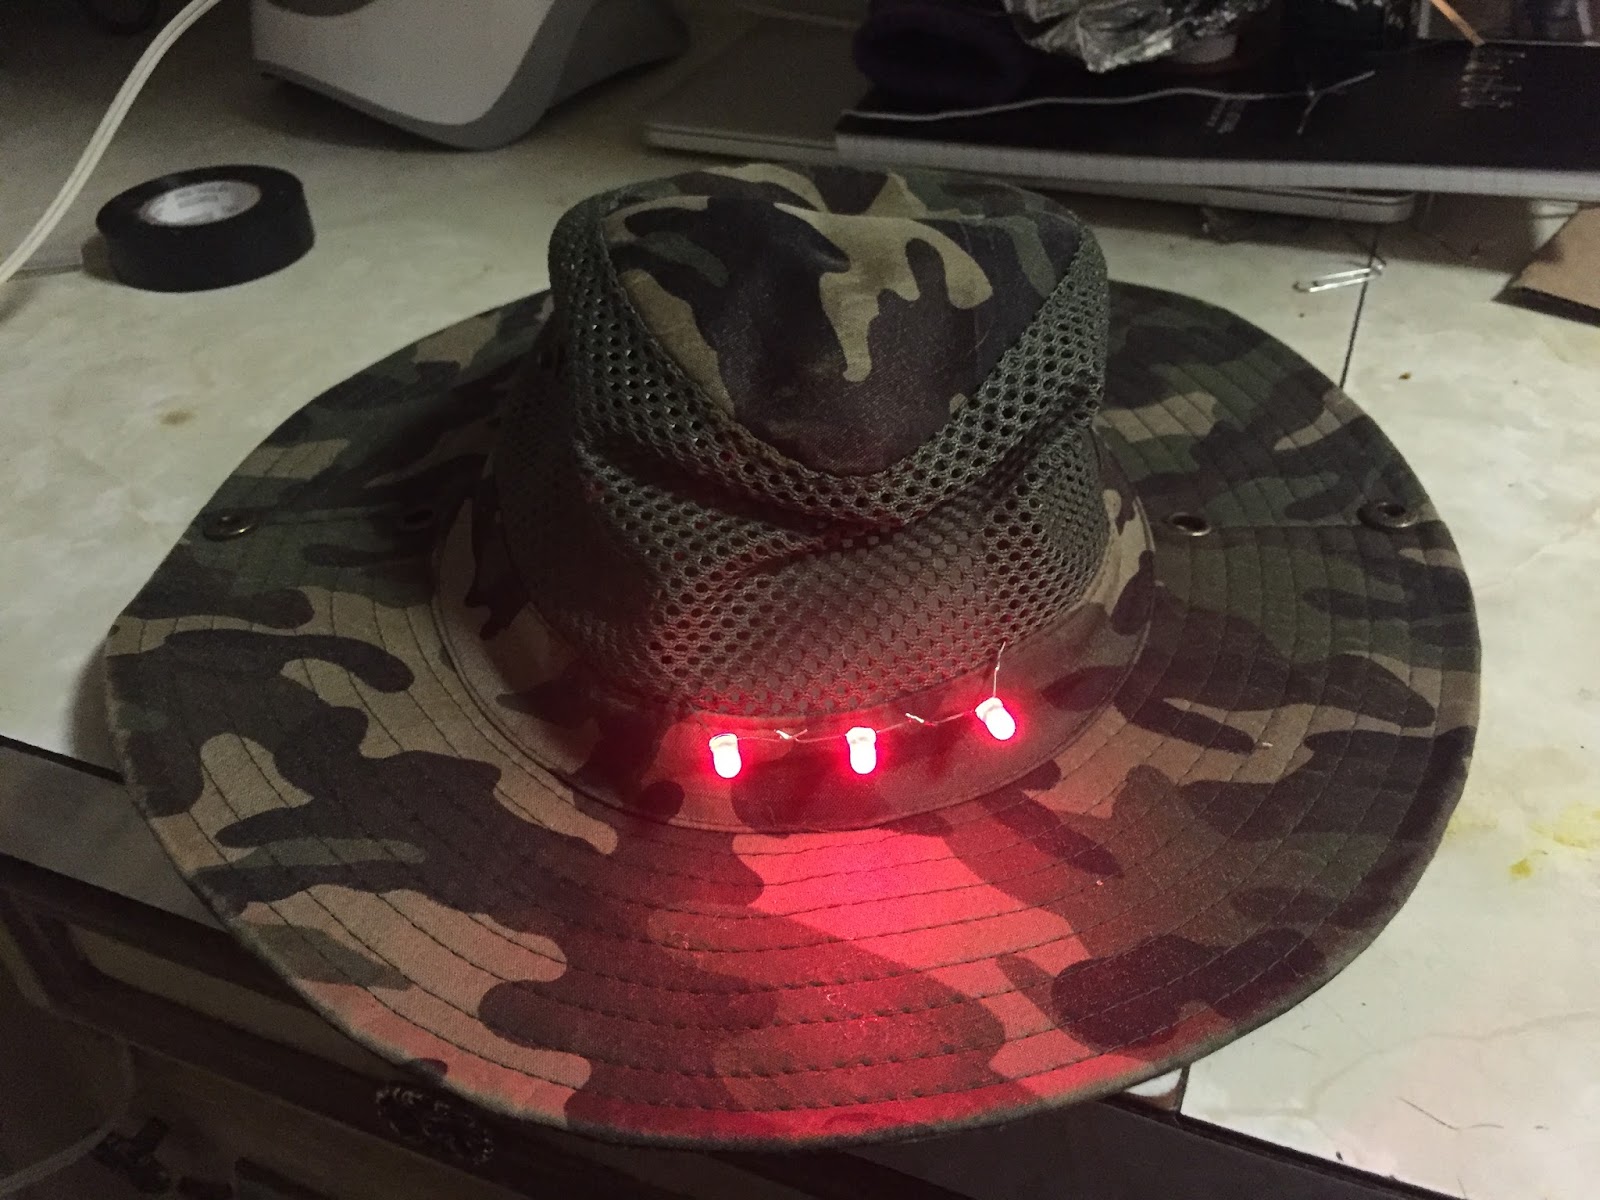 |
| (End result). |