LED Shoe
Start with a pair of shoes. Preferably one with a tag on the lip of the shoe to hide the battery. Remove the shoe laces.
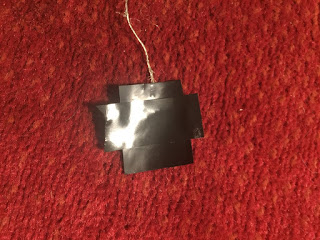
Ideally the LED will light up for every step that you take. So, to create a switch that does that we’ll use pressure sensitive material. ( black squares ).
Below is a picture of how the circuit will work inside the shoe.
Create one side of material by sticking conductive fiber onto the material using electrical tape.
Use more electrical tape to stick this on to the bottom of the shoe. Making the tape vertical while the material is horizontal.
Next create the second side of the switch by following the same steps before but now have both the material and the electrical tape horizontally.
Tape up the right side of the conductive wire to the side of the shoe so the LED doesn’t move around as you walk.
Connect the positive leg of the led first and then take another strip of conductive wire and connect it to the negative side.
Connect the negative side of the conductive tape to the negative side of the battery
Hide the battery in the pocket lip of the shoe.
p.p1 {margin: 0.0px 0.0px 0.0px 0.0px; font: 12.0px ‘Helvetica Neue’; -webkit-text-stroke: #000000}
p.p2 {margin: 0.0px 0.0px 0.0px 0.0px; font: 12.0px ‘Helvetica Neue’; -webkit-text-stroke: #000000; min-height: 14.0px}
span.s1 {font-kerning: none}
Make sure the 2 conductive wires don’t touch while in the shoe by taping down the wire to the insides of the shoe. Repeat with second shoe.


