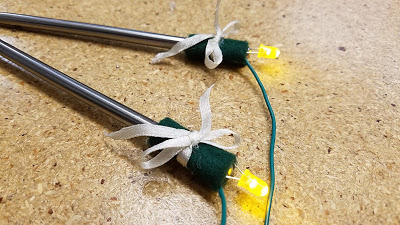
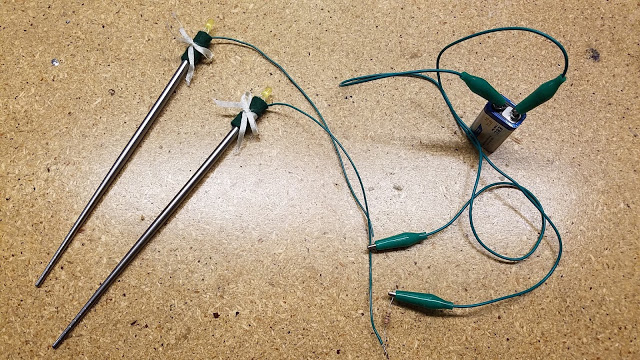
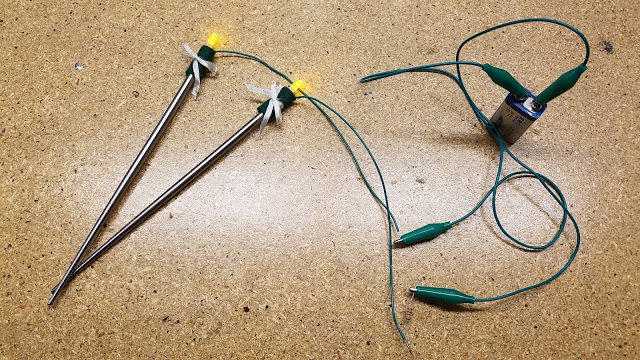
For my creative switch, I decided to turn on two LEDs by touching chopsticks together. In Korean culture, often metal chopsticks are used which is where I got the idea. Each LED was attached to the non-eating end of a chopstick. Follow these steps to make Light-up Chopsticks!
The circuit that we will be constructing is as follows:
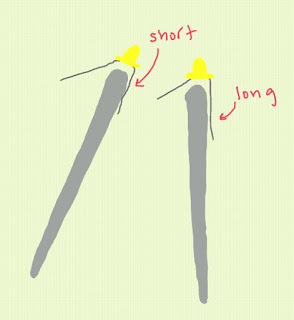
1) Put the LED’s in place on top of each chopstick. Each LED will make one connection with the metal chopstick and for the current to flow properly through each one, you should line up the short leg of one and the long leg of the other with a chopstick.
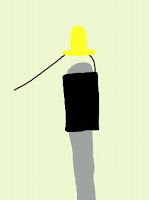
2) Using an insulating tape such as electrical tape, tape the one leg of the LED that you lined up with the chopstick. Do this for both chopstick/LED combinations
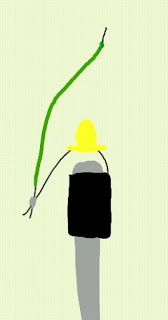
3) Solder one end of a wire a about 4 – 6 inches long to the free leg of the LED. Do this for both LEDs.
4) Choose one wire, and solder a 220Ω resistor to end that isn’t already soldered to the LED.
5) Connect one cable with alligator clips to the resistor and a terminal on a 9V battery. Connect another cable with alligator clips to the wire on the other chopstick and the other terminal on the battery. Your Light-up Chopsticks should be ready to use! Here is what your final set up should look like.
I embellished my Light-up Chopsticks by covering the electrical tape with felt and a ribbon. I attached both in place using hot glue.
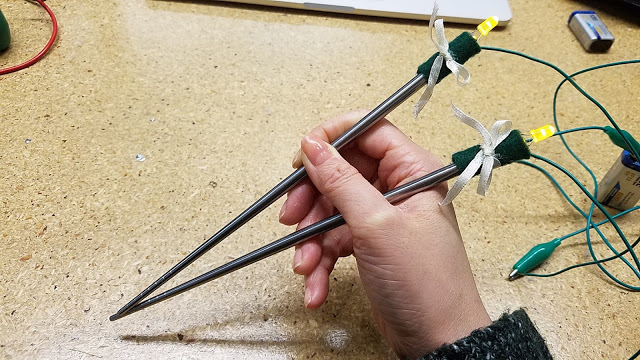
Touch the chopsticks together and see the LEDs light up!
If at first they don’t seem to light up, try and switch the alligator clips on the battery.
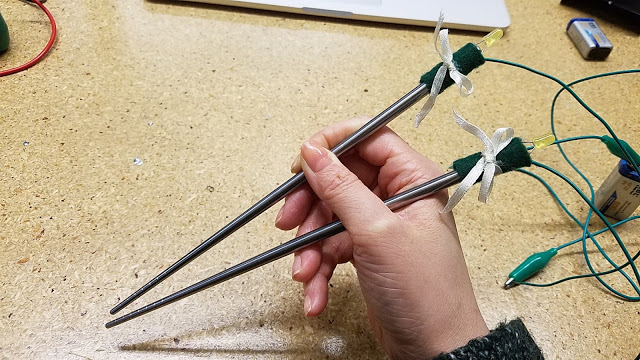
Here are the chopsticks in action.
Thanks for reading!
