Motion Hat
Materials:
(All material provided)
- Hat
- female/male wires
- accelerometer
- solder/ wire
- llittle wire
- hot glue
- ardunio board
- 9 volt battery
- Neopixel strip
- tape
Code: [code]
// these constants describe the pins. They won’t change:
const int groundpin = 18; // analog input pin 4 — ground
const int powerpin = 19; // analog input pin 5 — voltage
const int xpin = 13; // x-axis of the accelerometer
const int ypin = 12; // y-axis
const int zpin = 11; // z-axis (only on 3-axis models)
#include <Adafruit_NeoPixel.h>
#ifdef __AVR__
#include <avr/power.h>
#endif
#define PIN 6
Adafruit_NeoPixel strip = Adafruit_NeoPixel(9, PIN, NEO_GRB + NEO_KHZ800);
void setup() {
// put your setup{
// initialize the serial communications:
Serial.begin(9600);
// // Provide ground and power by using the analog inputs as normal
// // digital pins. This makes it possible to directly connect the
// // breakout board to the Arduino. If you use the normal 5V and
// // GND pins on the Arduino, you can remove these lines.
// pinMode(groundpin, OUTPUT);
// pinMode(powerpin, OUTPUT);
// digitalWrite(groundpin, LOW);
// digitalWrite(powerpin, HIGH);
strip.begin();
strip.show(); // Initialize all pixels to ‘off’
}
void loop() {
// put your main code here, to run repeatedly:
// print the sensor values:
Serial.println(analogRead(xpin));
// print a tab between values:
// Serial.print(“t”);
// Serial.println(analogRead(ypin));
// print a tab between values:
// Serial.print(“t”);
//Serial.println(analogRead(zpin));
//Serial.println();
// delay before next reading:
delay(10);
if (analogRead(ypin) > 385) {
// Some example procedures showing how to display to the pixels:
colorWipe(strip.Color(255, 0, 0), 50); // Red
}
else
{
colorWipe(strip.Color(0, 0, 0), 0);
}
}
// Fill the dots one after the other with a color
void colorWipe(uint32_t c, uint8_t wait) {
for (uint16_t i = 0; i < strip.numPixels(); i++) {
strip.setPixelColor(i, c);
strip.show();
delay(50);
}
}
[/code]
Steps:
- Construct the wires for the neopixel strip.
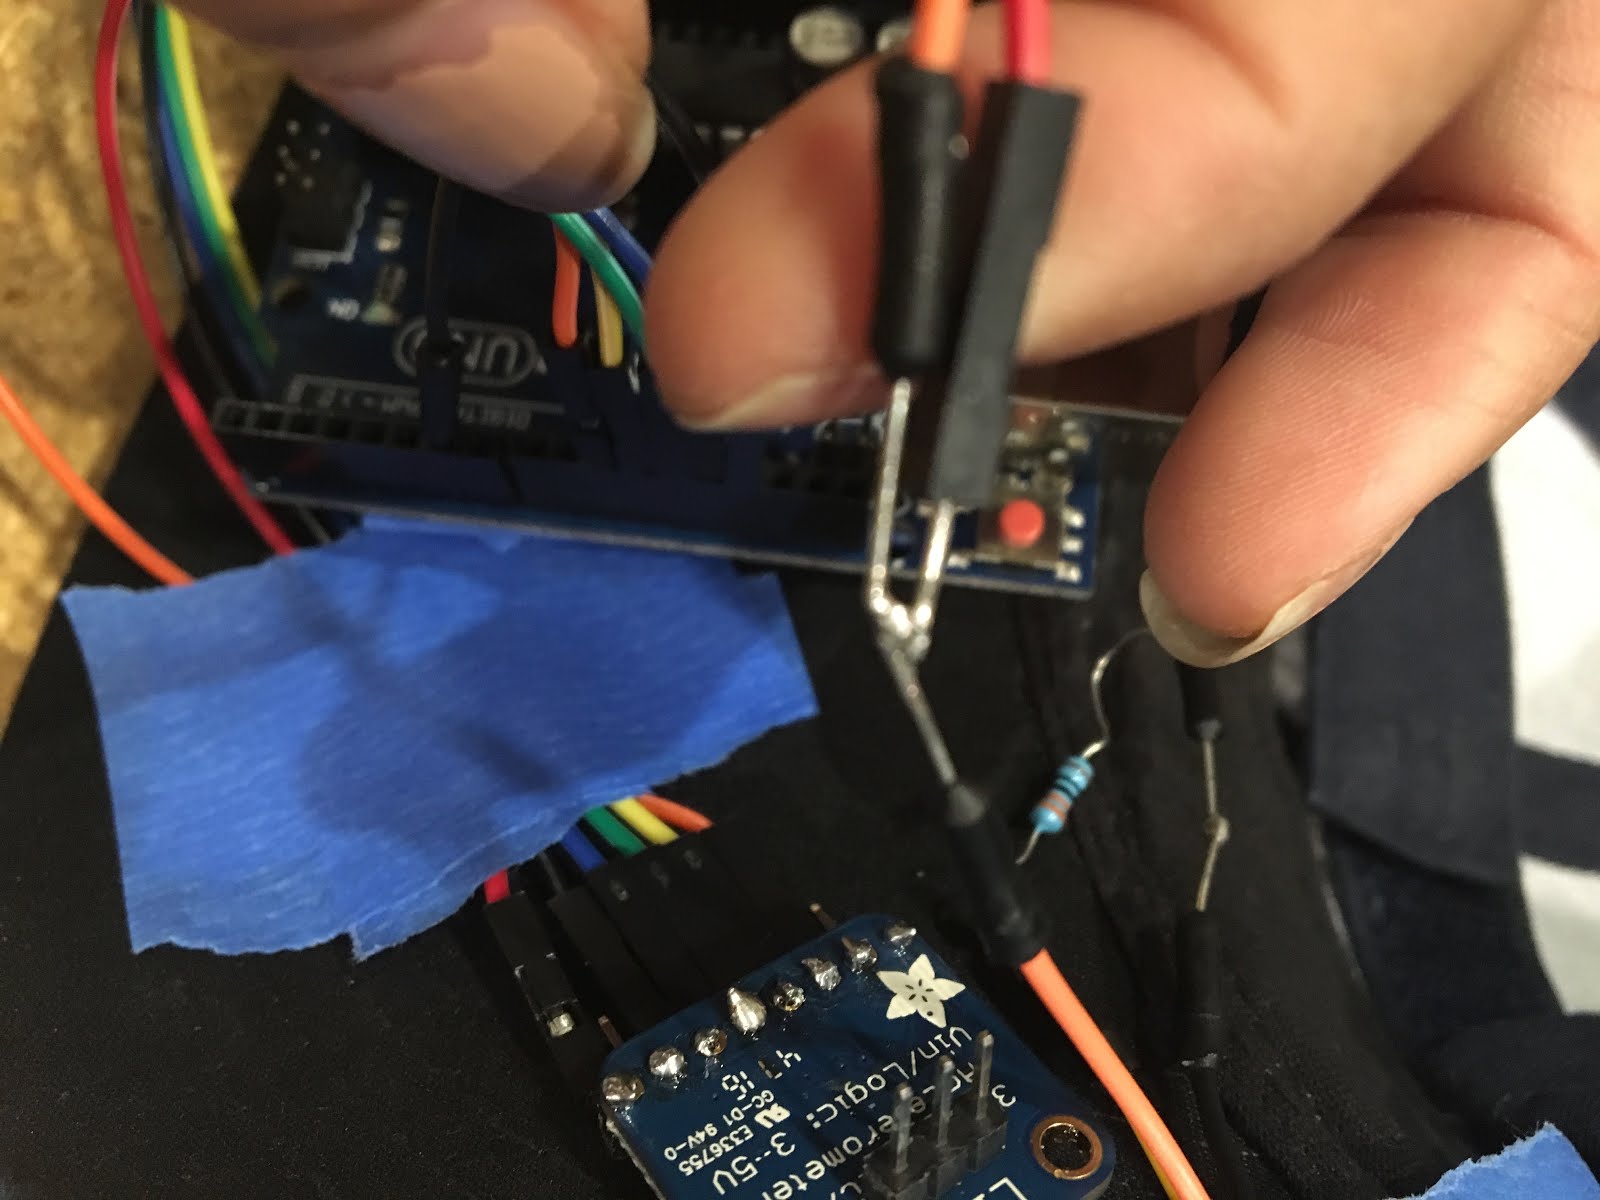
(If you have not solder you should solder the strip with three wires and one resister attach to the pin wire.)


2. Next solder the accelerometer parts together
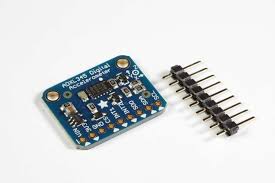
3. Put the accelerometer wiring together using the female/male wiring
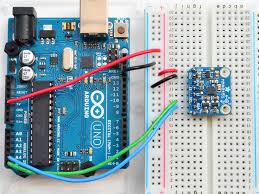
4. To make the connectivity all the same, Wire the the that use the same pins. To take the breadboard away.
5. Hot glue the strip to the hat. Hide the wires under the hat and tape the ardunio and wires. Since everything is programmed use the battery instead of the computer now.
