Light Up Cup
Materials Need:
- 4.5 Volt Battery Pack
- 3 AA Batteries
- 4 Clear LED’s
- 4 100 Ohm Resistors
- Copper Tape
- Wire
- Cardboard
- Reusable Coffee Cup

Step 1: Start by prototyping the circuit on a breadboard. This ensures that all LED’s work and gives a basic layout for the circuit

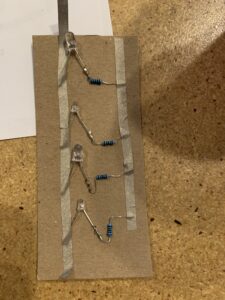
Step 2: Recreate the circuit on a piece of cardboard. Power will be connected on the left side of LED’s by creating a track with the copper tape. The resistors will all be connected through another track of copper tape, this will eventually connect to ground.

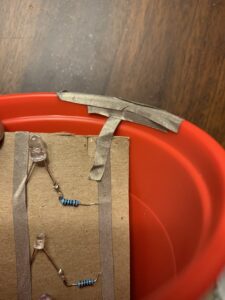
Step 3: Connect right side (resistor side) the cup Line the “back” of cup with copper tape to create a conductive surface

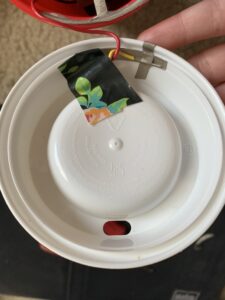
Step 4: Connect ground from battery pack to the lid of the cup. Line the edge of the lid with copper tape, this will create the switch to turn on the LED’s

Step 5: Snap lid on and twist to turn on the cup