The goal of this project was to make a musical instrument using wind-chime pipes and two servo motors. I was inspired to make something musically inclined by my Artist Presentation. I wanted to make something that interacted with light and sound such as in Janet Cardiff’s Experiment in F# Minor. Due to the COVID-19 pandemic the project had to be revised substantially, but the final project still had some of the elements that I wanted to put into it. Below you will be able to see how I completed the project and you may also be able improve upon it if you wish to make something similar :D!
Some of the materials needed to complete this project are listed below
Materials:
- Wind-Chime Pipes
- Arduino Uno
- Photoresistor
- 10 KΩ Resistor
- Scissors
- Box cutter
- Electrical Tape
- Alligator Clips
- Jumper Wires
- Cardboard
- 2x Servo Motors
- nuts & bolts
- servo motor shafts
- Glue Gun
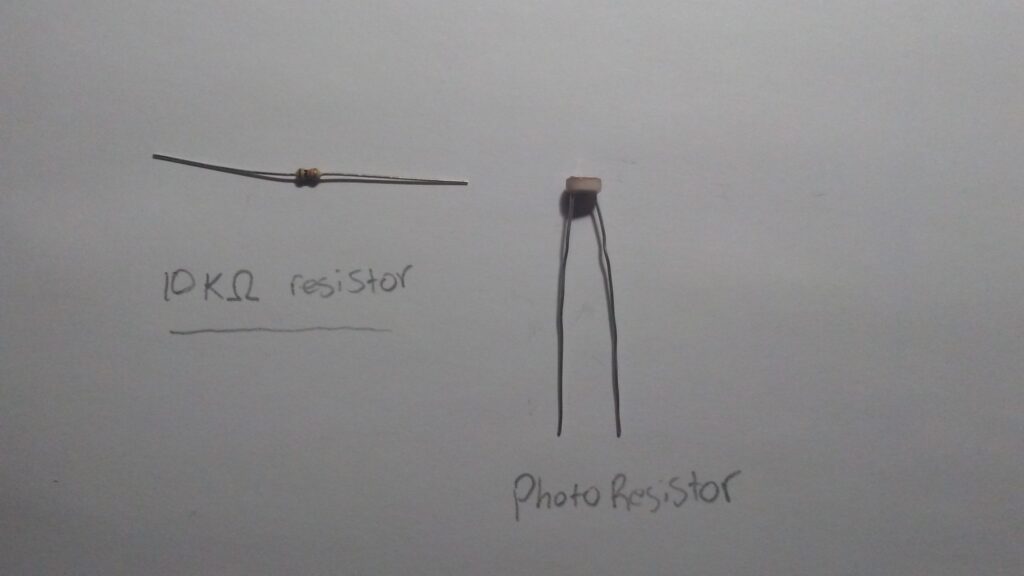
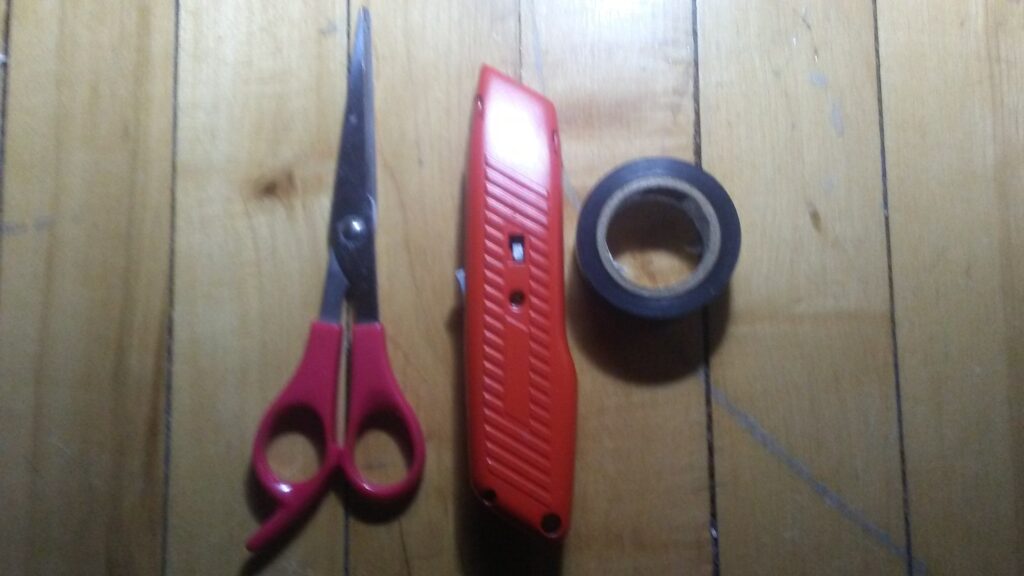
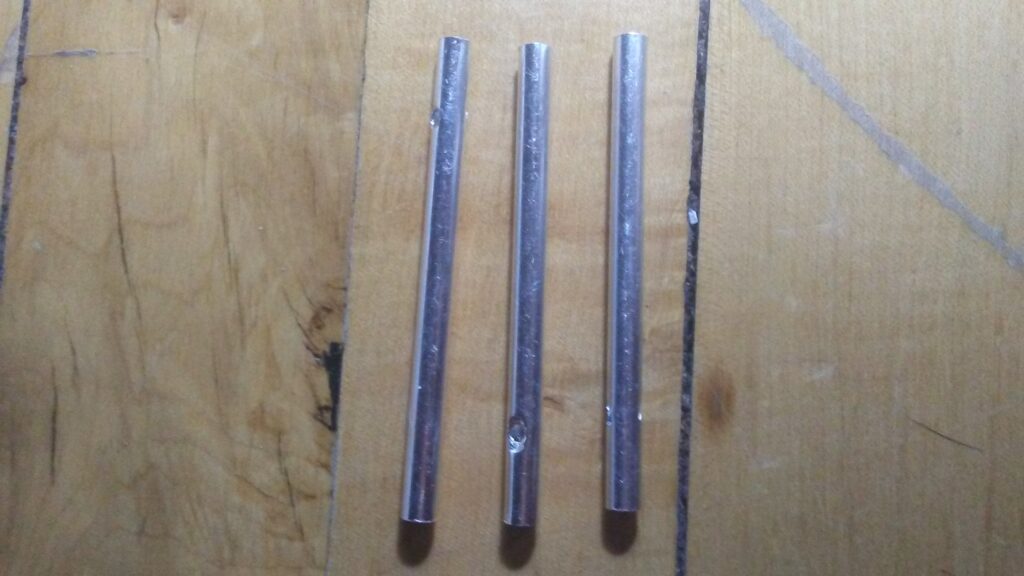
Figure 1. Wind Chime Pipes
To make the lever arm you need cardboard and some scissors/box cutter. The lever arm consists of 3 linkages: one 2 inch x 1 inch link, a 6 inch x 1 inch link, and a 12 in x 1 in link. Below is a drawing of the lever arm. Each link is attached by nuts and bolts. There is servo motor attached to each end and a photo resistor attached to the end of the 12 inch link.
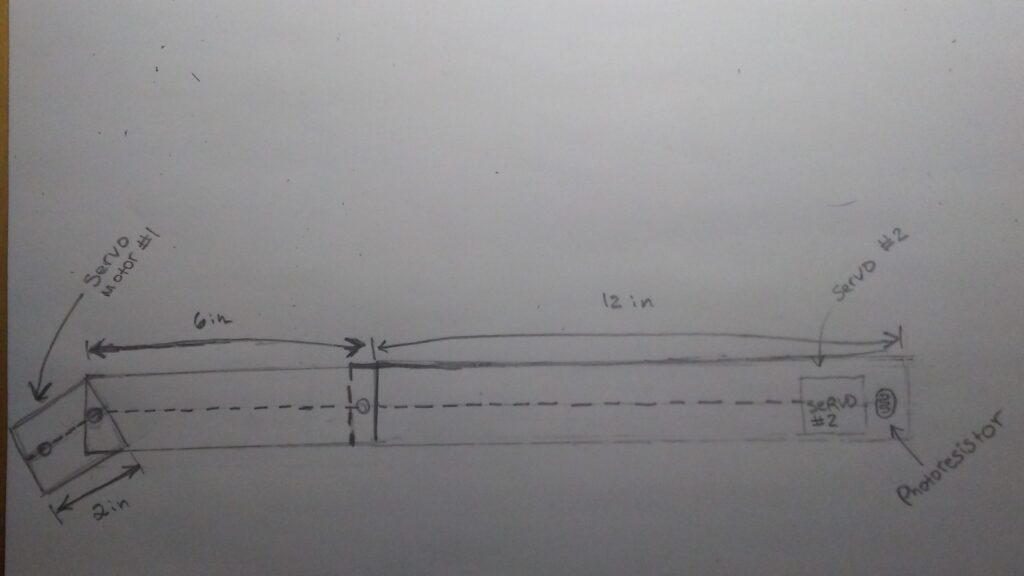
Figure 2. Lever Arm Schematic
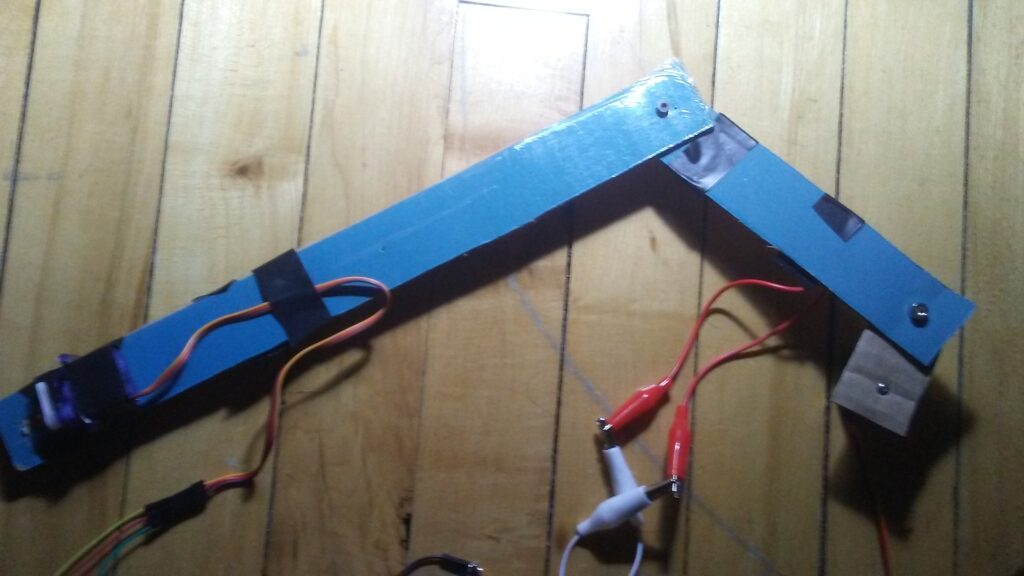
Figure 3. Lever Arm Top View
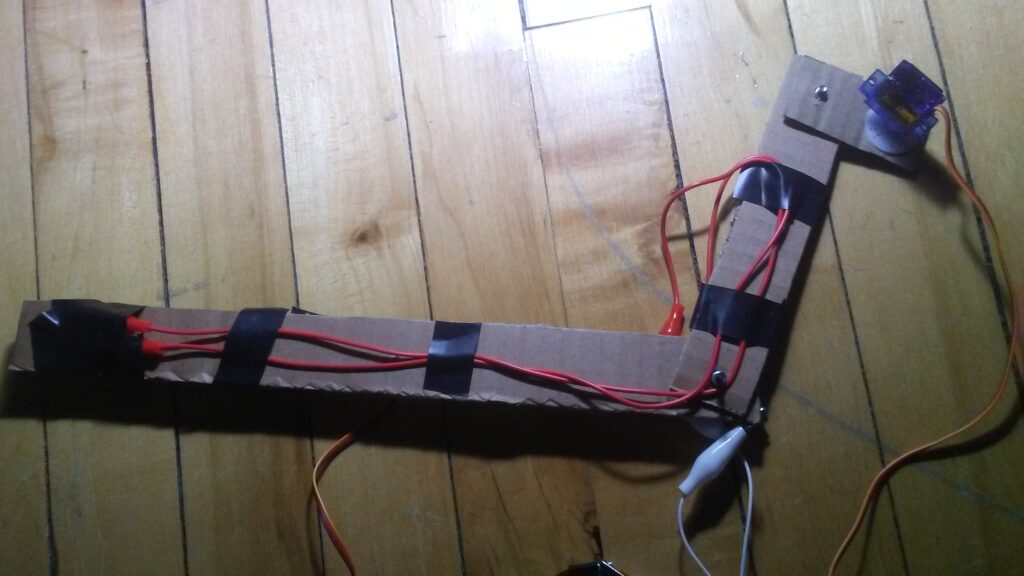
Figure 4. Lever Arm Bottom View
The wiring diagram for the above lever arm is shown below. It consists of 2 servo motors connected in Parallel. The servos are connected to pins 9 and 11 on the Arduino Uno. The photoresistor, and 10 KΩ resistor are in series with the servo motors.
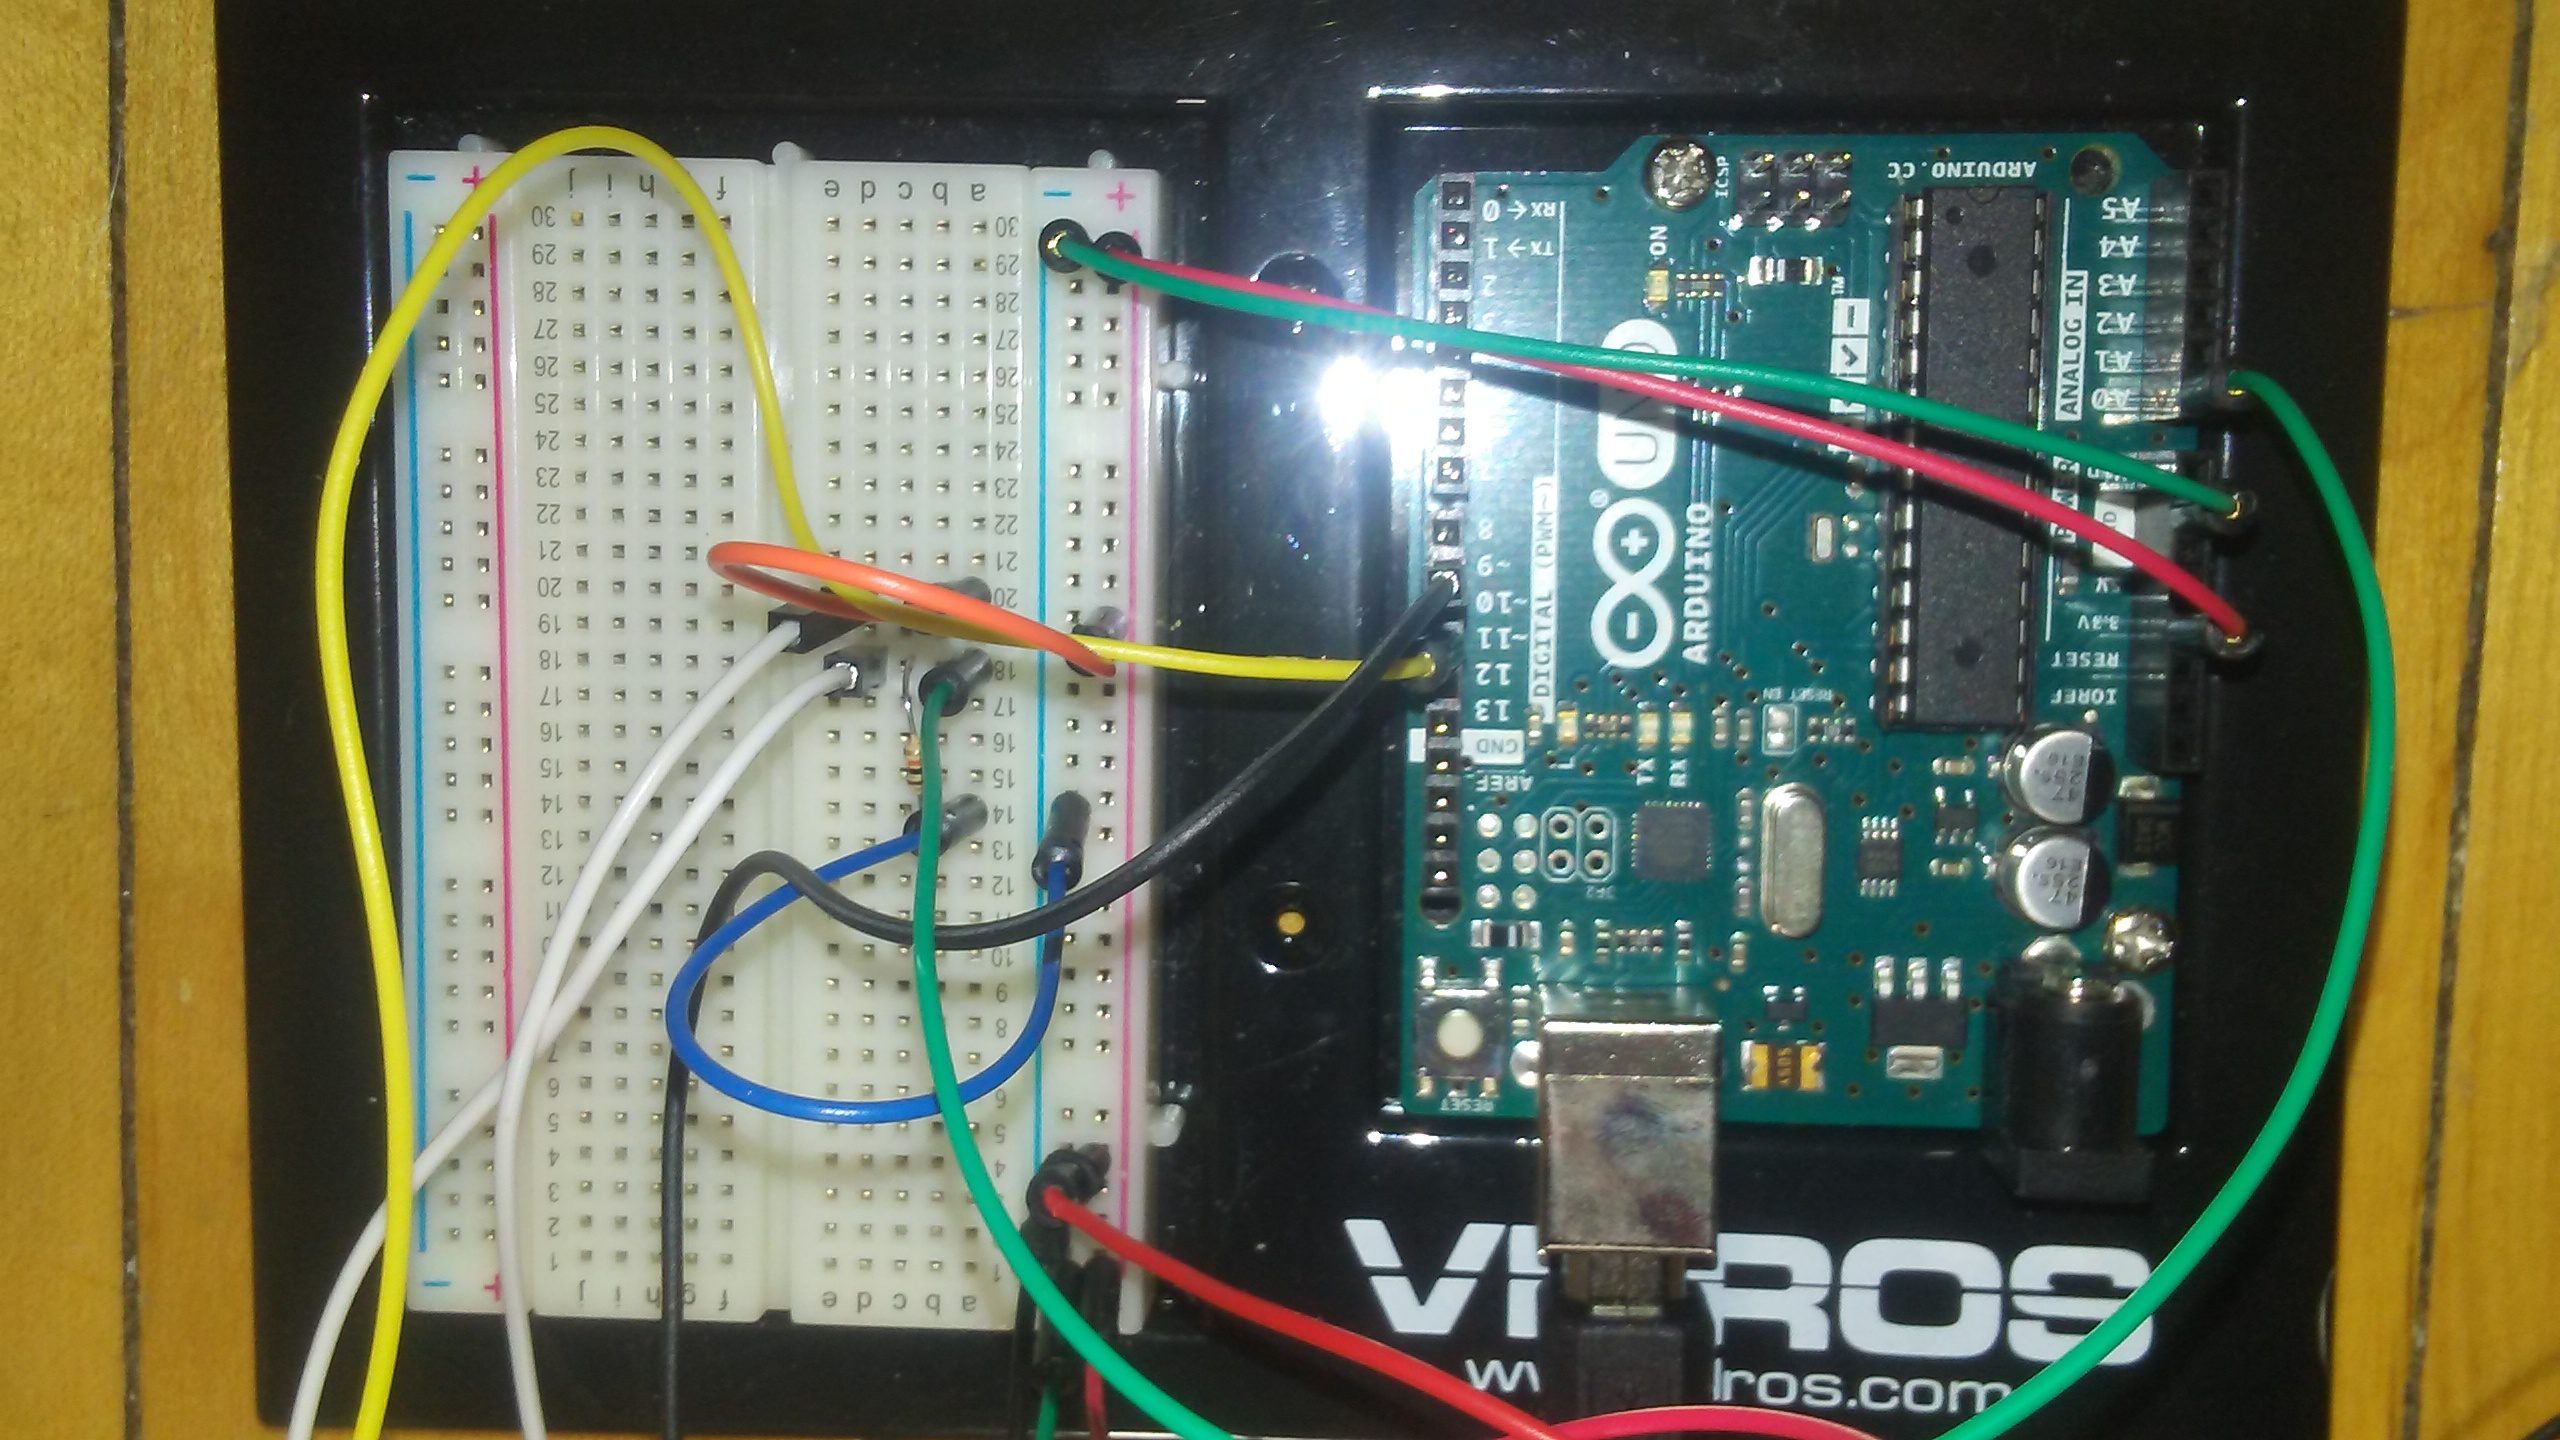
Figure 5. Arduino Uno wiring
Alligator Clips are used as extensions to the jumper wired by clipping one end to the pin and the other end to the photoresistor. The photoresistor is represented by the white jumper wire cables on the Arduino board above. The photoresistor reads values of light. On average, daylight will return a photoresistor value of ~700, otherwise direct sunlight can exceed this value and go up to 1000. The next step is to make the rack with the wind chimes. This is made using two pieces of cardboard and staggering the windchimes as shown below.
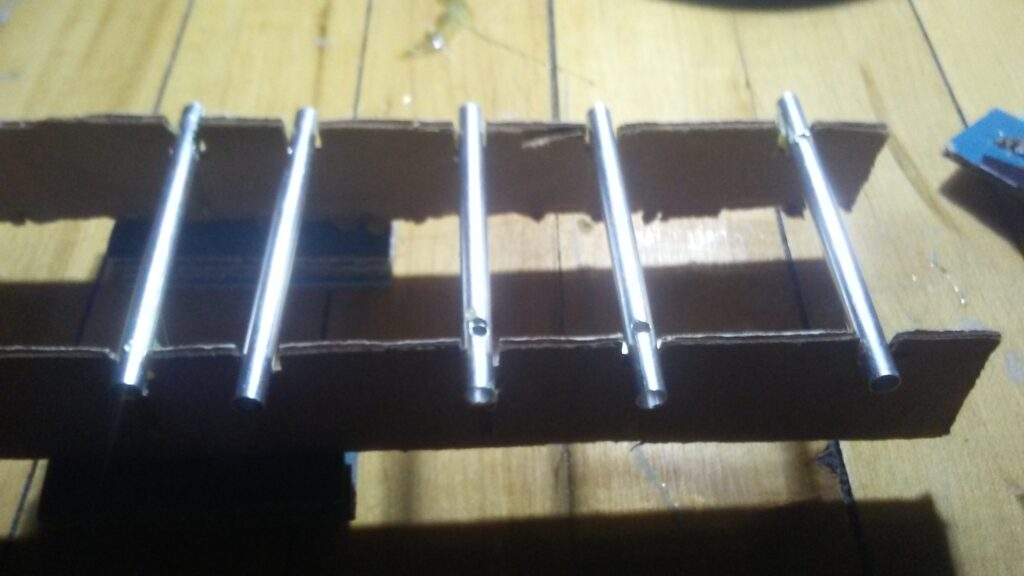
Figure 6. Windchime rack side view
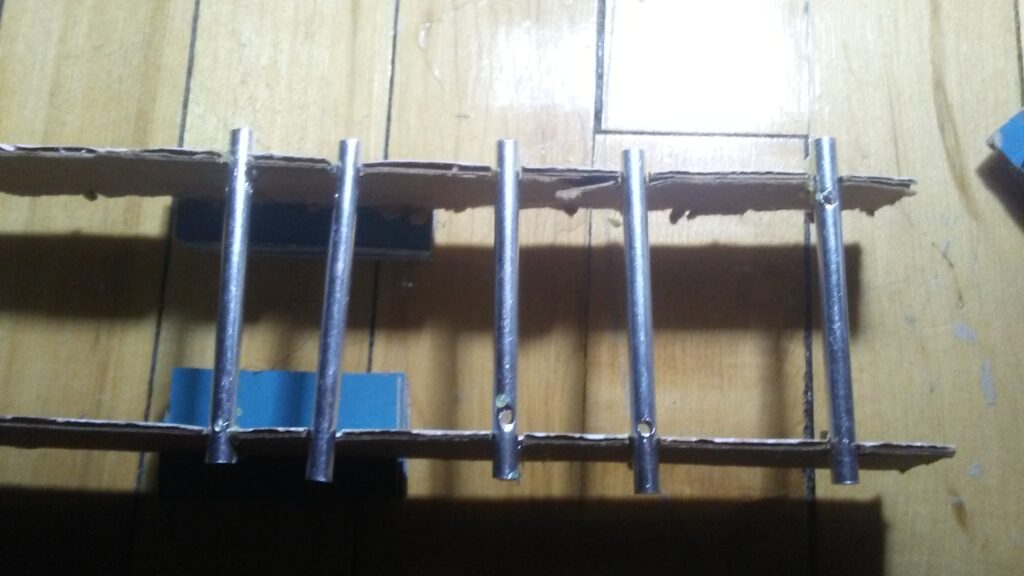
Figure 7. Windchime rack top view
The final assembly is shown below with the lever arm positioned underneath the rack system.
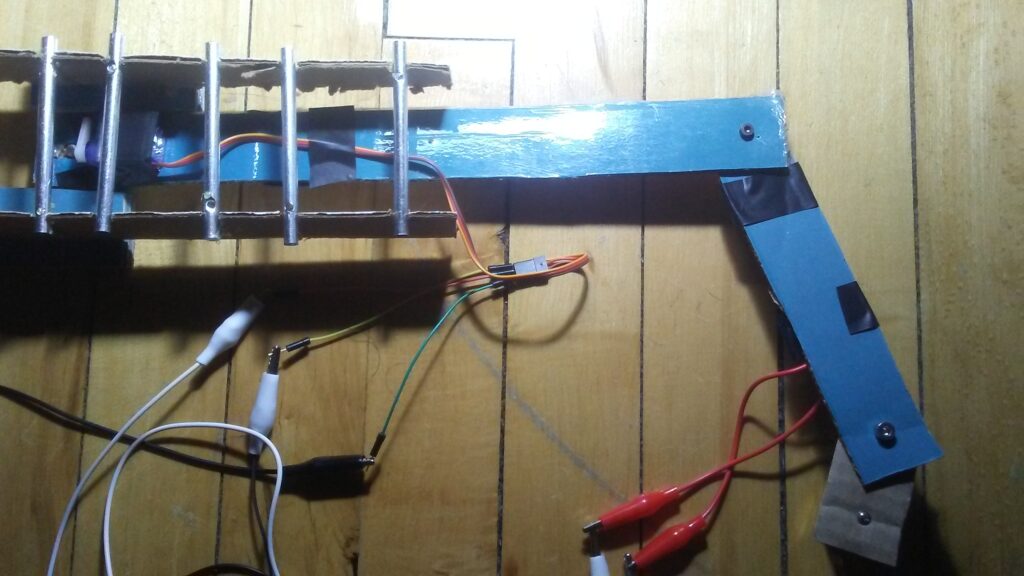
The concept is that once the photoresistor is an a position where it is underneath a wind-chime pipe it will trigger and hit the pipe. This will make a a different sound depending on each pipe. There are improvements that could be made such as changing the servomotor that hits the pipes into a solenoid. Using a different system to creat the linear motion that the lever arm makes could also improve the motion by making the movement happen in a constant velocity.
The Arduino code used to make this project possible is shown below:
// servo library
#include <Servo.h>
// Define Servo
Servo servo1;
Servo servo2;
int servoPos = 0; //servo position variable for controlled rotation
void setup() {
Serial.begin(9600);
servo1.write(0); //sets servo1 default to 0
servo2.write(0); //sets servo2 default to 0
servo1.attach(9); // attaches the servo on pin 9 to the servo object
servo2.attach(11); // attaches the servo on pin 11 to the servo object
}
void loop() {
int pResistor = analogRead(A0); // photoresistor set to pin A0
Serial.print(“Photoresistor Value: “); // prints “Photoresistor Value: ”
Serial.println(pResistor); // tracks the photoresistor value
// daylight ~700
if (pResistor < 400){ // once photoresistor is under an object activate servo that hits the pipe
servo1.write(60); // turns servo to 60 degrees
}
else {
servo1.write(0); // if photoresistor value is greater than 400 then we return it back to initial position
}
//rotate motor from 0 to 180 in steps
for (servoPos = 0; servoPos < 150; servoPos ++){
servo2.write(servoPos);
delay(10);
}
// once motor rotates to 180 the servo position decreases to original position
for (servoPos = 150; servoPos > 0; servoPos –){
servo2.write(servoPos);
delay(10);
}
}
Video: