Title: Mood Light
Purpose: To express emotion using no language.
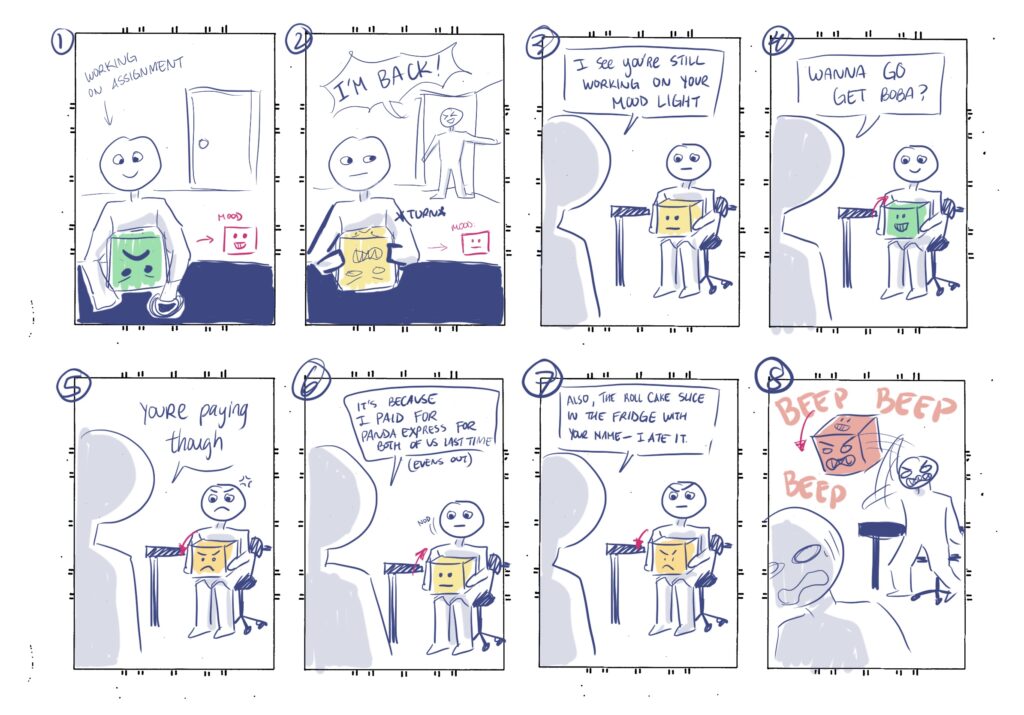
Inspiration: I was inspired by reversible plushies and how the mad and happy expression on the object depicted the emotion of the user by the way the user flips it. In this instance, depending on the face of the cube a specific emotion is expressed.
Example:
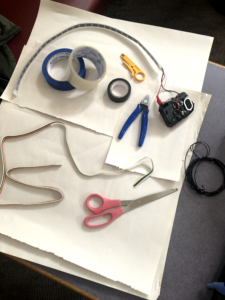
Materials
- Two 18” x 24” pieces of paper (I used newsprint because the paper is pretty thin, and I would like the from the neopixel strip to be seen through more easily)
- One 6” x 24” piece of paper (For the faces)
- Wire (Something sturdy to strengthen the paper once folded to a cube, you could opt this out for skewers)
- NeoPixel Strip
- Circuit Playground
- Speaker
- Battery Pack + Batteries
- Rainbow Wire (Preferably different colors to separate ground, Voltage, and signal)
- Wire Cutters
- Scissors
- Wire Stripper
- Painter’s tape
- Clear Tape
- Electrical Tape
Part 1: Code
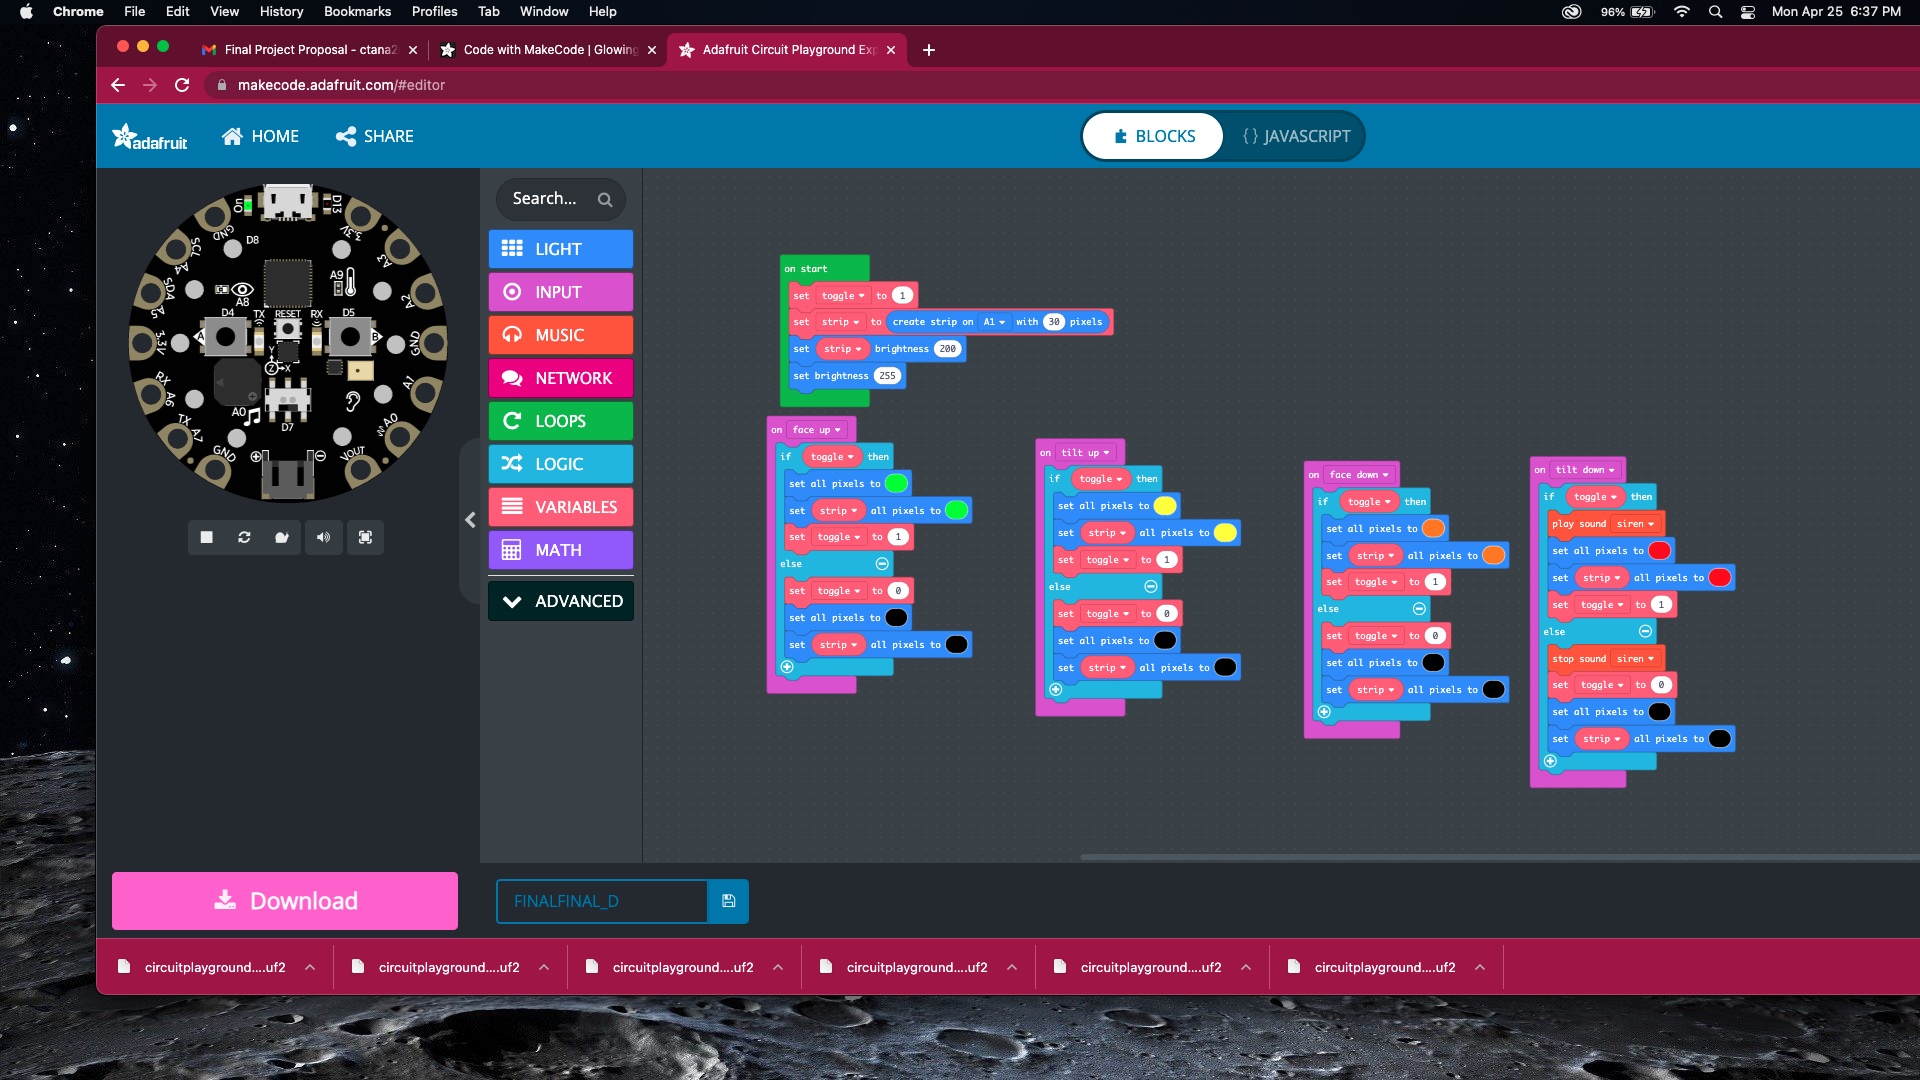
Using MakeCode, create the code for circuit playground. In this case, based on the tilting of the playground it will display a different colored light onto itself and the neopixel strip, and make a sound on the red light.
input.onGesture(Gesture.FaceUp, function () {
if (toggle) {
light.setAll(0x00ff00)
strip.setAll(0x00ff00)
toggle = 1
} else {
toggle = 0
light.setAll(0x000000)
strip.setAll(0x000000)
}
})
input.onGesture(Gesture.TiltUp, function () {
if (toggle) {
light.setAll(0xffff00)
strip.setAll(0xffff00)
toggle = 1
} else {
toggle = 0
light.setAll(0x000000)
strip.setAll(0x000000)
}
})
input.onGesture(Gesture.FaceDown, function () {
if (toggle) {
light.setAll(0xff8000)
strip.setAll(0xff8000)
toggle = 1
} else {
toggle = 0
light.setAll(0x000000)
strip.setAll(0x000000)
}
})
input.onGesture(Gesture.TiltDown, function () {
if (toggle) {
music.siren.play()
light.setAll(0xff0000)
strip.setAll(0xff0000)
toggle = 1
} else {
music.siren.stop()
toggle = 0
light.setAll(0x000000)
strip.setAll(0x000000)
}
})
let strip: light.NeoPixelStrip = null
let toggle = 0
toggle = 1
strip = light.createStrip(pins.A1, 30)
strip.setBrightness(200)
light.setBrightness(255)
Part 2: Internal Construction
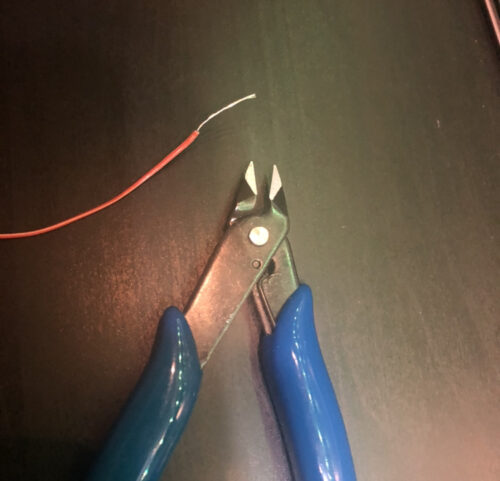
Cut and Strip your rainbow wire for the speaker and the battery pack
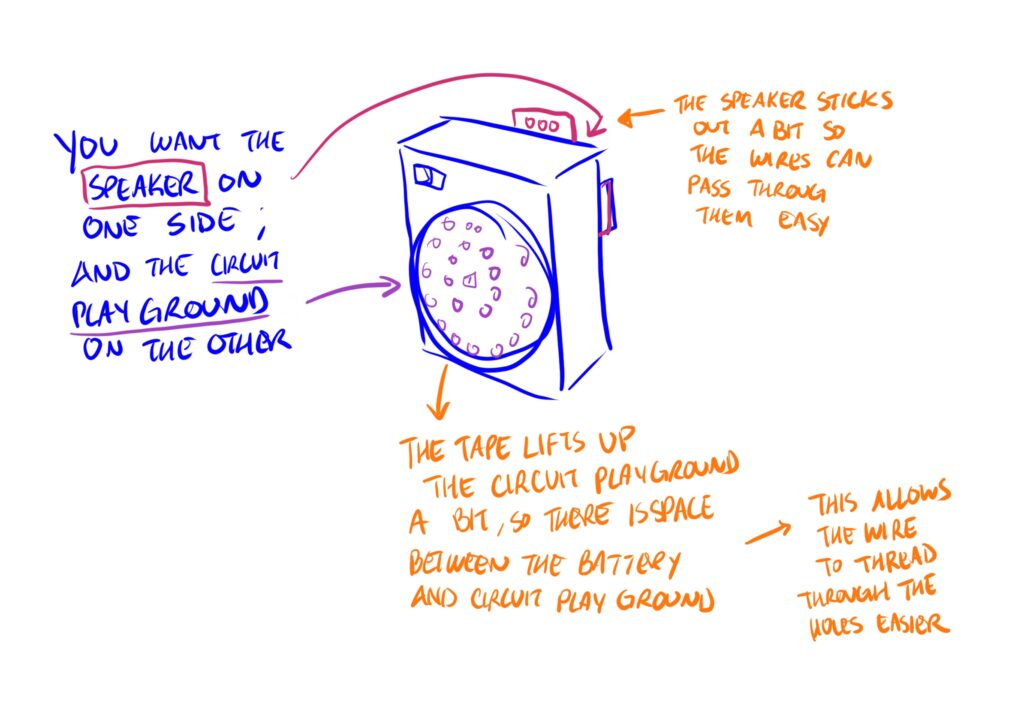
Using Painter’s tape, attach the circuit playground and speaker onto different sides of the battery pack. The painter’s tape is used so that the objects are stuck to each other, but if the project needs to be deconstructed, like for replacing batteries, then it can easily be removed.
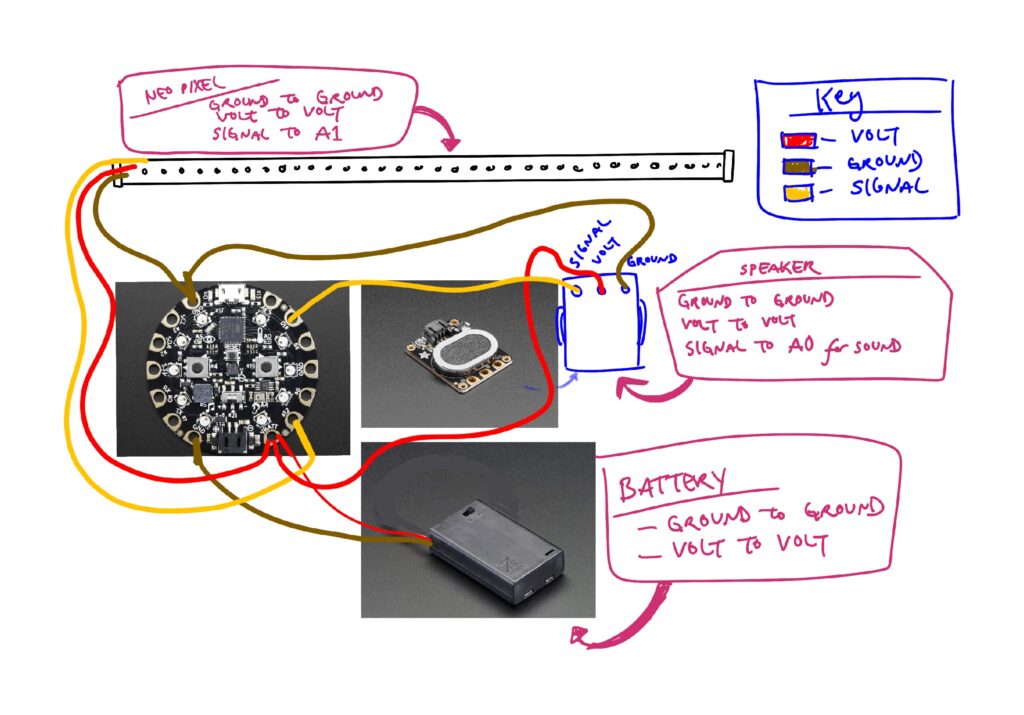
I forgot to take pictures, but this is how the wiring would go with the speaker/battery pack onto the circuit playground. Loop the ends of the rainbow wire through the designated parts of the circuit playground and cover any exposed wire with electrical tape.
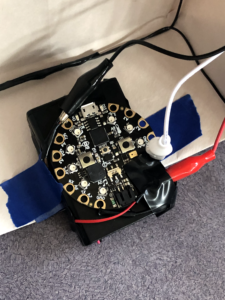
If rainbow wire is too long, use electrical tape to tape onto the battery pack. It will look cleaner, and the loose wires would not get in the way when attaching it into the box.
Part 3: External Construction
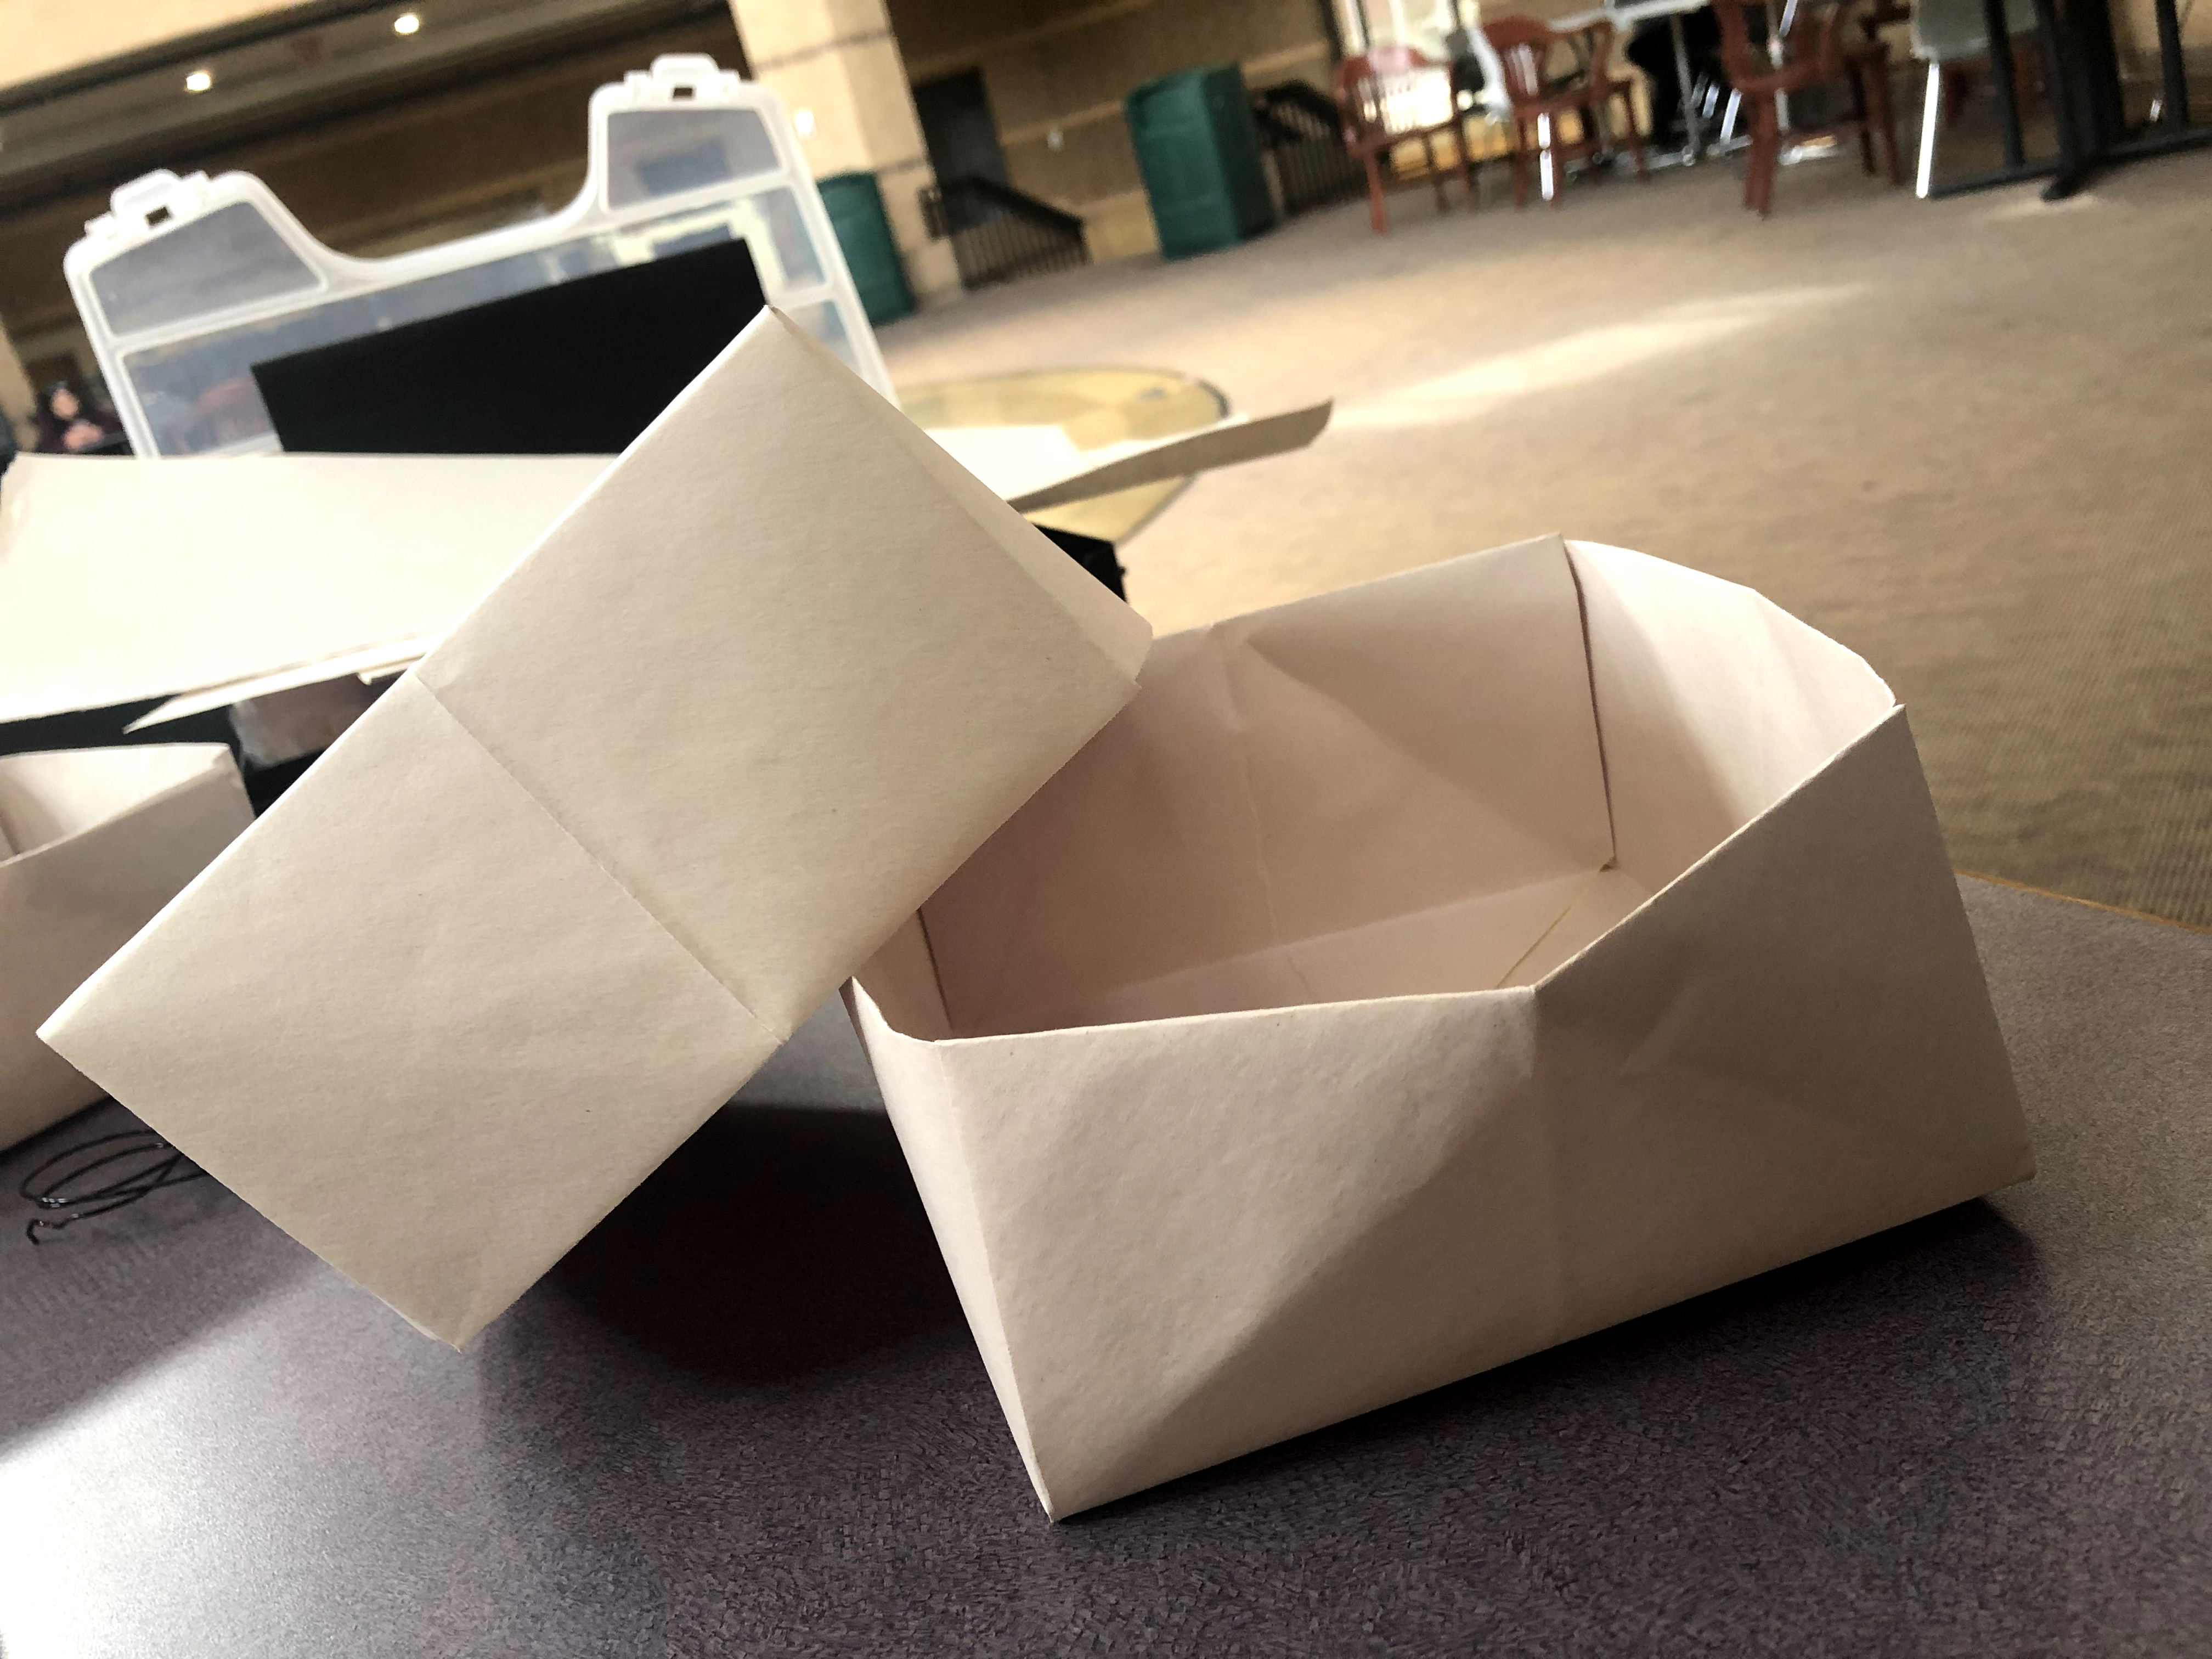
Create 2 Origami boxes
http://www.origami-instructions.com/origami-box.html
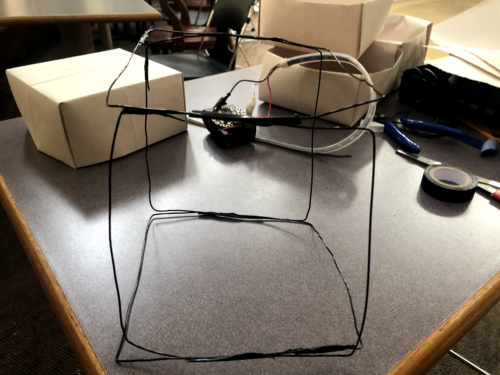
Using the strong wire, create a frame for the origami boxes. I created 4 squares that matched the perimeter of the square face of the origami boxes. I taped the 4 squares side by side, and taped the first and last square’s sides together in order to make the frame.
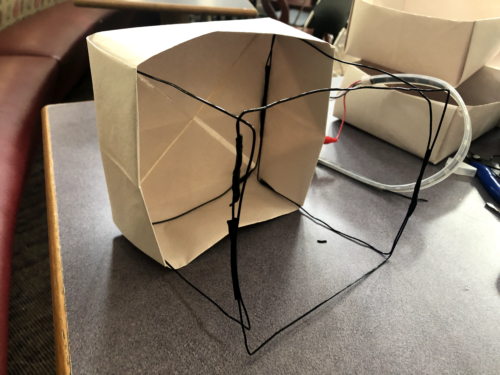
Insert the frame into one of the origami boxes
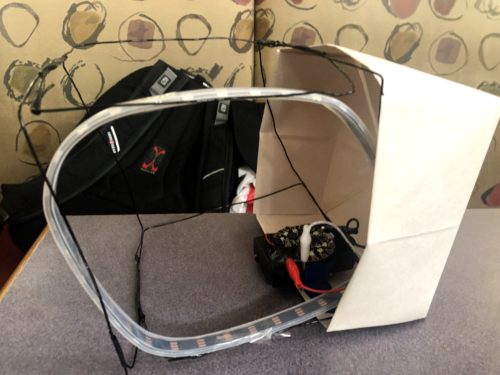
Using painter’s tape, attach the internal part onto the middle of the bottom rectangle side of the cube. Attach the neopixel strip to one side of the wire frame using clear tape, so the light can be seen through its transparency.
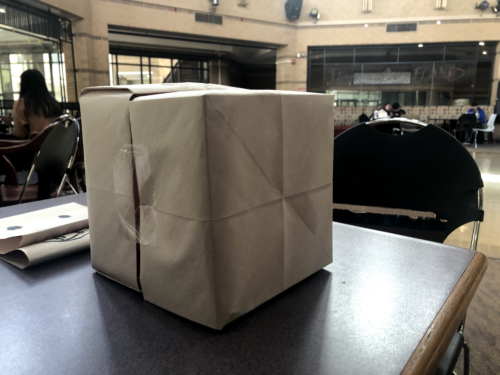
Attach a second origami box and tape the two boxes together using the clear tape.
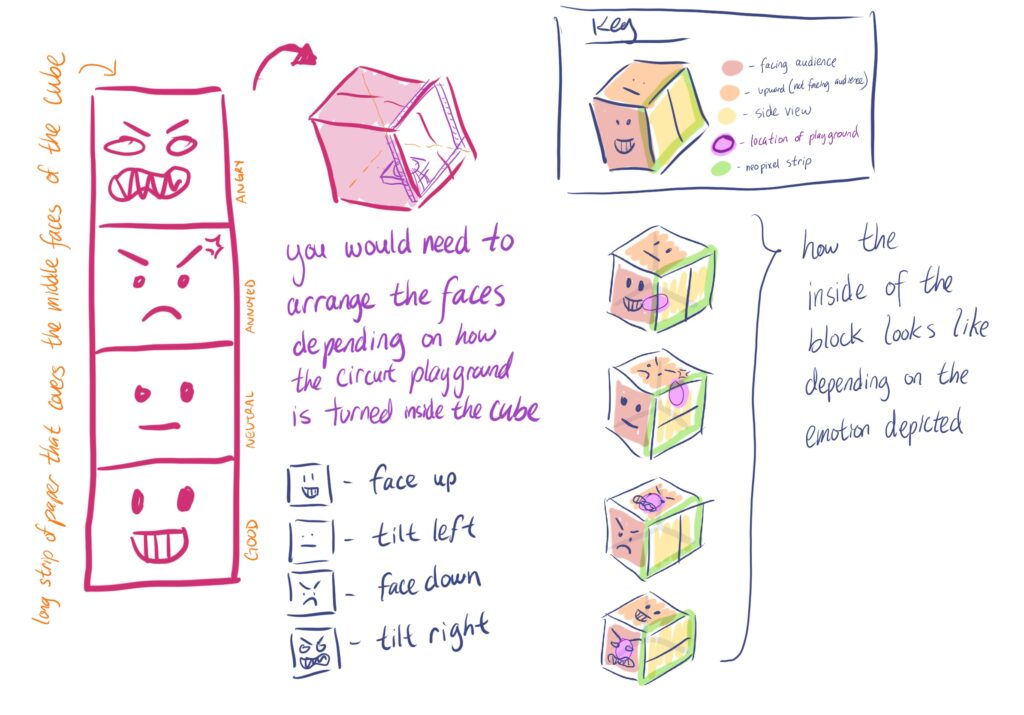
Using the 6’ x 24” pieces of paper create the faces. Divide the paper into 4 squares for each emotion and follow the flow of the diagram above. It needs to be in this certain position in order to express the emotion in relation to the colored light.
Video of box in use:
— Cheri Tanamal
