Materials:
- Graphite pencil
- Encaustic medium
- Natural brushes (the rough ones)
- Ceramic needle tool
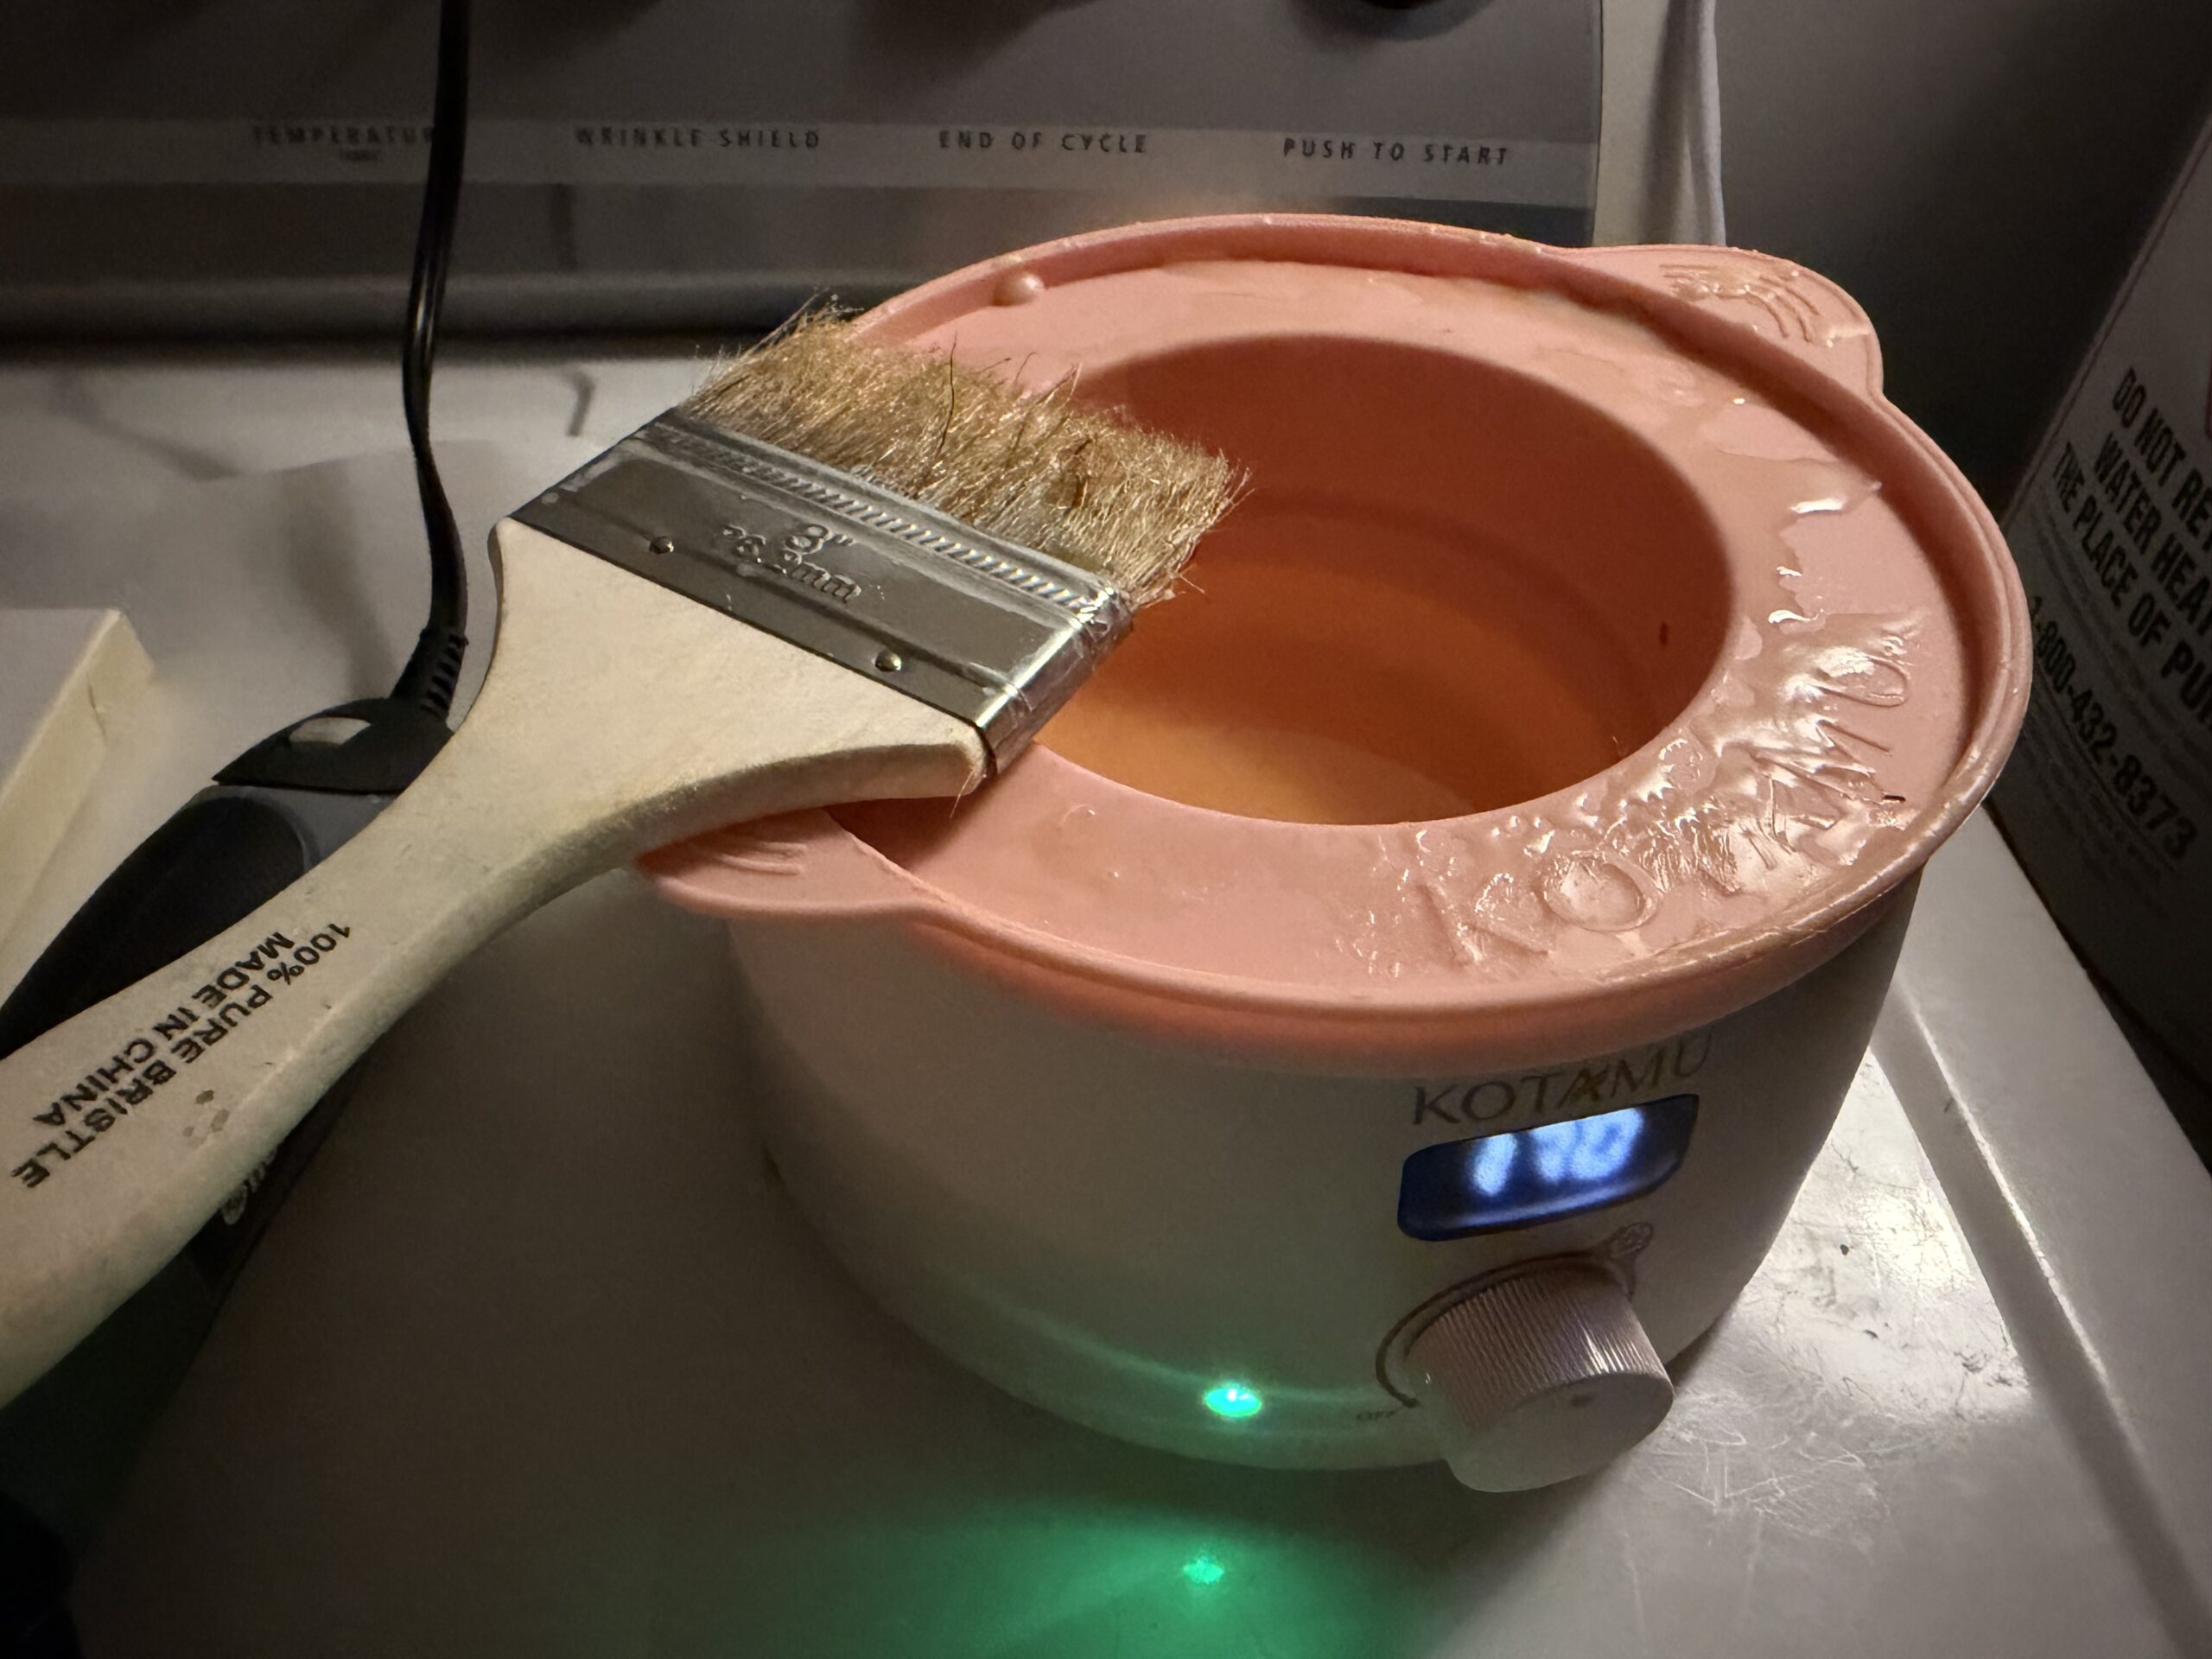
- Wax warmer pot
- Heat gun
- Canvas
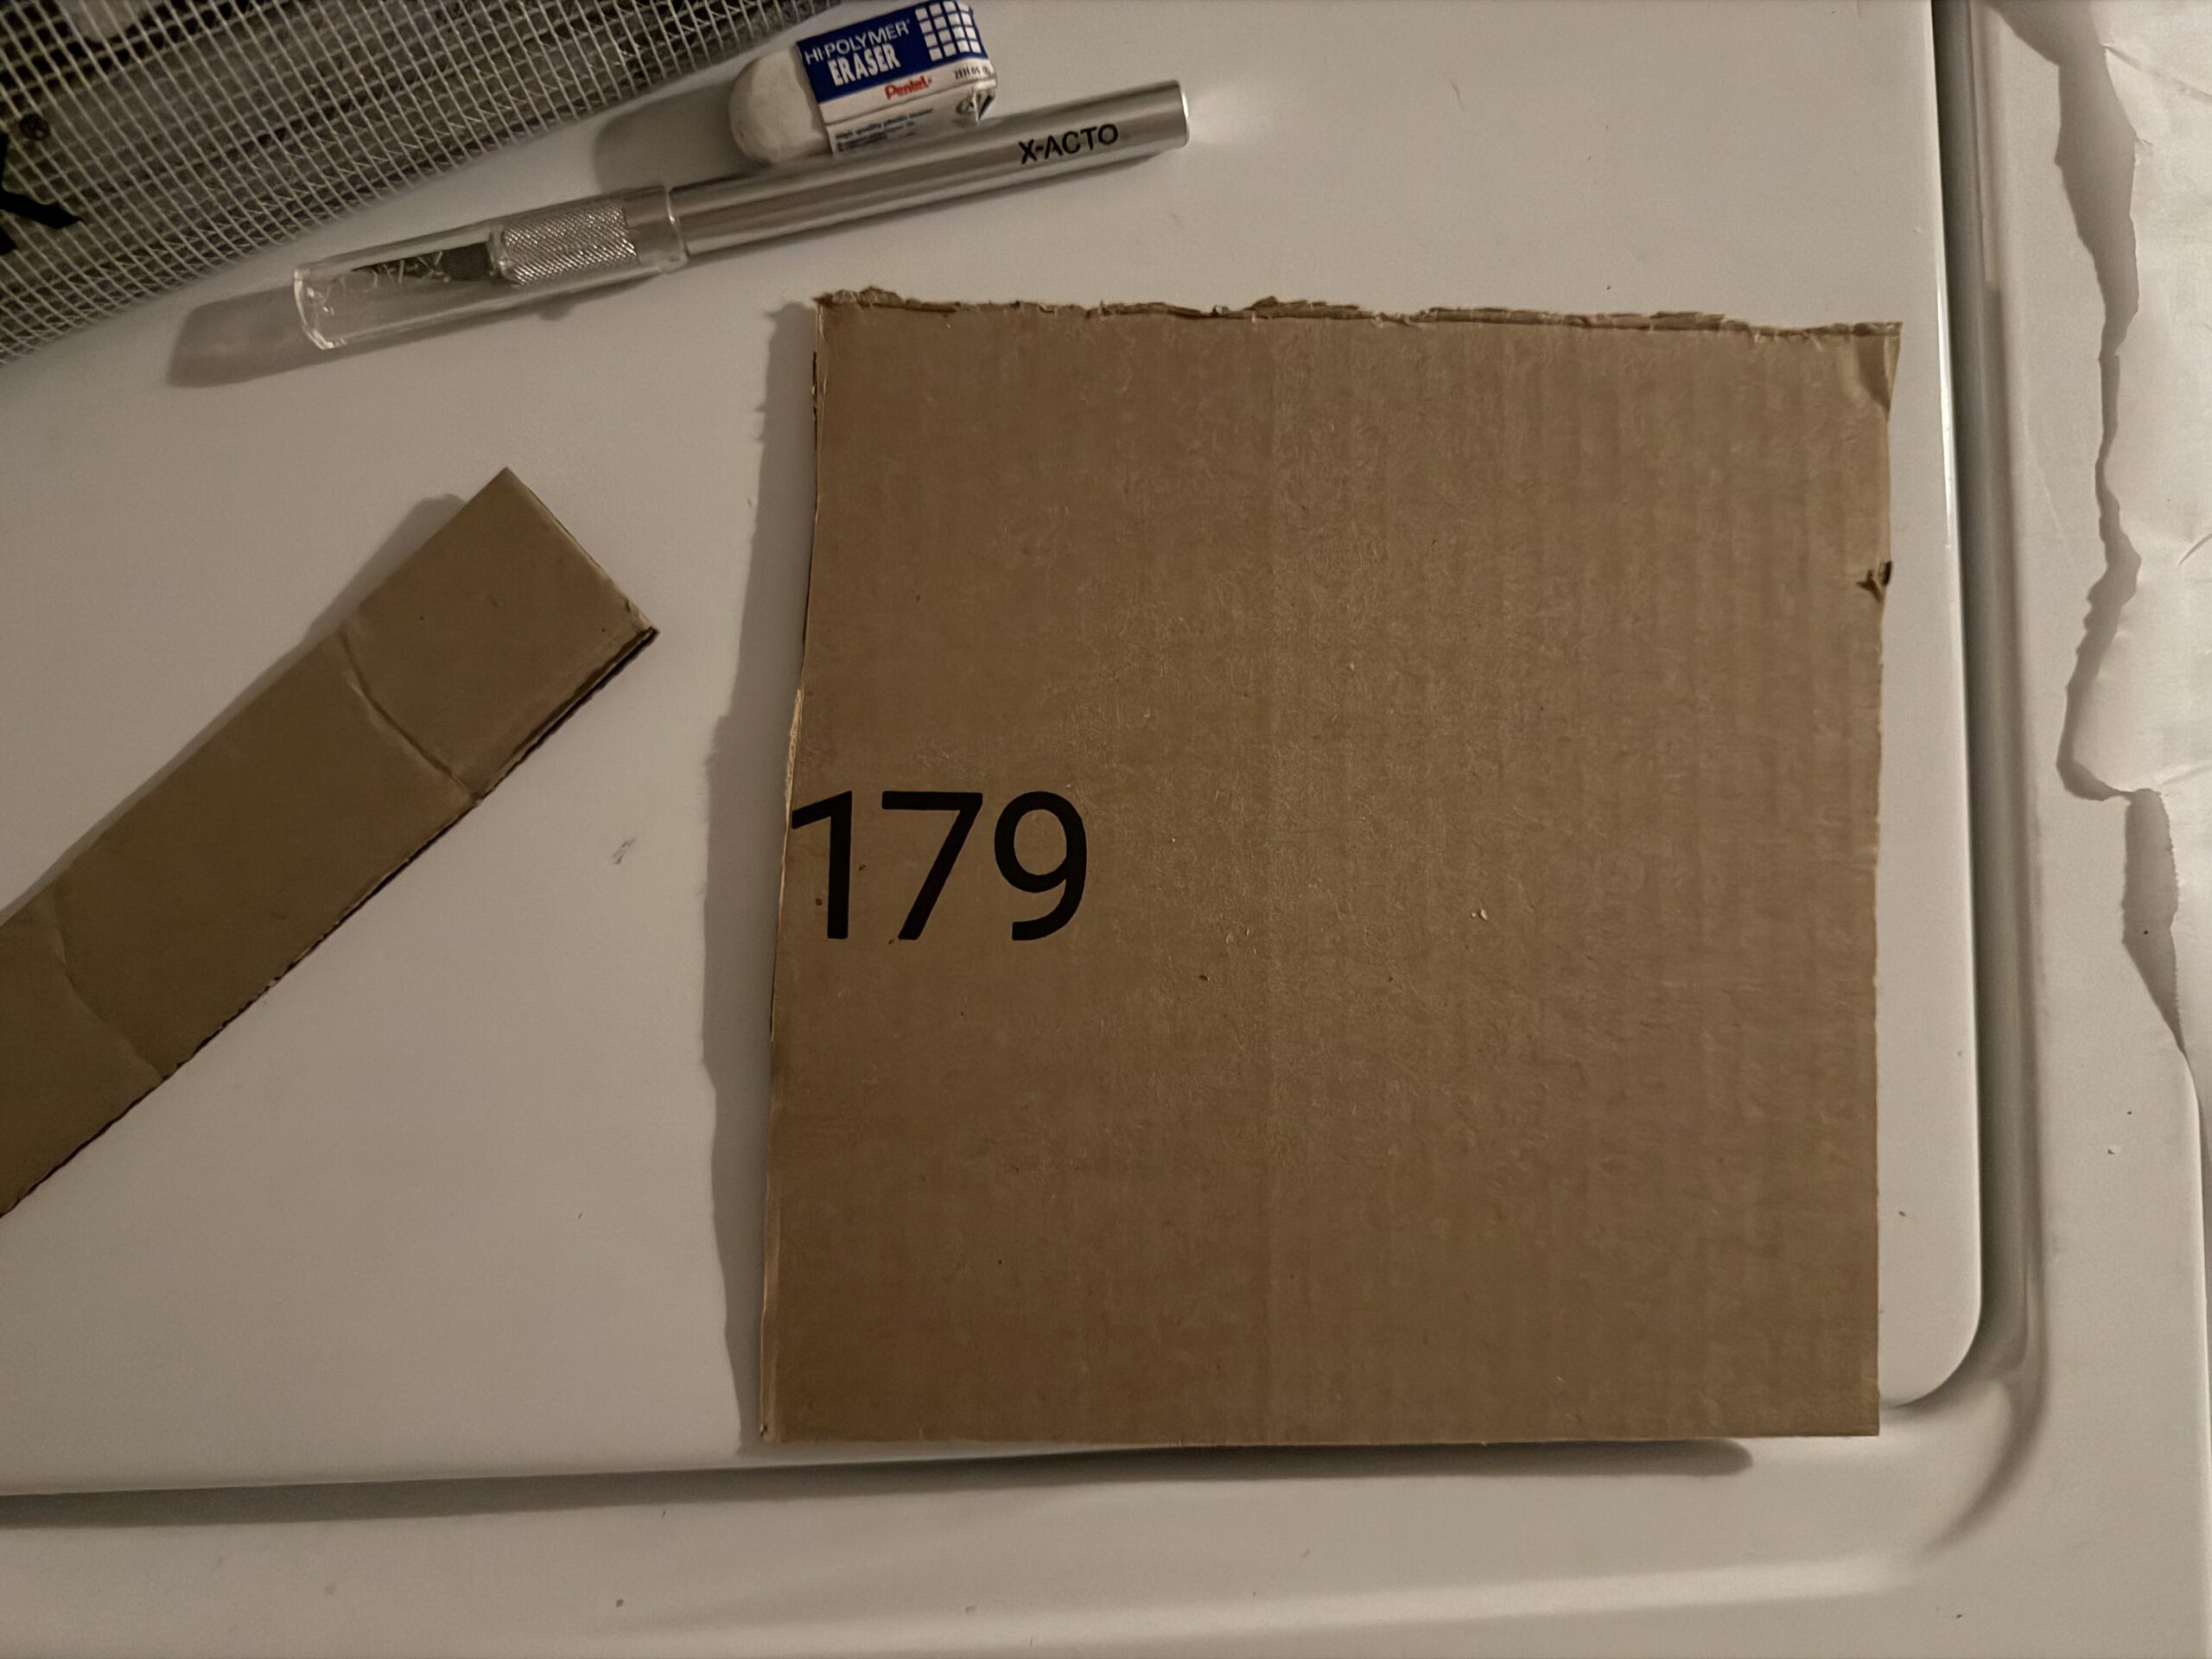
- Cardboard
- Masking tape
- Neopixel LED strip with alligator clips
- 4 1.5v AA batteries
- 6v battery holder
- Jack plug adapter barrel connector
- 2 pin jst connector
- Mini screwdriver
- CPX
- Inkjet printer
- Paper
Instructions:
- Cut out a piece of cardboard that fits the back of your canvas appropriately. (Optional)

- Preheat encaustic medium in wax warmer pot. Make sure you know what temperature to bring the wax to!
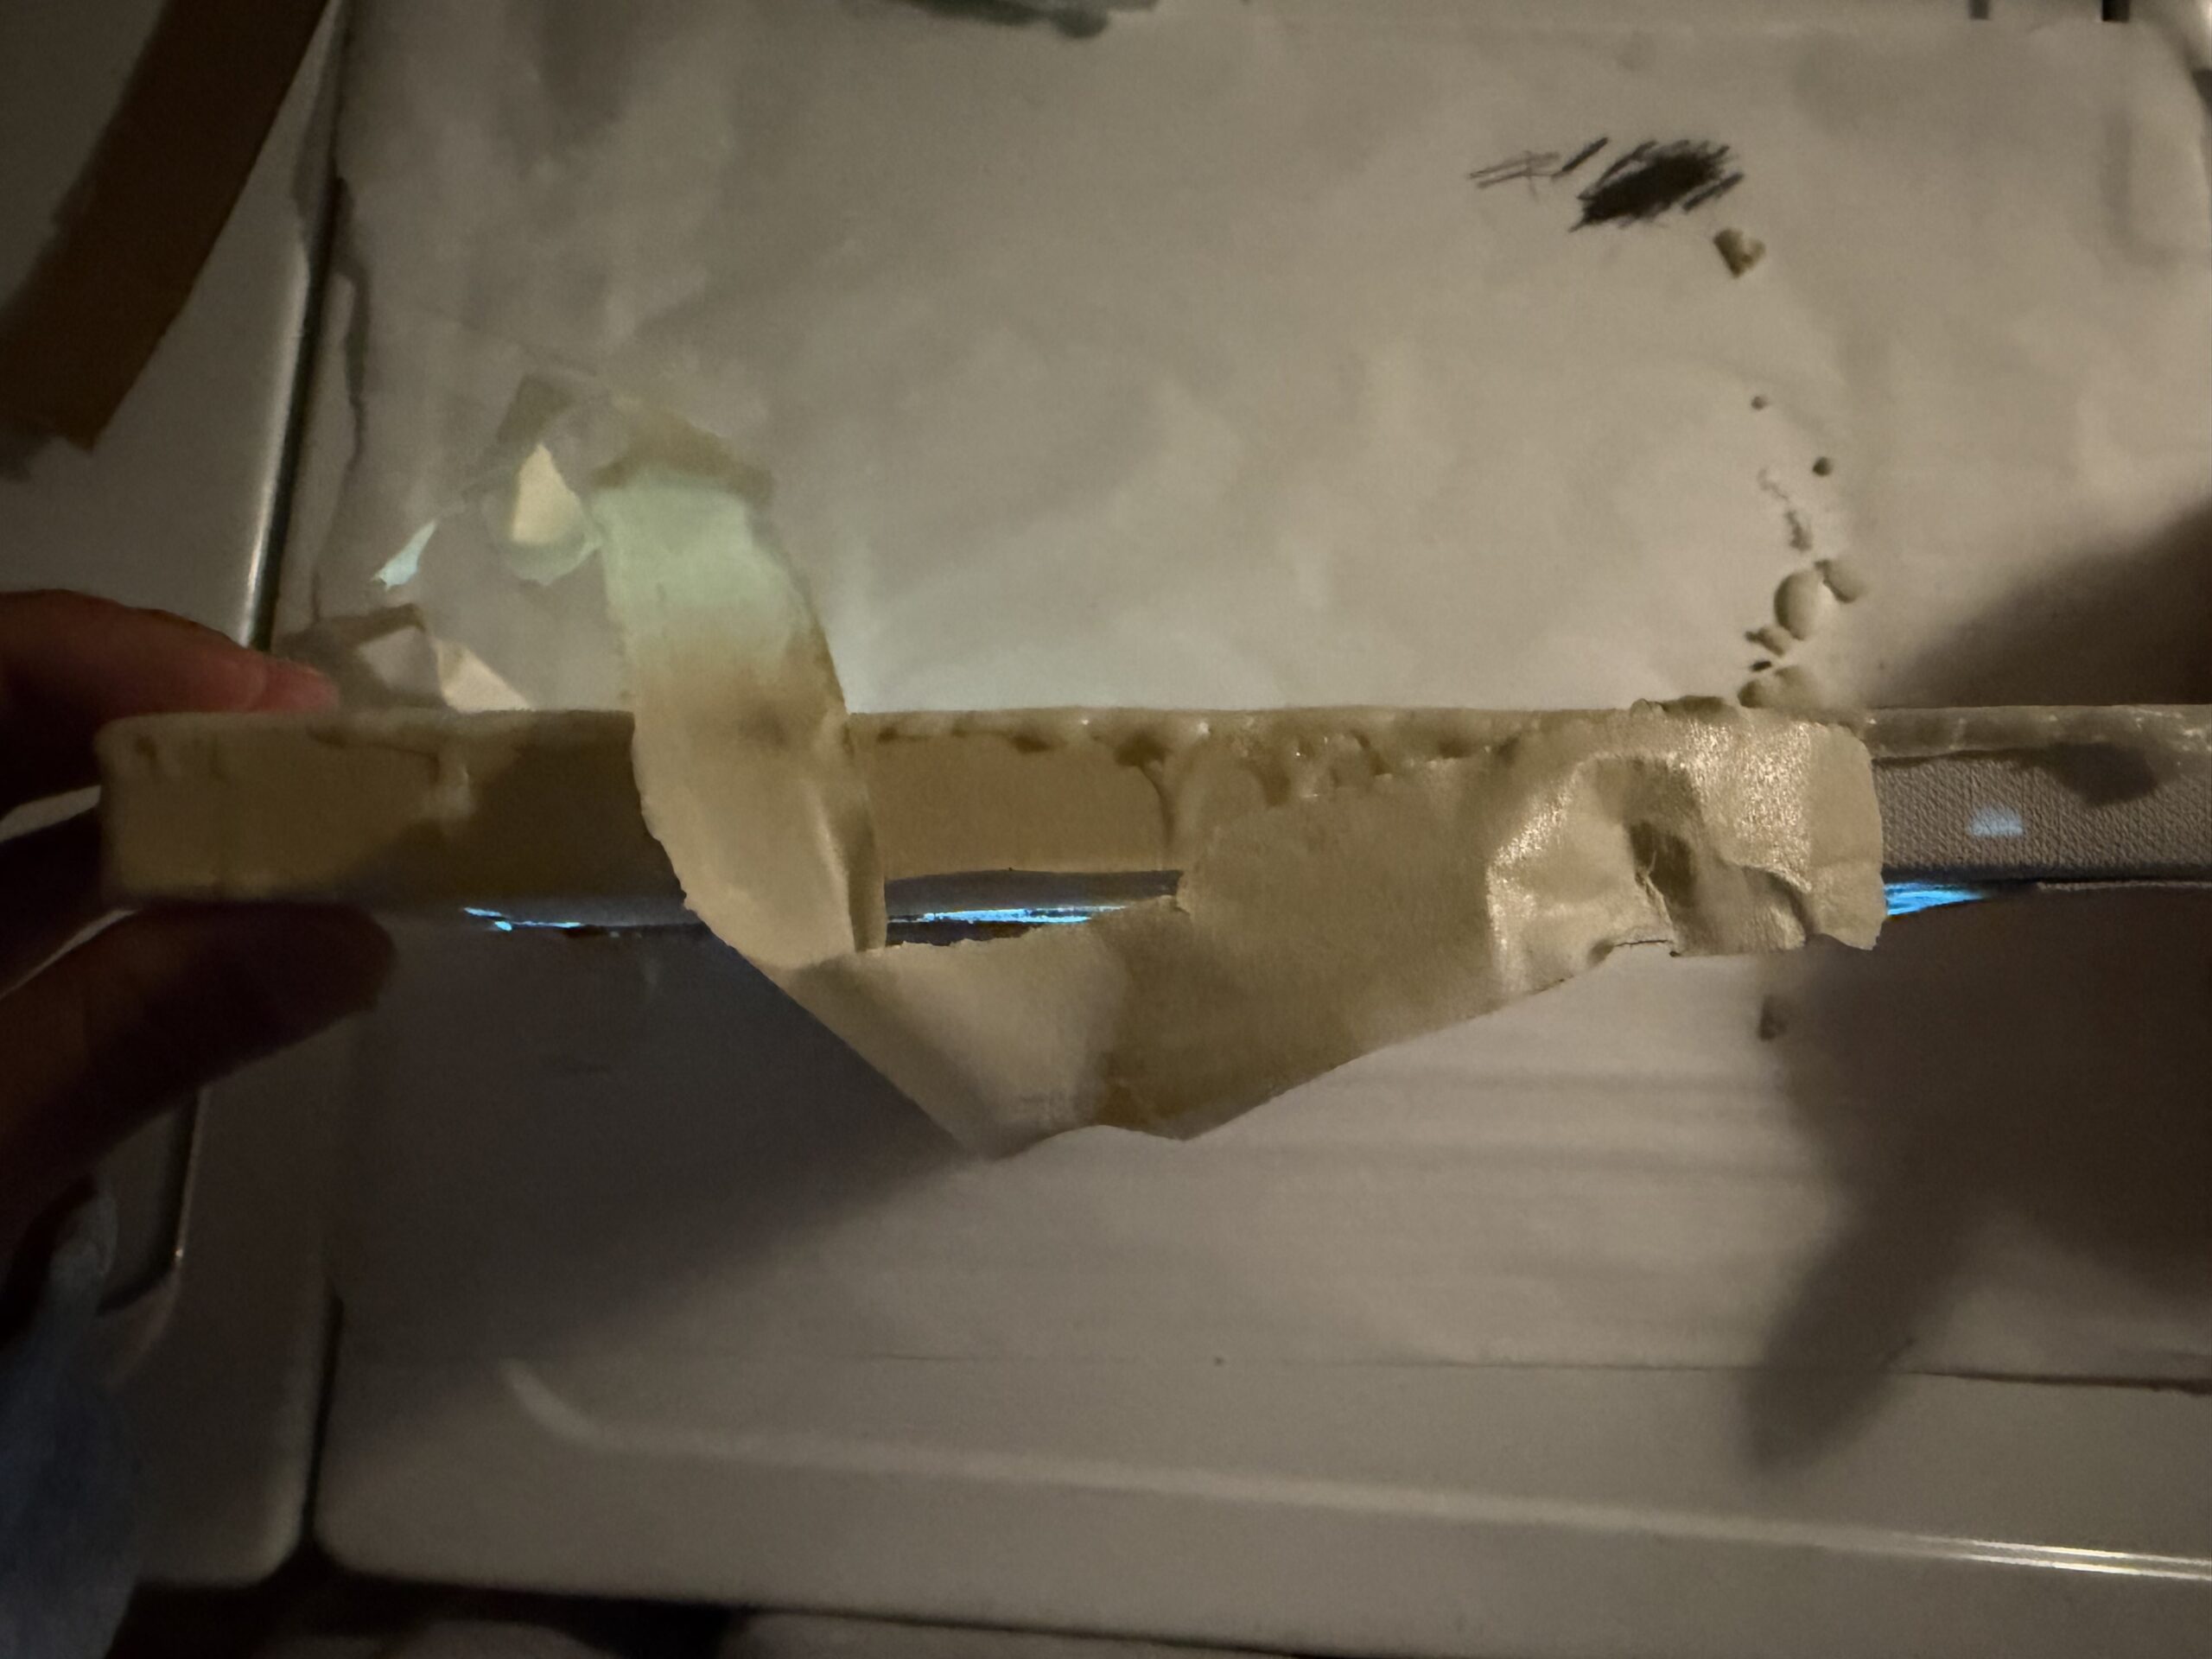
- Using masking tape, line the sides of your canvas. This allows for easy cleanup and removes any unnecessary wax that may drip onto the sides of your canvas.
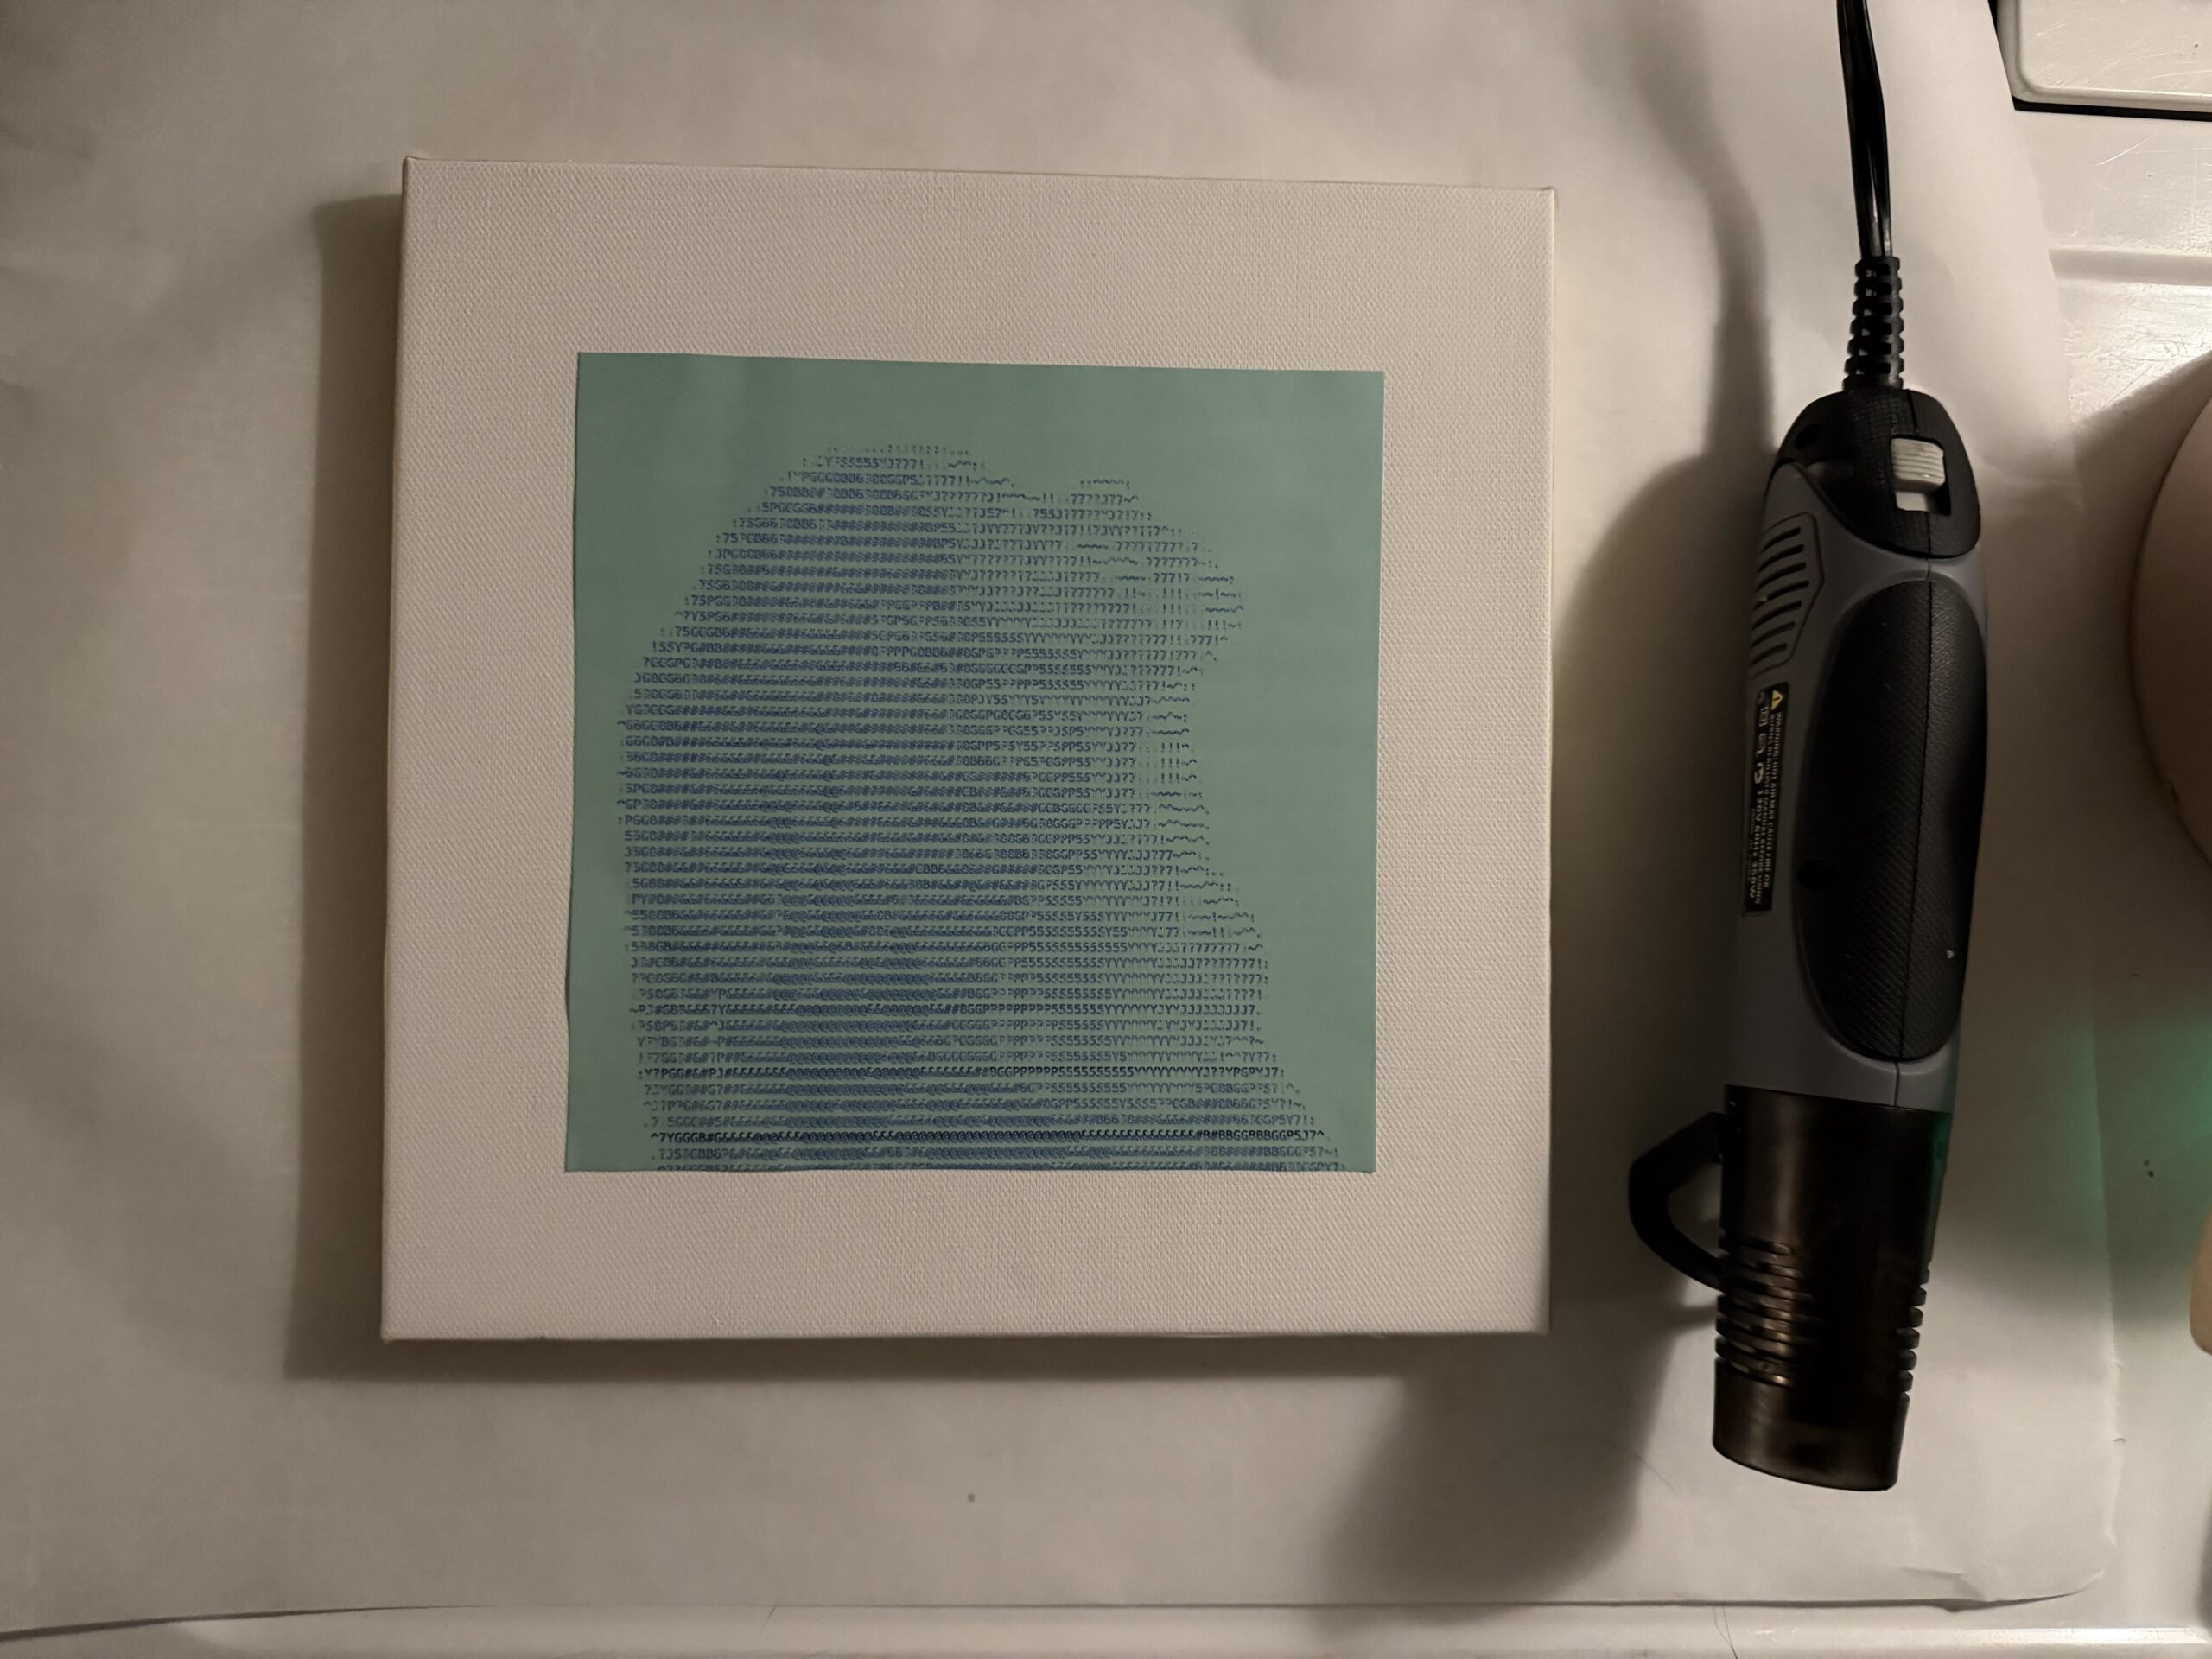
- Choose desired photo you want to include within your encaustic piece. Print and cut your sheet as necessary and put into desired position on canvas.
- Line your workspace with newspaper or anything else disposable. This makes cleanup so much quicker.
- Once your encaustic medium has heated through, use your natural brush to lay an even layer of wax over your canvas. Don’t worry about the messy streaks!
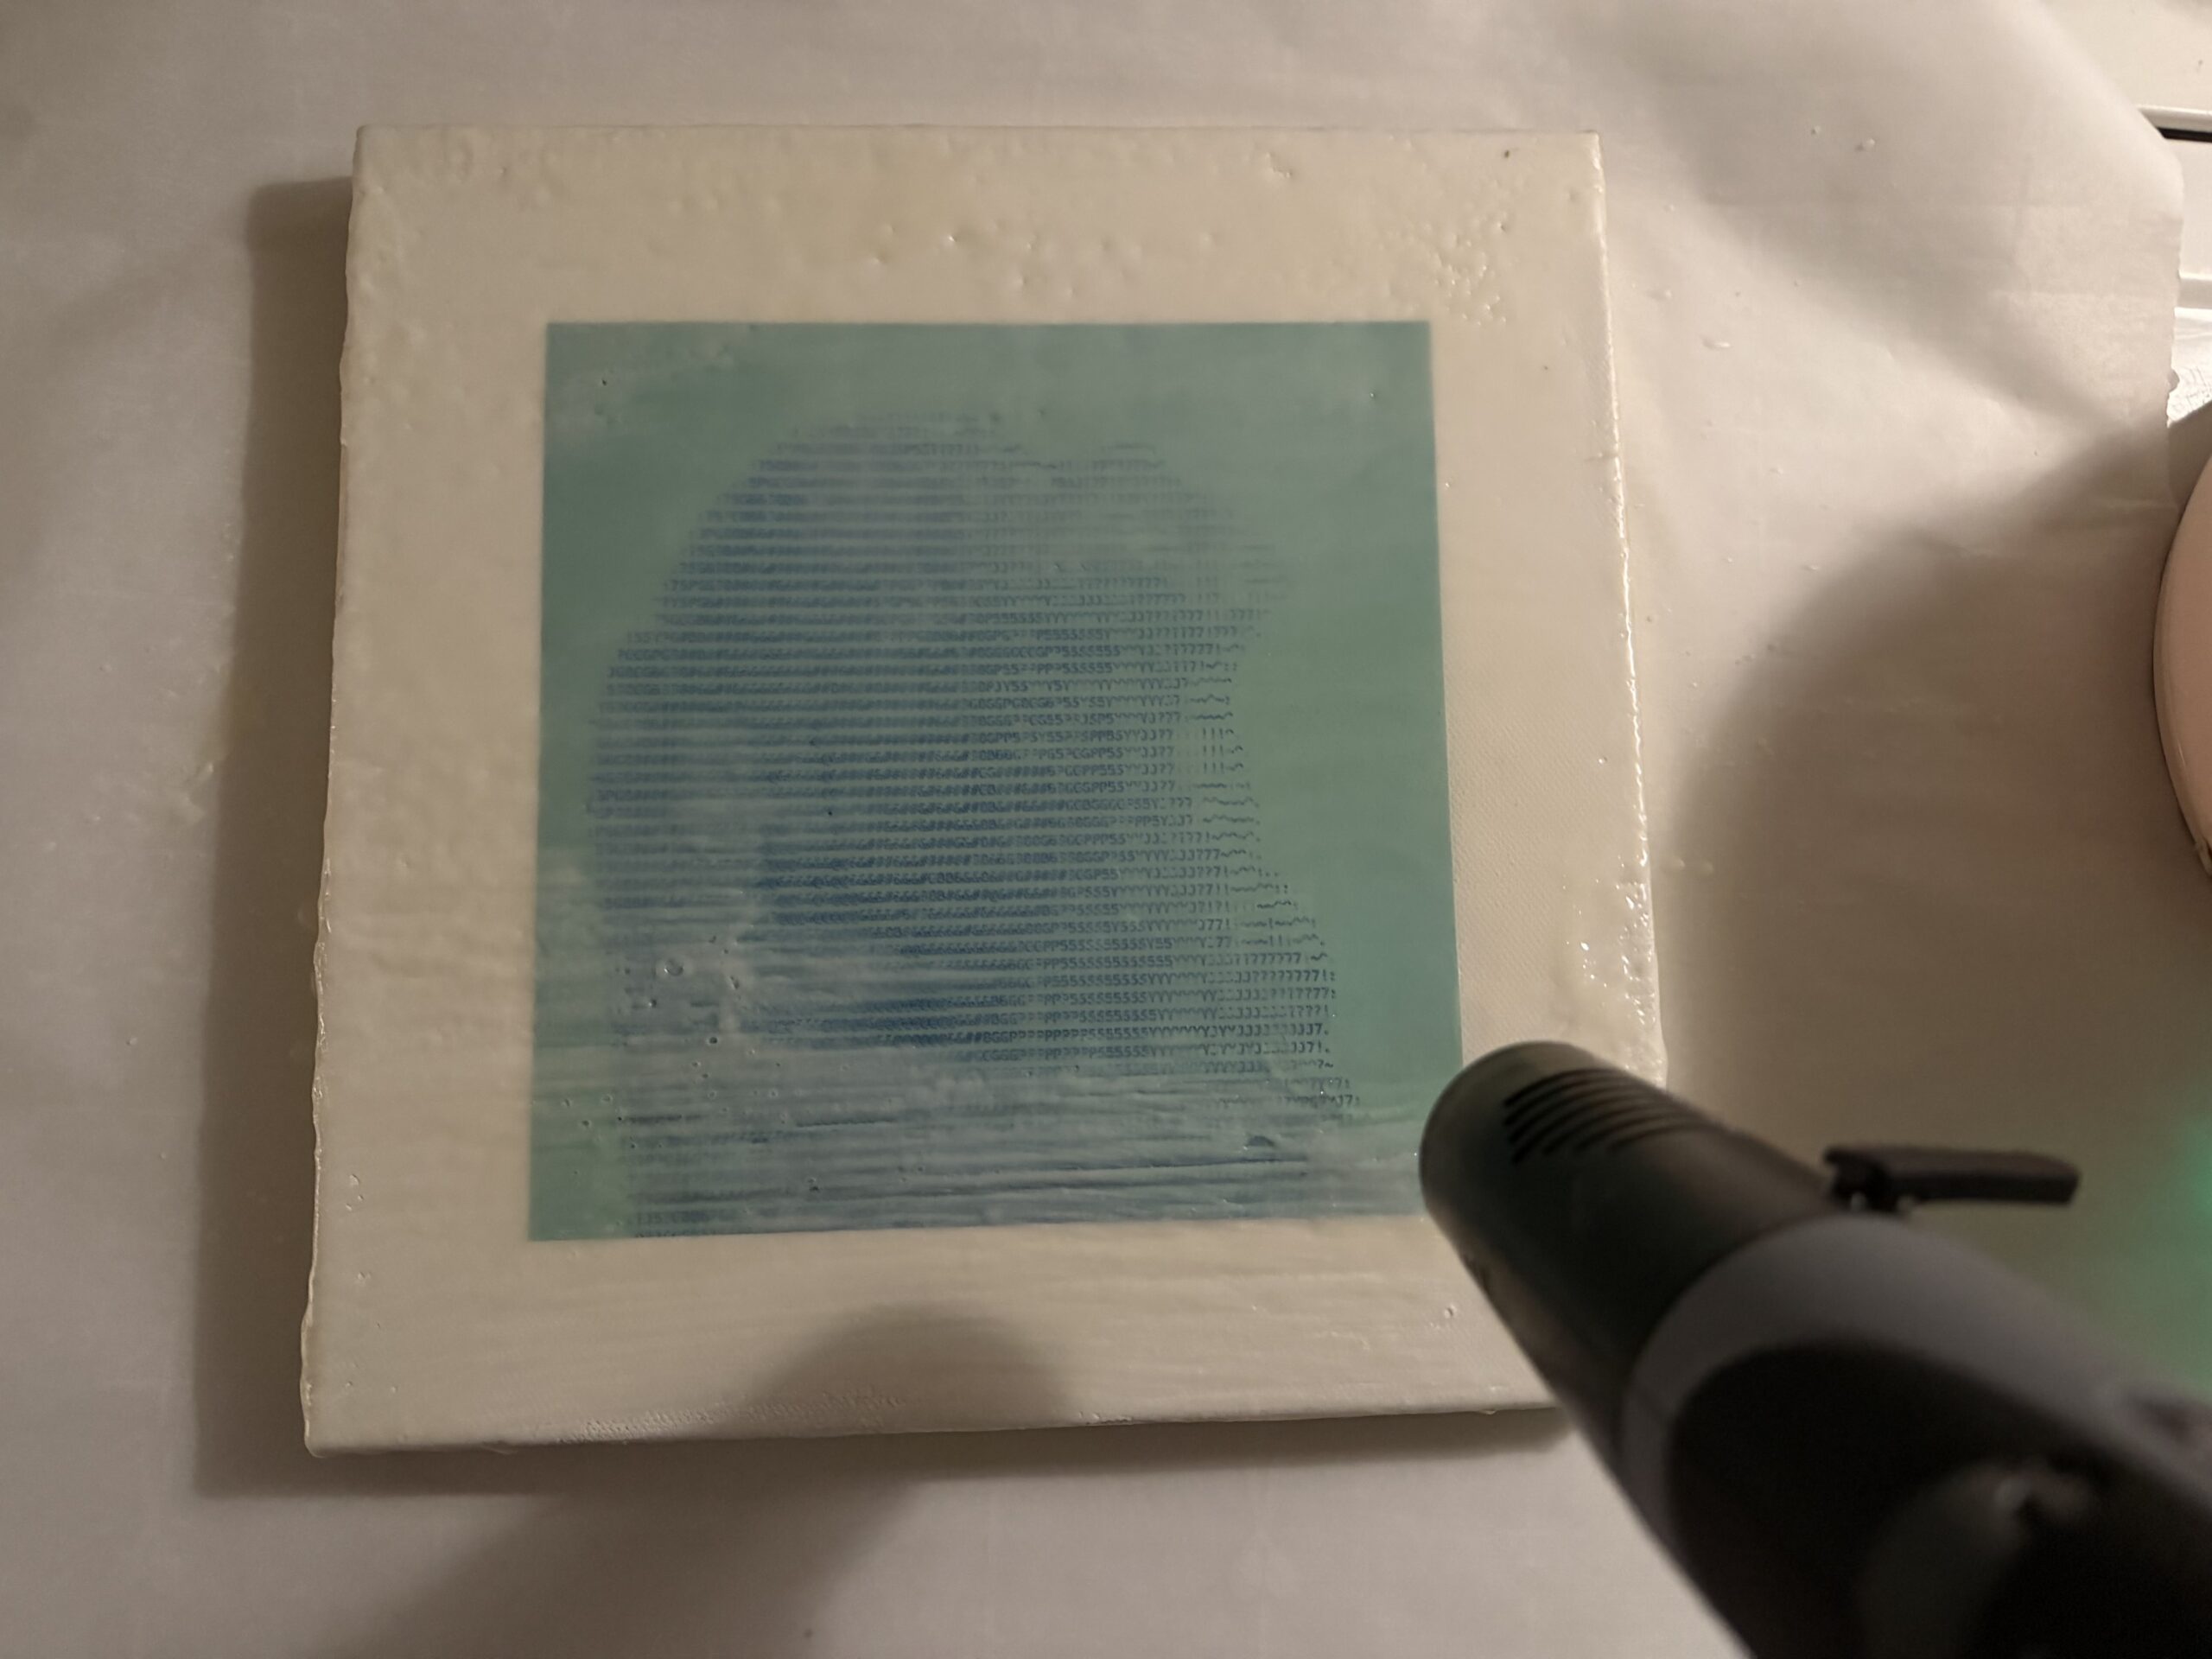
- Using a heat gun, reheat the brushed wax into an even layer.
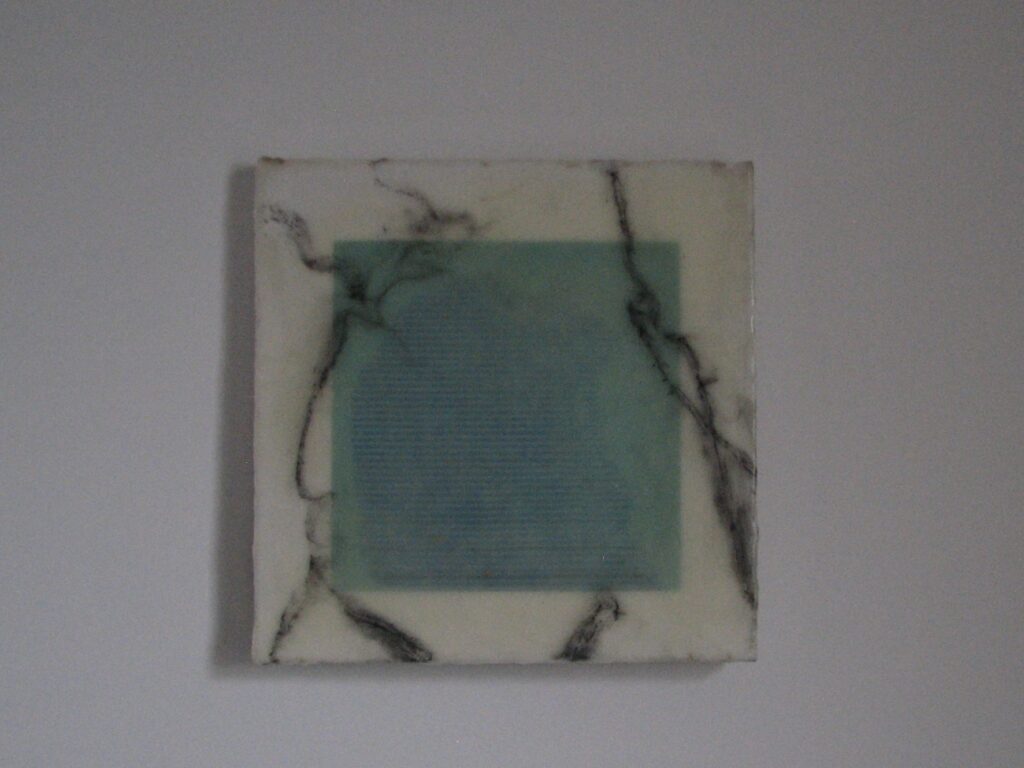
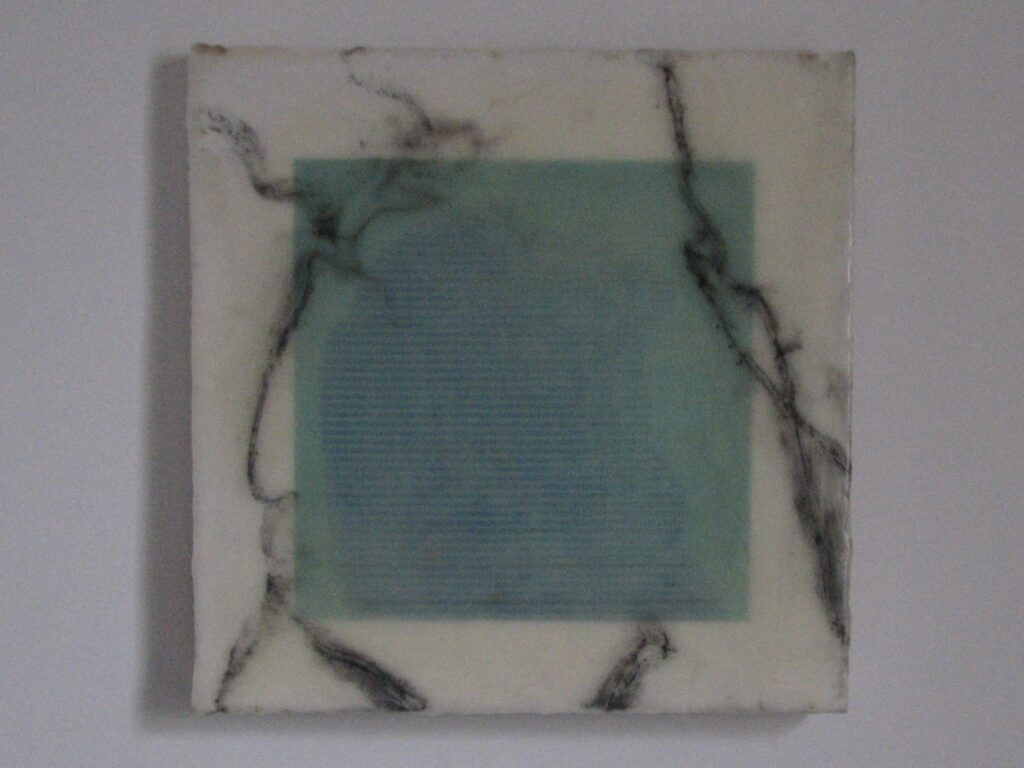
- Using a ceramic needle tool, or any other sharp tool, carve out pieces of the wax to your desire. Fill these spots with charcoal and wipe away excess.
- Repeat steps 6 and 7 until you achieve your desired texture/design! This is where you have fun!
- Allow your canvas to cool.
- Remove masking tape carefully to remove excess wax from sides of canvas.
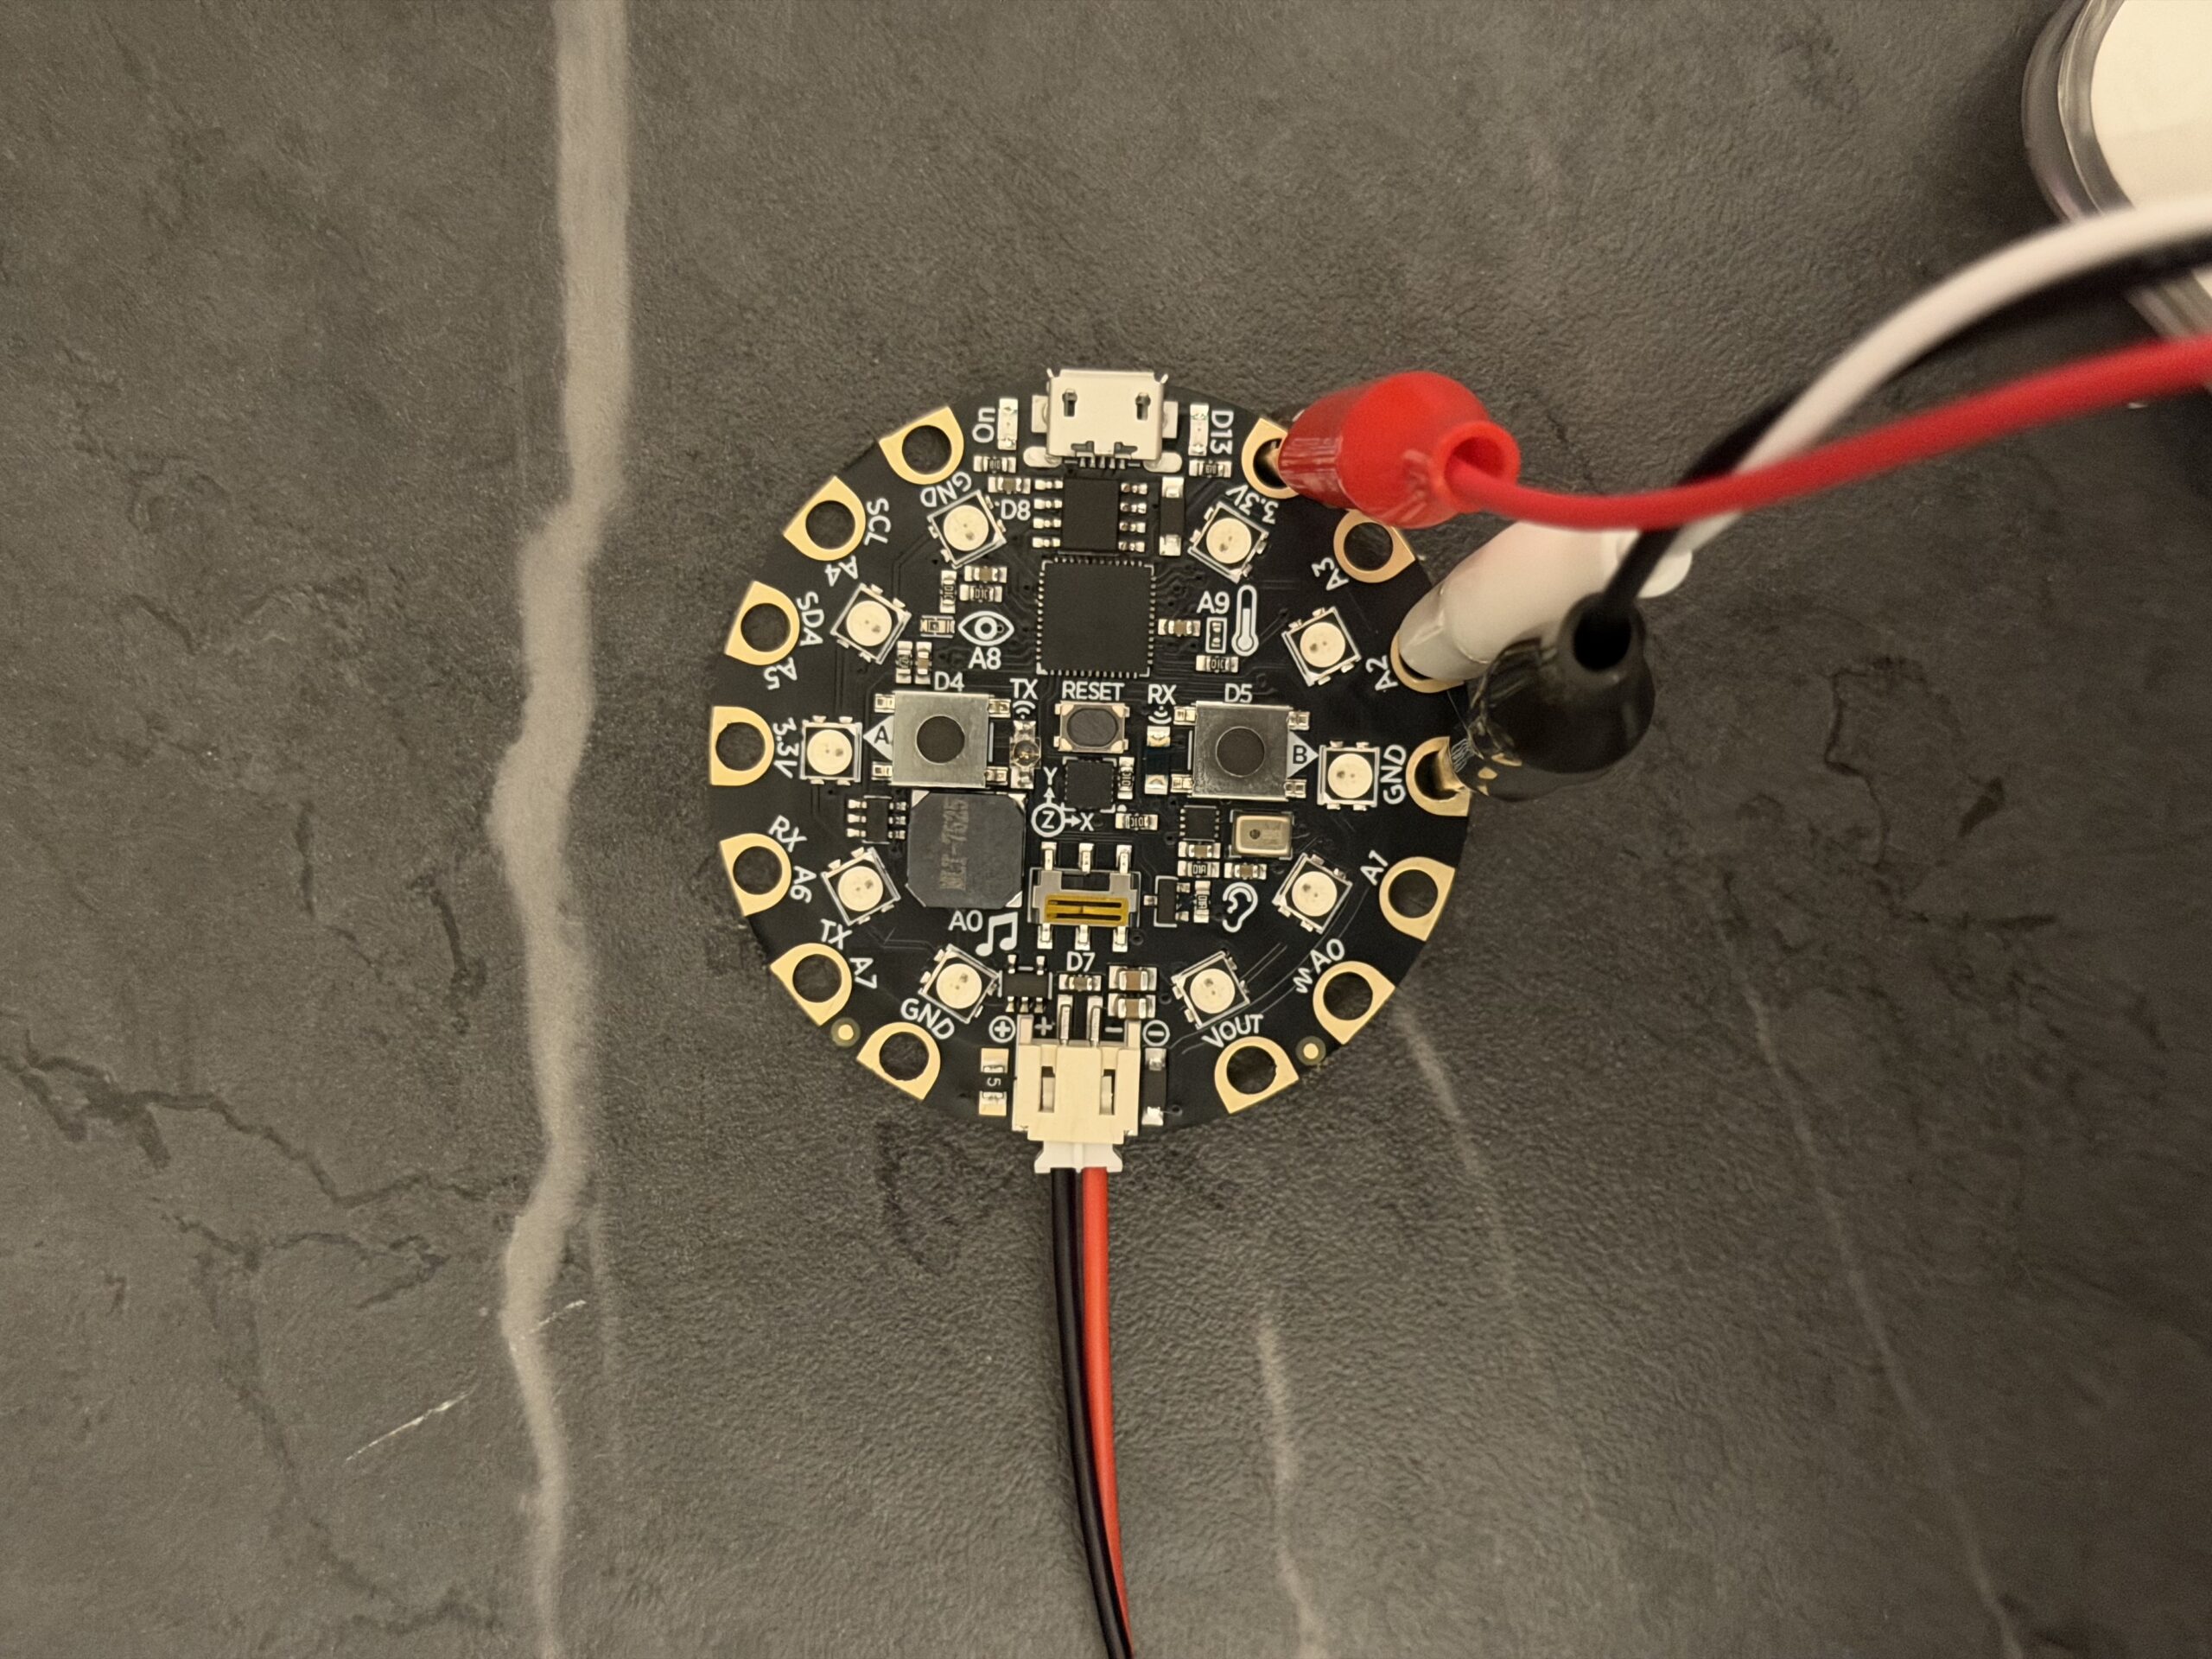
- Upload your Arduino code onto your Circuit Playground.
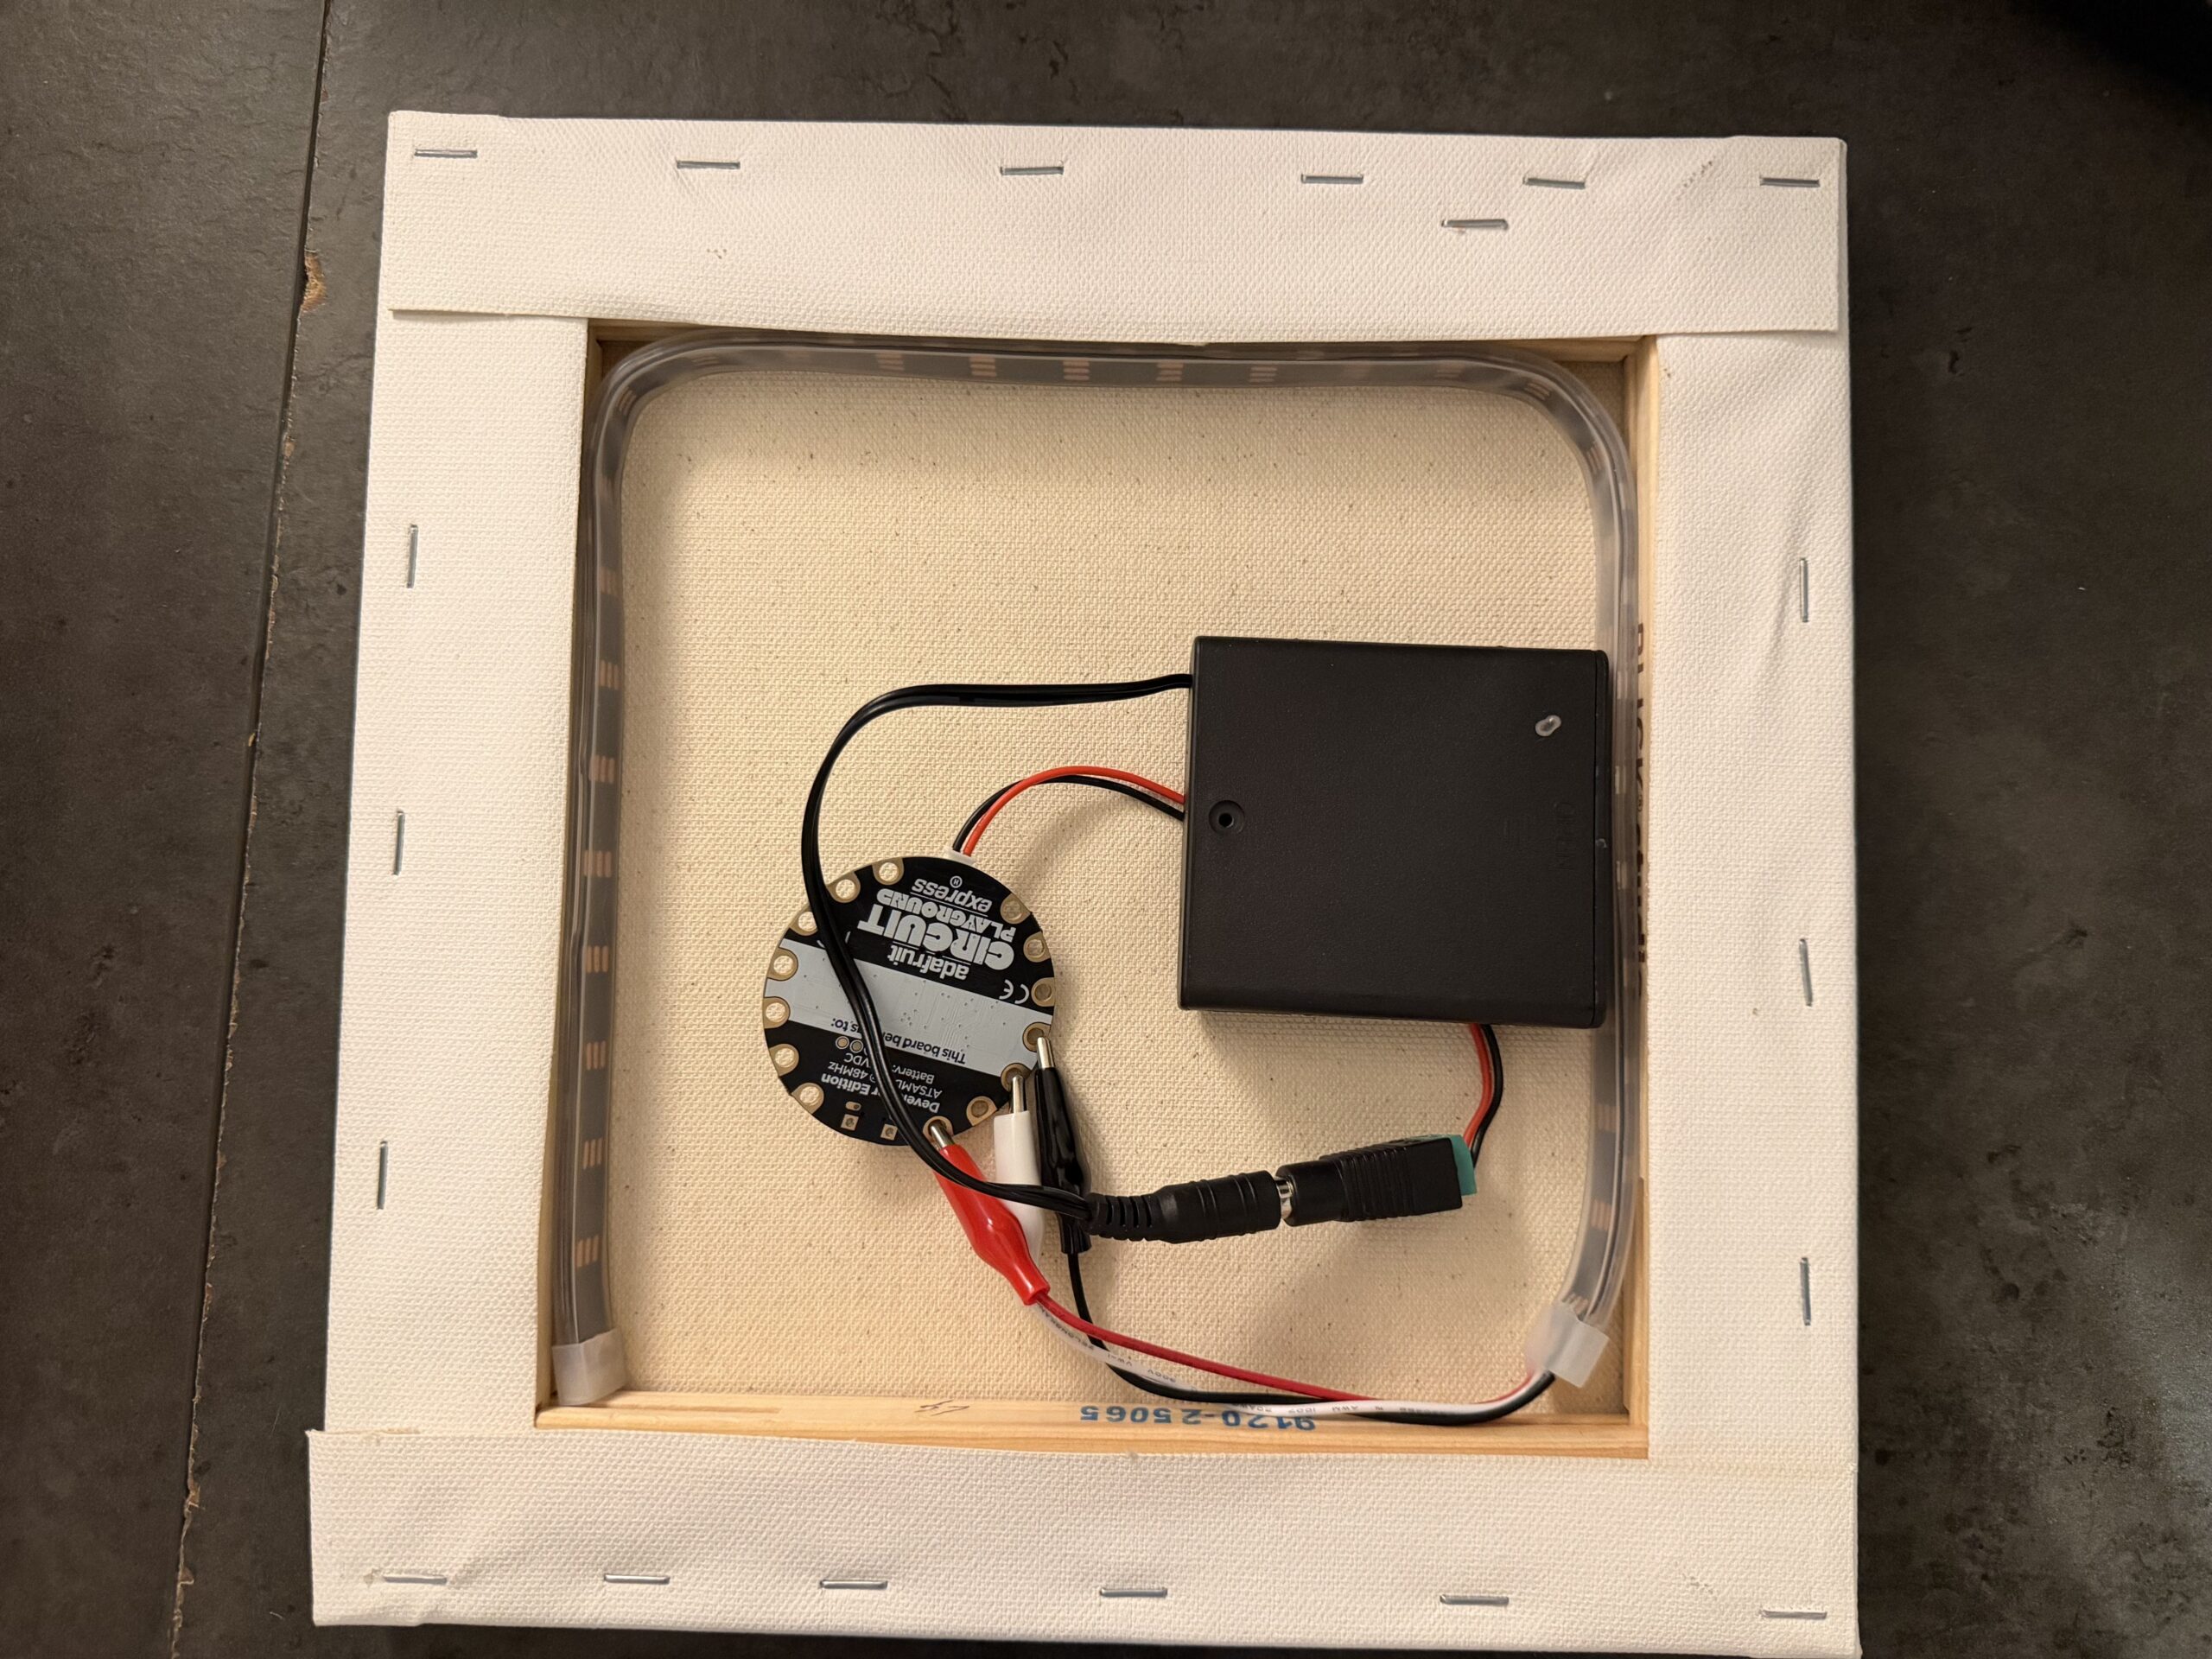
- Attach your neopixel strip with alligator clips directly to your CPX. Be sure to attach your Data input to the appropriate pin from your code.
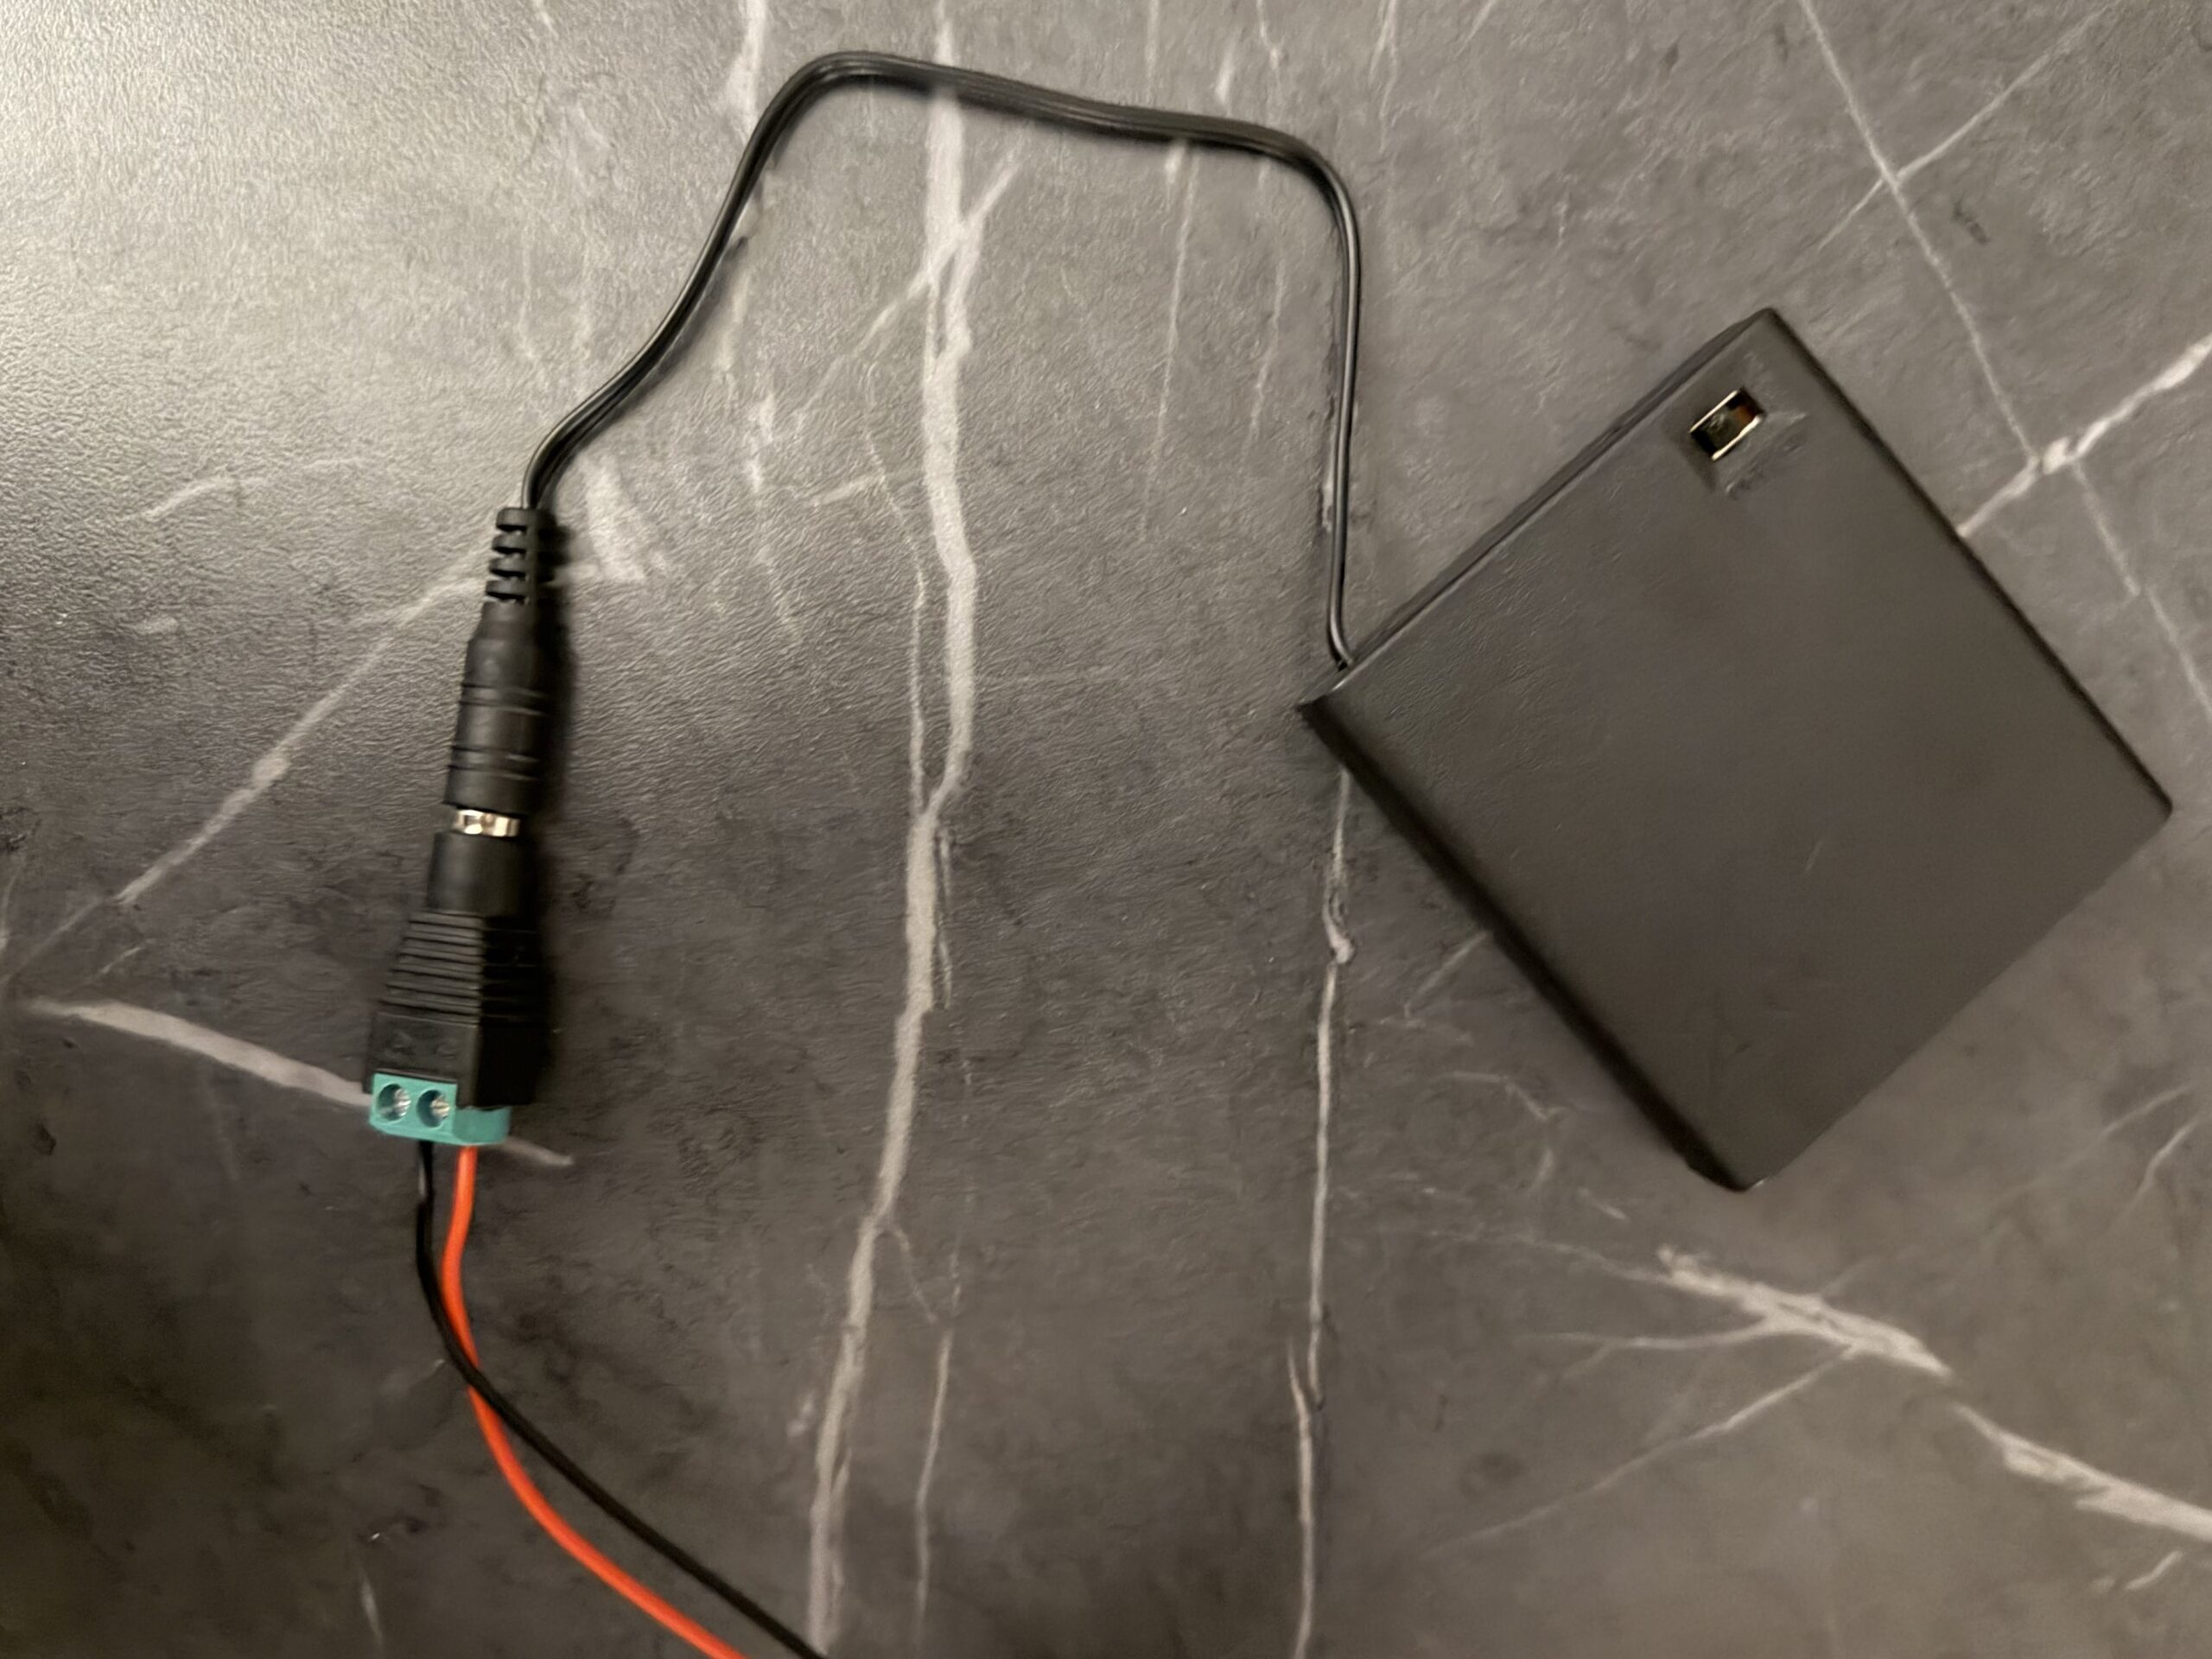
- Attach your 2 pin jst connector to your jack plug adapter barrel connector. Connect this to your battery pack.
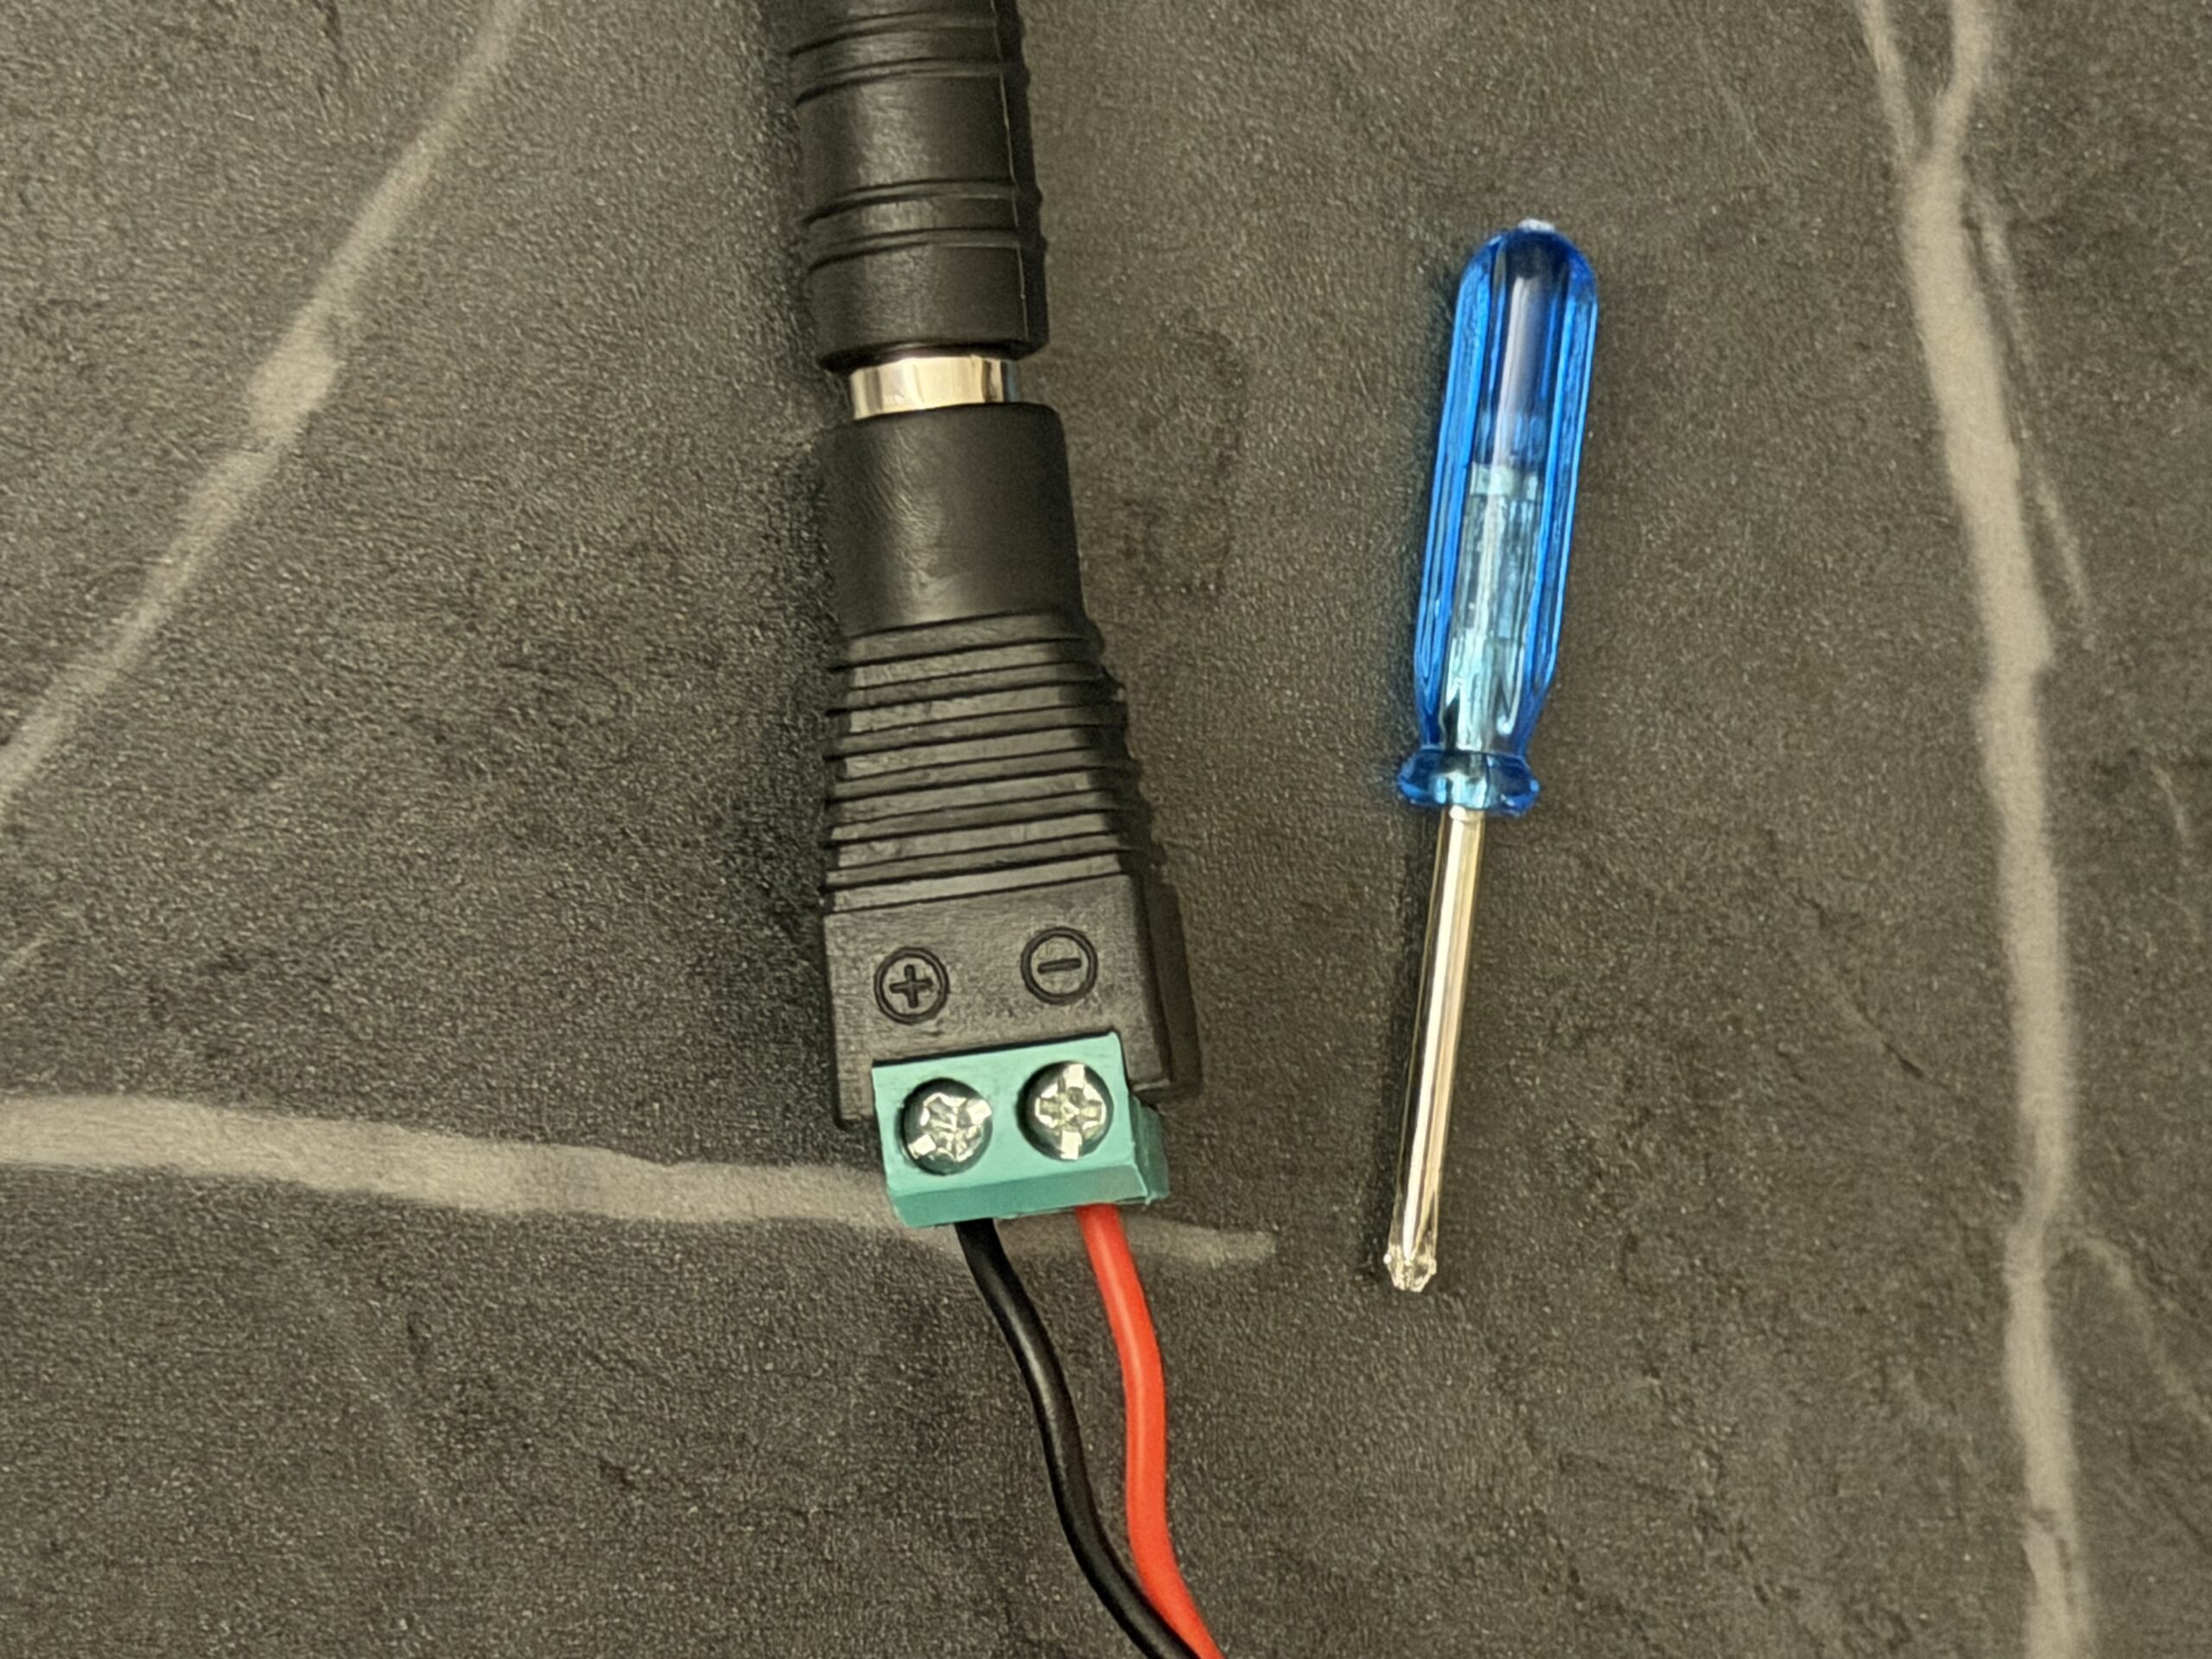
- Using a mini screwdriver, screw these male/female wires into the jack plug adapter.
- Insert batteries into holder.
- Position everything behind canvas as desired.
- Insert cardboard behind canvas for security.
- Clap to active (:
Code:
#include <Adafruit_CircuitPlayground.h>
#define NEOPIX_PIN A2
#define NUM_PIXELS 30
#define SOUND_THRESHOLD 90 // higher = less sensitive
const unsigned long CLAP_DELAY_WINDOW = 1000;
const int colors[][3] = {
{50, 168, 141}, // Color 1 (Teal)
{235, 226, 59}, // Color 2 (Yellow)
{235, 59, 217} // Color 3 (Magenta/Pink)
};
const int NUM_COLORS = 3;
Adafruit_CPlay_NeoPixel strip = Adafruit_CPlay_NeoPixel(NUM_PIXELS, NEOPIX_PIN, NEO_GRB + NEO_KHZ800);
int clapCount = 0;
unsigned long lastClapTime = 0;
int currentColorIndex = 0;
bool lightsOn = false;
void setup() {
Serial.begin(19200);
CircuitPlayground.begin();
strip.begin();
strip.setBrightness(80);
// Start off
setAllPixels(0, 0, 0);
strip.show();
}
void loop() {
float value = CircuitPlayground.mic.soundPressureLevel(50);
unsigned long currentTime = millis();
if (value > SOUND_THRESHOLD) {
if ((currentTime – lastClapTime) > 100) {
clapCount++;
lastClapTime = currentTime;
if (clapCount == 2) {
lightsOn = !lightsOn;
if (lightsOn) {
setAllPixels(colors[currentColorIndex][0], colors[currentColorIndex][1], colors[currentColorIndex][2]);
} else {
setAllPixels(0, 0, 0); // Turn off
currentColorIndex = (currentColorIndex + 1) % NUM_COLORS;
}
strip.show();
clapCount = 0;
}
}
}
if (clapCount > 0 && (currentTime – lastClapTime) > CLAP_DELAY_WINDOW) {
clapCount = 0;
}
}
void setAllPixels(int r, int g, int b) {
for (int i = 0; i < NUM_PIXELS; i++) {
strip.setPixelColor(i, r, g, b);
}
}