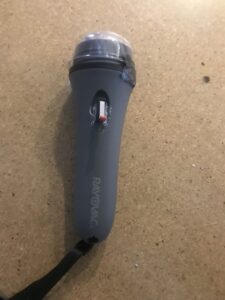
DIY Concert Light Stick
Step 1 : Materials
- 2 LEDS ( desired color )
- Flash light
- 2 – 3 volts battery
- Battery holder
- Wires
- Switch
- Napkin
- Tape
- Strap
- Half plastic sphere
- Hot Glue Gun
Step 2 : Creating the base
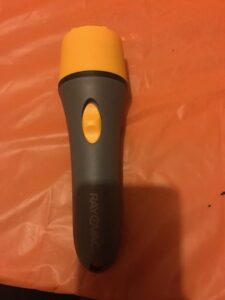
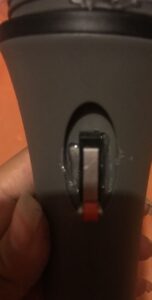
First , undo the top of the flashlight and put it aside. Then take out the switch inside the flashlight and put in your own. In order for the switch to stay in place, put hot glue on it.
Step 3 : Wiring

Arrange the LED circuit. Using soldered white and a black wires ( or any color just have one be current and one ground ), attach one LED in between with the longer,positive side attached to the white wire. The smaller leg will then be attached to the black wire which will be the ground wire. In order to keep them attached, you can glue them with a hot glue gun. Then do the same thing with a yellow and white wire except now the longer, positive side goes on the yellow wire. Then attach white with white and black with yellow. We then insert 2 three volt batteries into the battery holder and solder the wires. Attach the red wire to the black and yellow. The black wire will be attached to the orange wire on the switch. The other end of the switch contains a yellow wire which will be attached to the white on white wire attached earlier.
STEP 4 : PUTTING IT TOGETHER
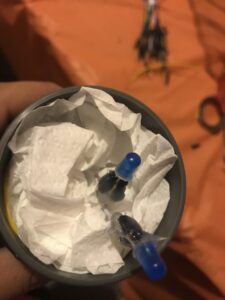


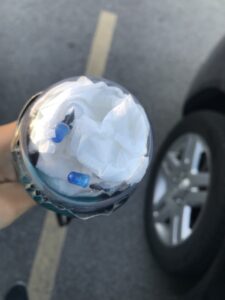
After the circuit has been made, put the wires inside the flashlight. In order for the wires to be hidden, place a napkin above the wires only allowing the LEDs be shown. Next, place the strap between the holes of the flashlight. Finally, either glue or tape the clear sphere onto the flashlight.
