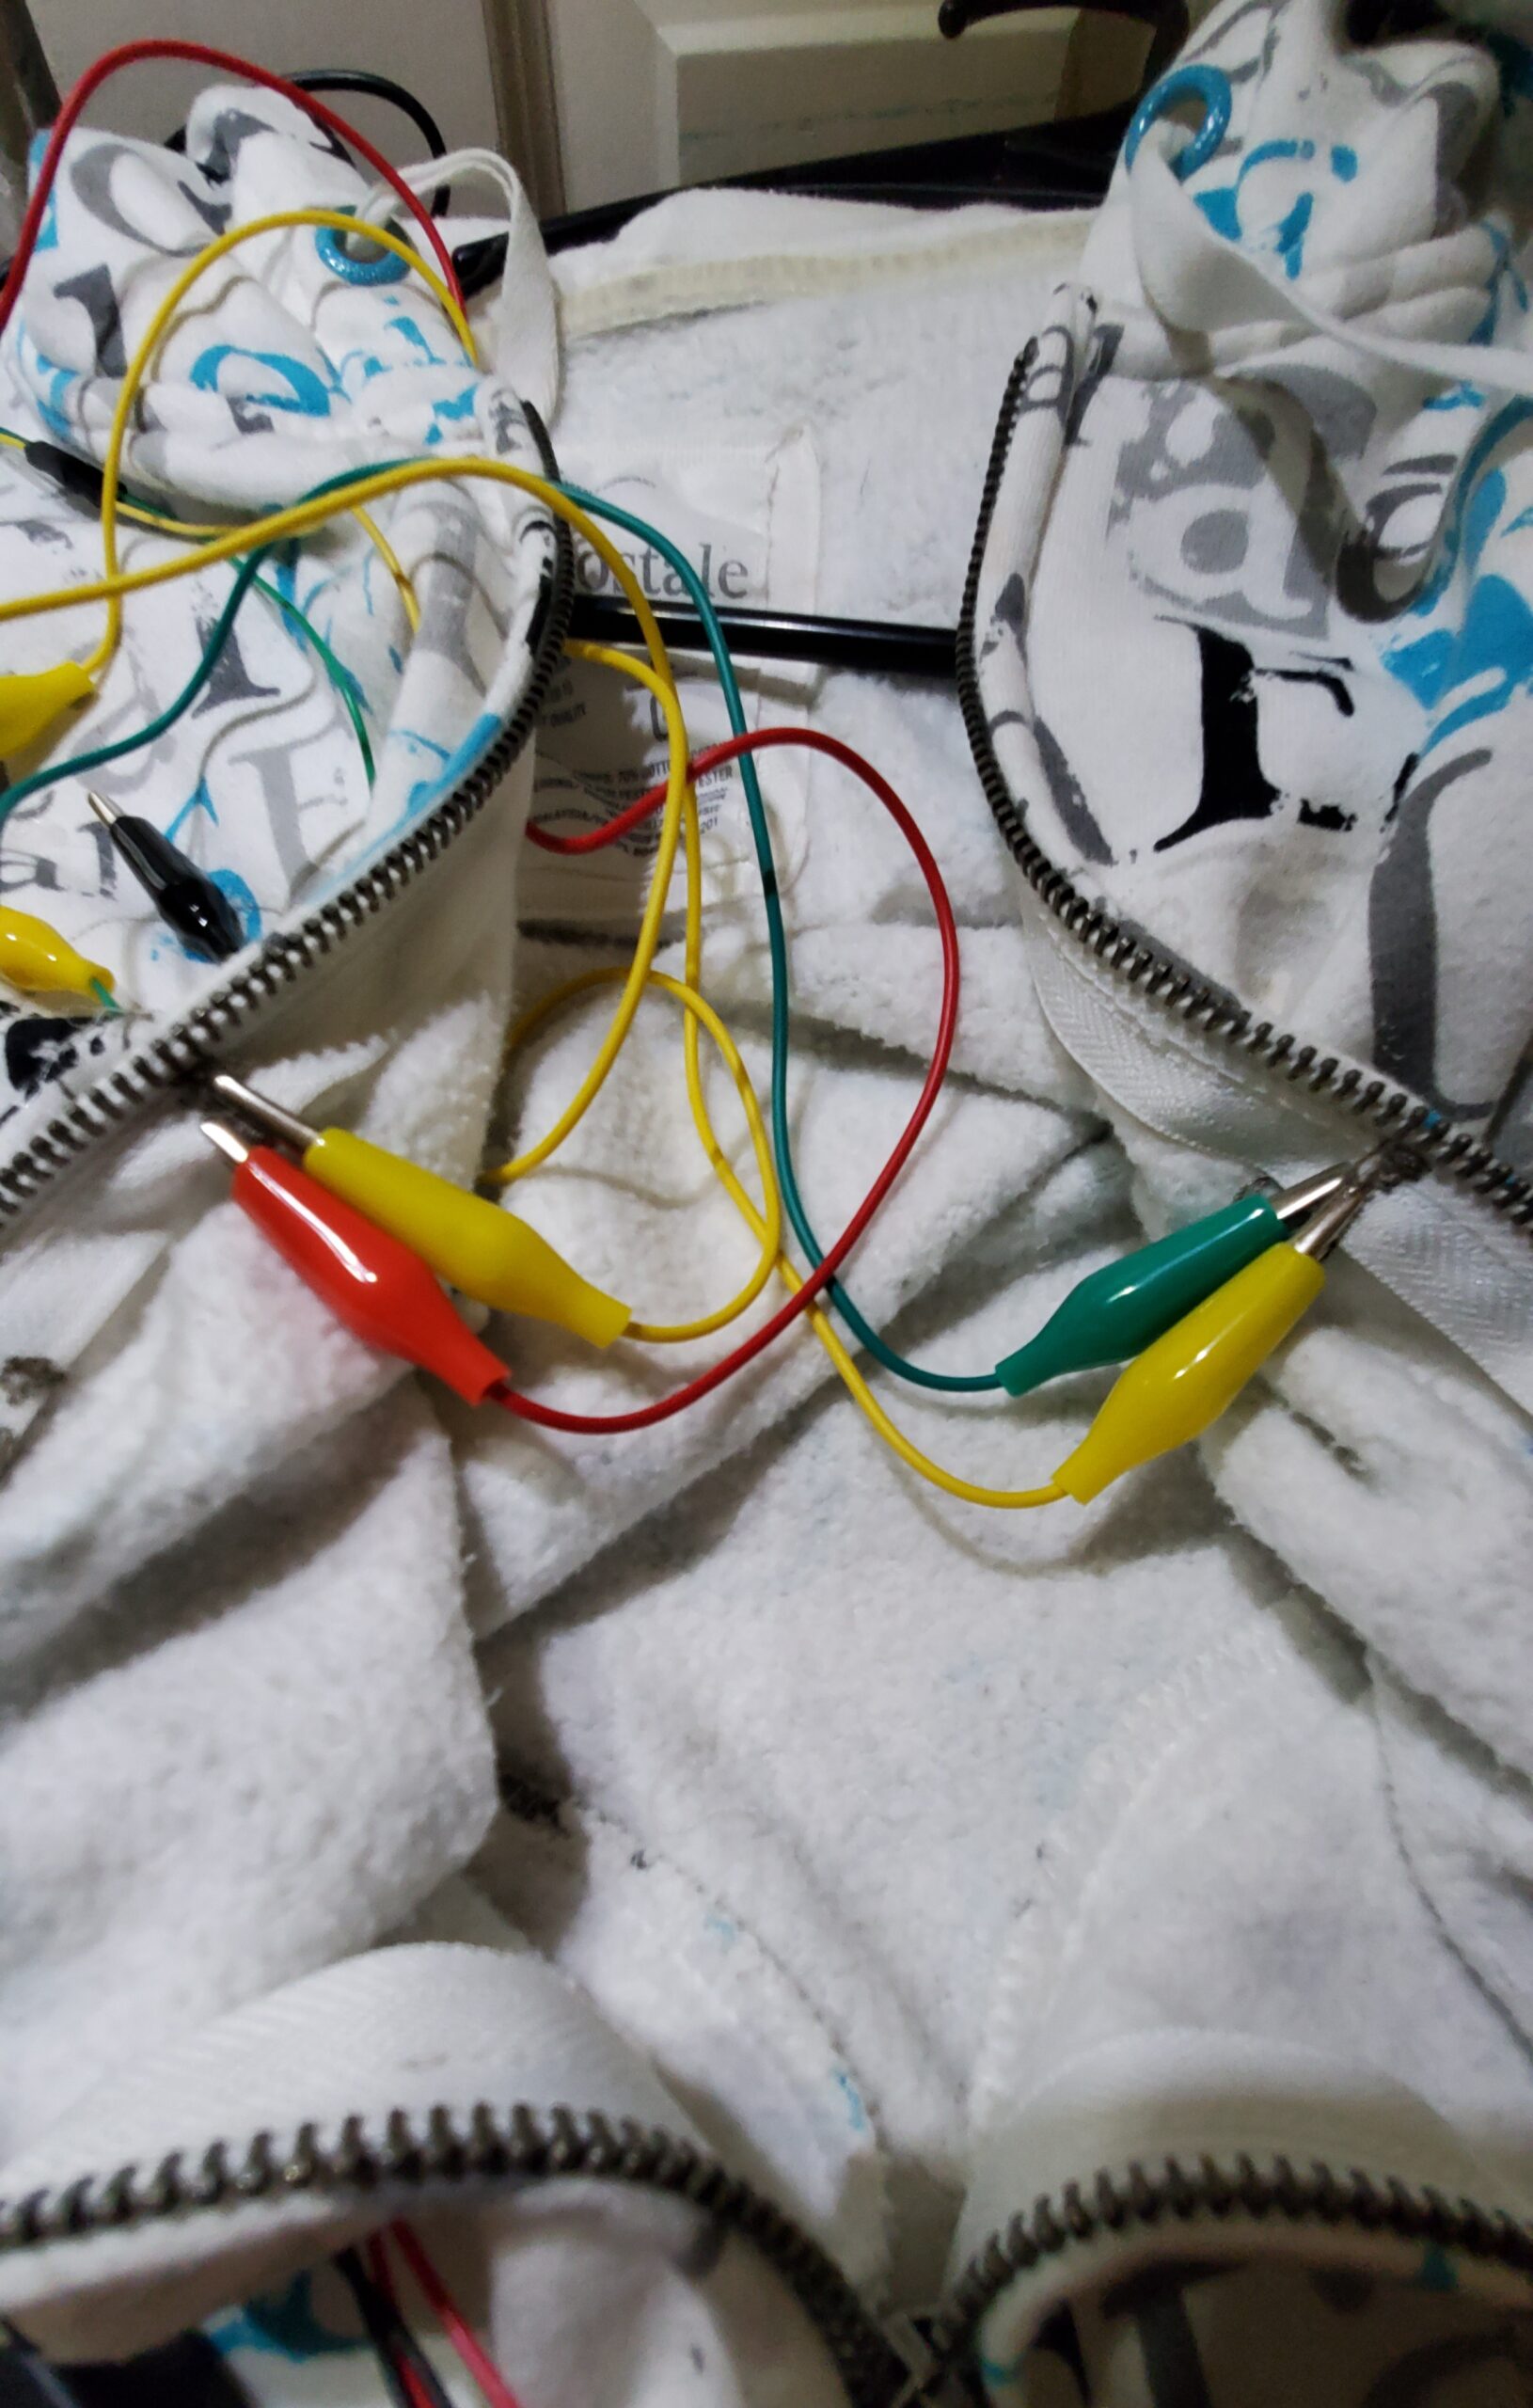
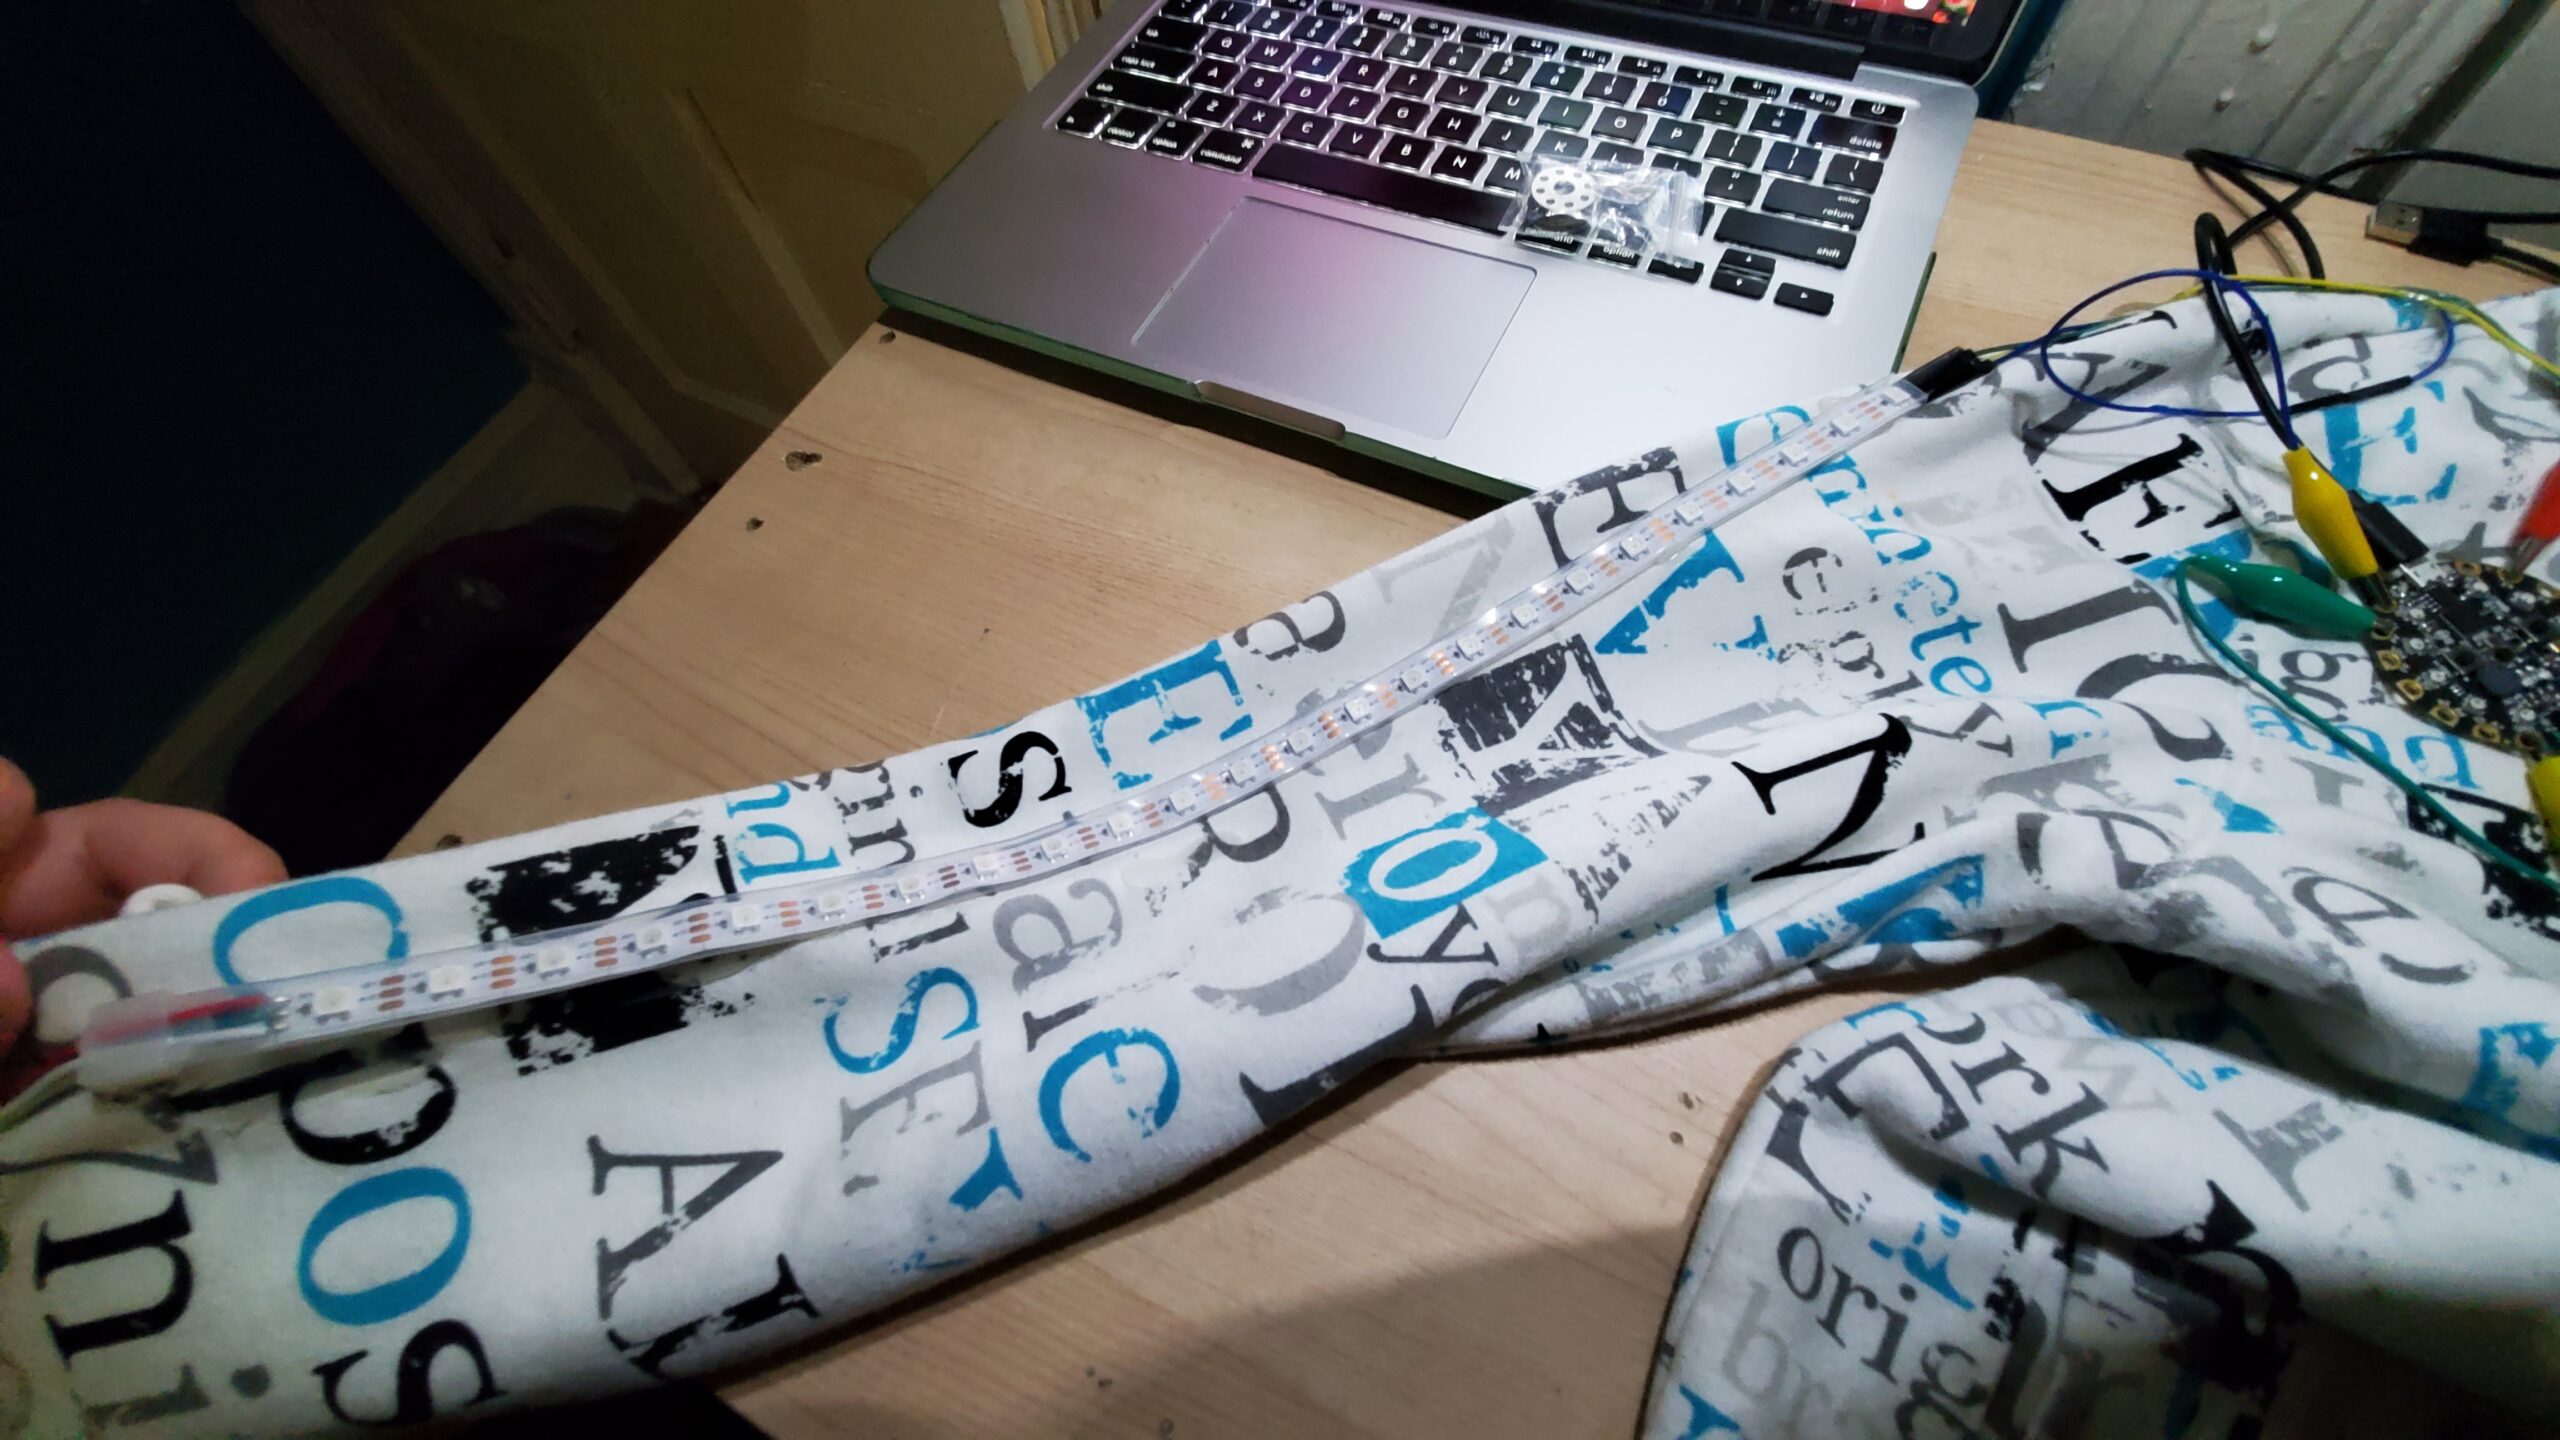
For my final project decided to make a wearable so to experiment with LED Neopixel strips and sound Reactivity.
Materials Needed:
- Soldering Iron kit
- Alligator Clips
- Circuit Playground Express
- Sweater with metal zipper (cannot be plastic zipper)
- Sandpaper (in case you need to sand off Paint of the zipper if it’s painted)
- Conductive thread and/or thin wire
- Female Jumper Wires
- Battery source/pack (5V)
- One 1m 60Led Ilp Neopixel strip
- Hot glue gun
- Instructions
For the LED Strip
Step 1:
Cut the Led strip to the desired amount of LEDs (I chose to use 25 LEDs) and remove a small piece of the protective plastic off the Strip (to allow for soldering).
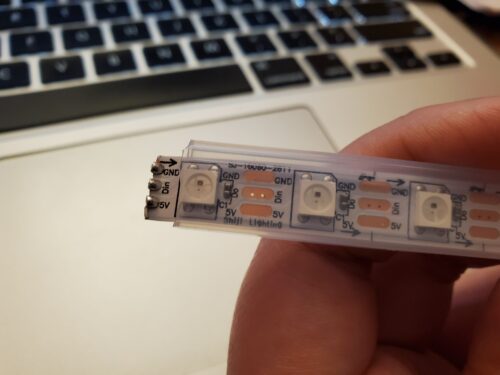
Step 2:
Using a soldering iron and solder, add solder to the Ground, Volts, and input tabs of each Neopixel strip.
Step 3:
Using three female jumper wires, attach the female ends to three Male alligator clips and use the opposite ends to attach to the led strip.
Step 4:
Seal the soldered area with Electric tape or shrink wrap. Connect the Alligator Clips to the corresponding area.
Step 5:
Connect the alligator clips to the Circuit Playground
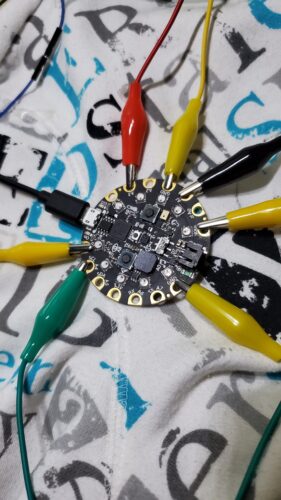
Step 6:
Get your battery pack assembled by twisting the ends of the wires attached to the battery pack to those of the connecter that will be attached to the Circuit Playground. Twist the ends of the Wires with the corresponding colors together (red and black) and using some wire nuts, twist them onto the connected ends until you are not able to anymore. After, insert your batteries.
For the Zipper Switch
Step 1:
Using a needle and conductive thread, build up stitches enough to make two small pads of conductive thread alongside the zipper but on opposite sides. Stitch back a bit so that the zipper touches the pad slightly (Shown below)
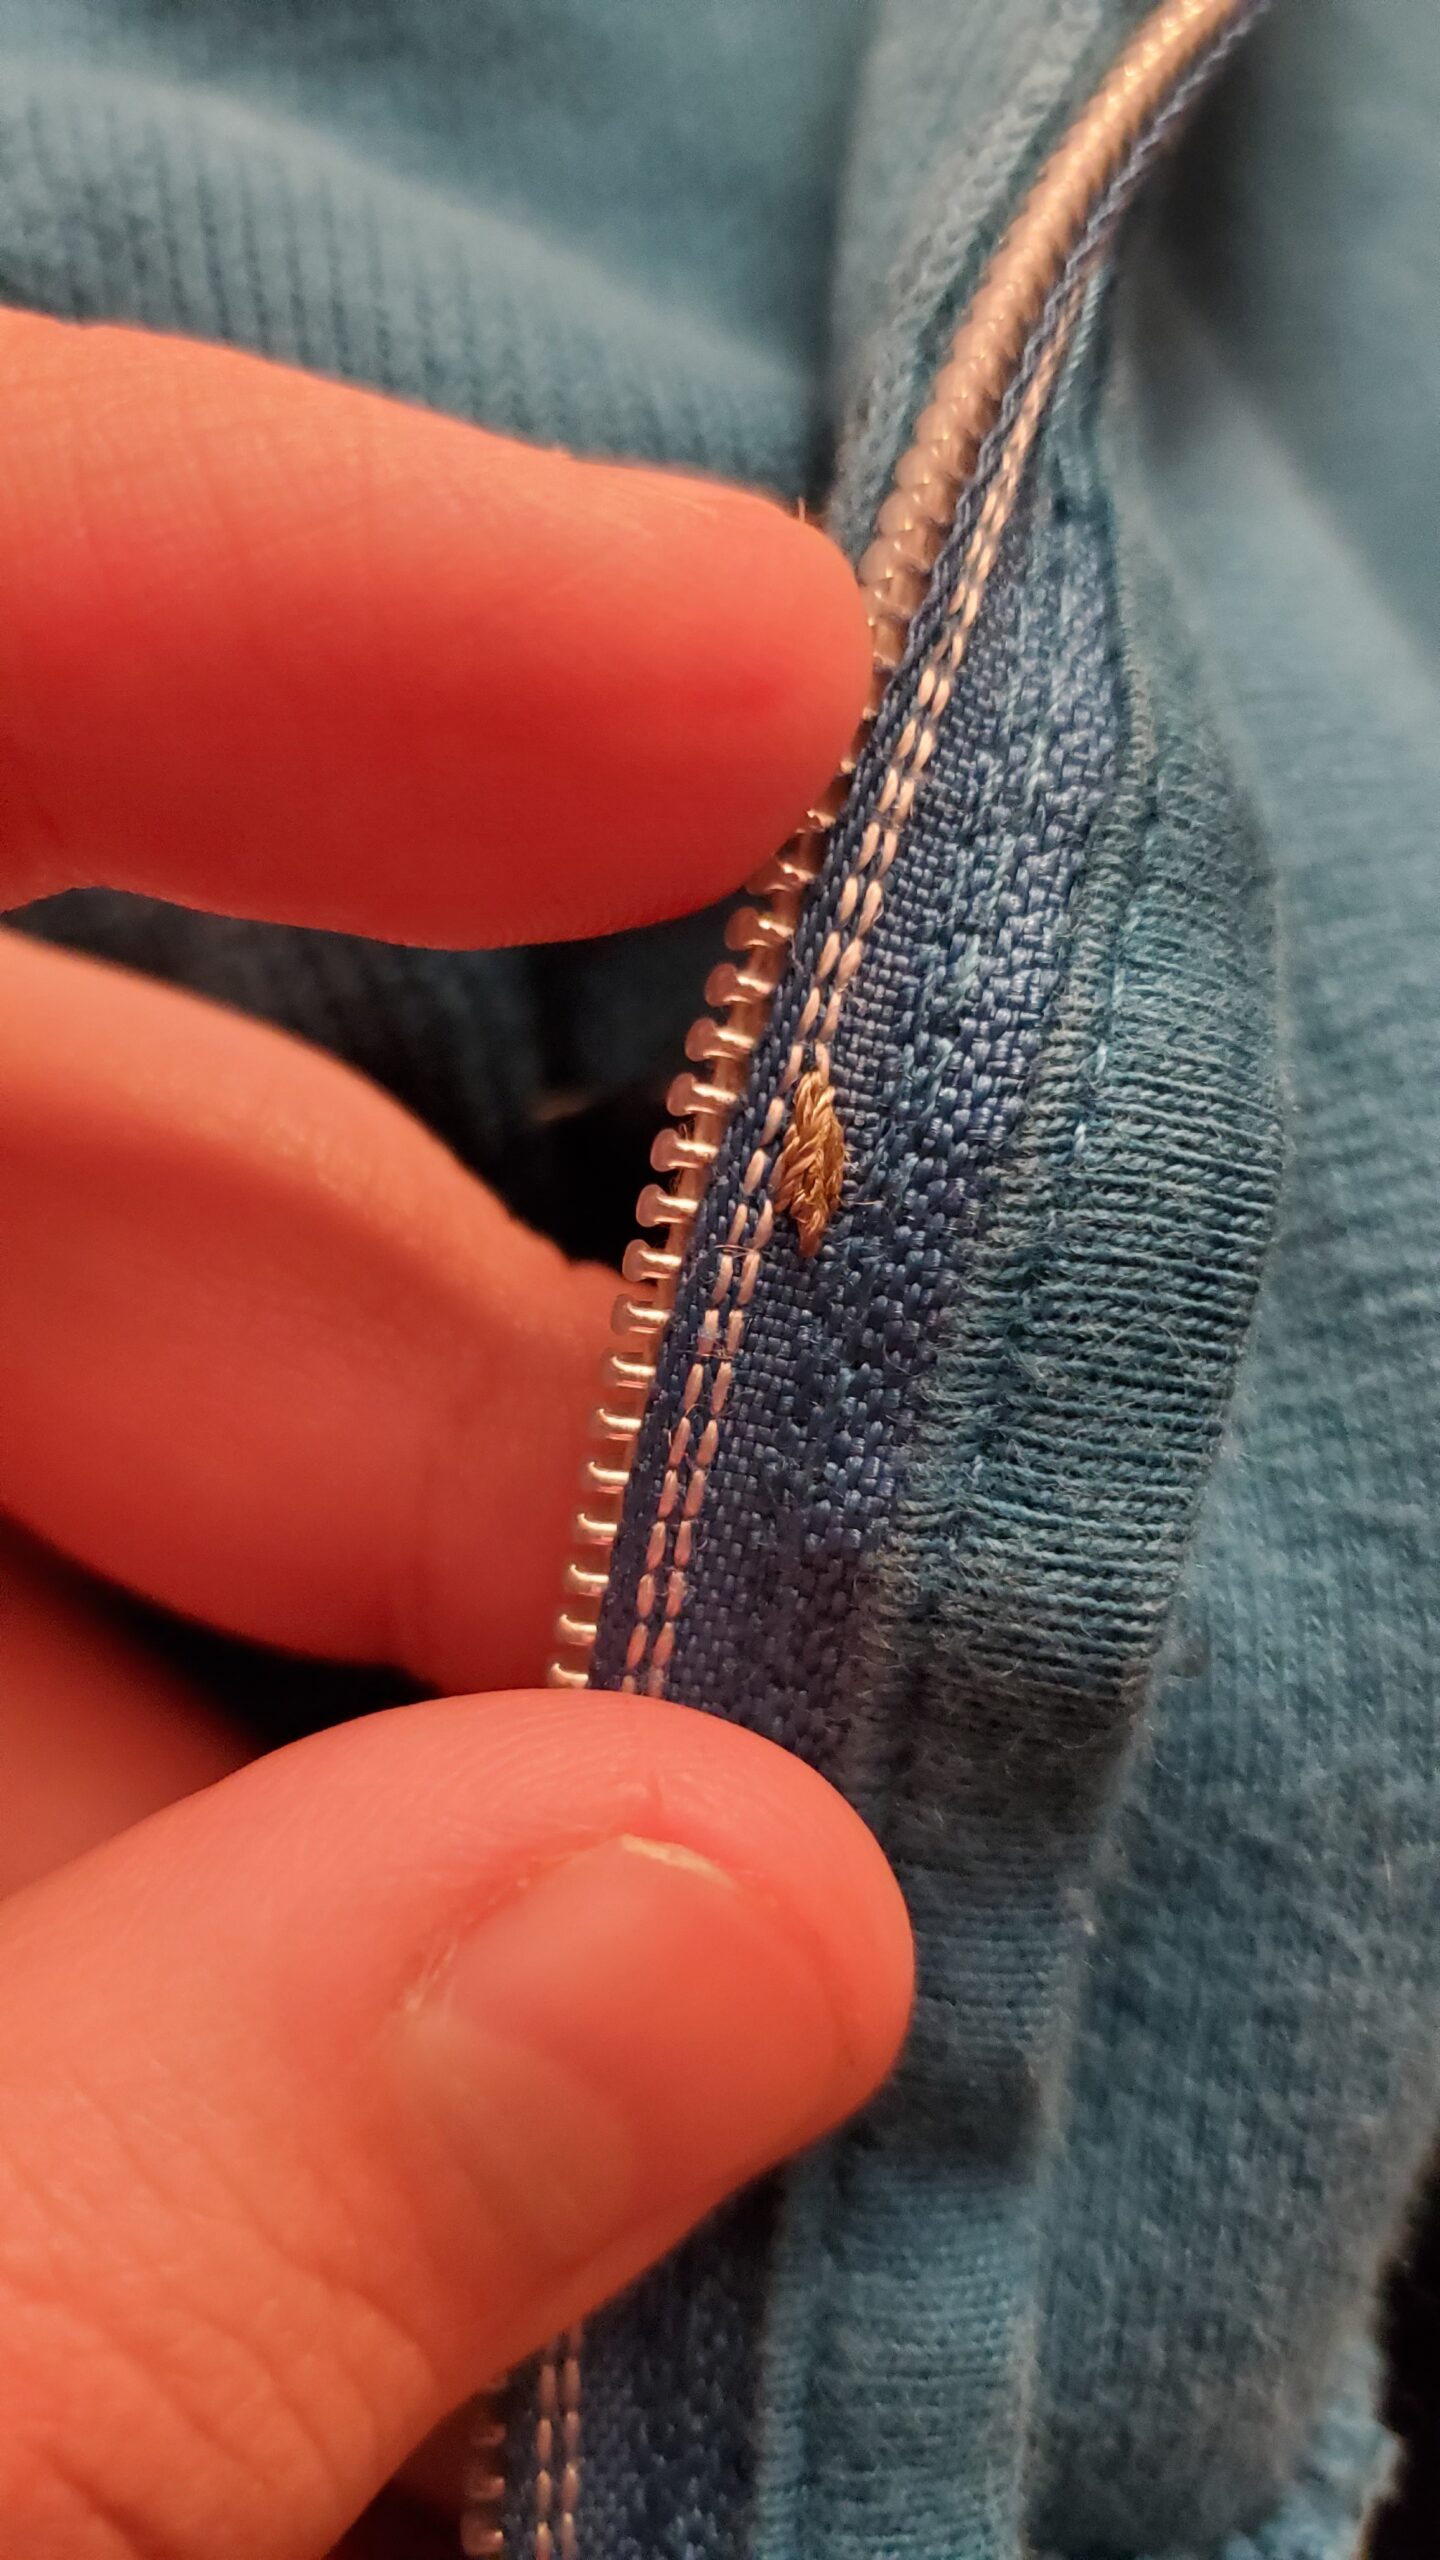 <–Stitch pad should look like this
Step 2:
Using alligator clips, connect one end of the clips to either side of the pads and the other to the circuit playground following this set up:
Set up
Step 1:
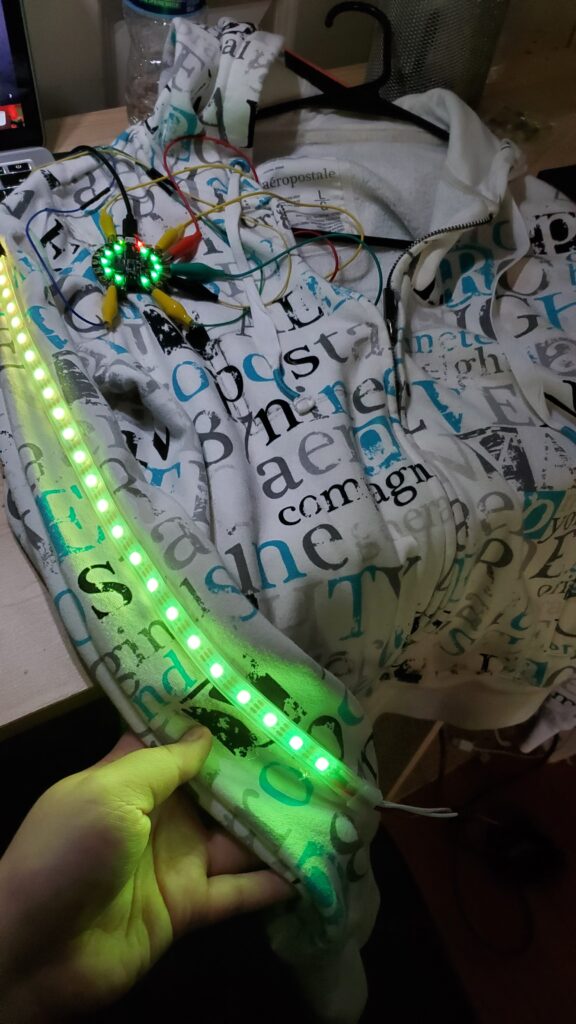
To set up the LED Strip, situate the strip in the desired area of the sweater (I used the right arm sleeve) and use hot glues to keep it attached to the fabric.
Step 2:
Using small dots of hot glue, situate the Circuit Playground in the desired area (one that will allow for the alligator clips to reach it easily and not tumble off) and add the small drops of glue on below it (I placed them over my name)
Step 3:
Keep the wires and alligator clips in place by using thread to sew through the fabric and set them in place or use small drops of hot glue to keep them attached.
Step 4:
After everything is set up, you are free to run the code and test our your zipper switch!
***Code***
#include <Adafruit_NeoPixel.h>
#include <Adafruit_CircuitPlayground.h>
#include “Adafruit_ZeroFFT.h”
#define PIN A1
#define BINS 10
#define FRAMES 4
#define DATA_SIZE 32
#include <Wire.h>
#include <SPI.h>
Adafruit_NeoPixel strip = Adafruit_NeoPixel(25, PIN, NEO_GRB + NEO_KHZ800);
#define FRAMES 8
uint16_t lvl[FRAMES],
avgLo = 6,
avgHi = 520,
sum = 256 * FRAMES;
uint8_t lvlIdx = 0;
int16_t peak = 0;
int8_t peakV = 0;
uint8_t i, r, g, b;
uint16_t minLvl, maxLvl, a, scaled;
int16_t p;
#define ZIPPER A2
void setup() {
Serial.begin(9600);
pinMode(ZIPPER, INPUT_PULLUP);
delay (2000);
CircuitPlayground.begin();
strip.begin();
strip.setBrightness(200);
strip.show();
int minLvl = 0, maxLvl = 1000;
for (uint8_t i = 0; i < FRAMES; i++) lvl[i] = 256;
}
void loop() {
strip.setPixelColor((28, 255, 244), 50);
strip.setPixelColor((207, 167, 242), 50);
strip.setPixelColor((255, 175, 25), 50);
p = CircuitPlayground.mic.soundPressureLevel(10);
p = map(p, 56, 140, 0, 350);
a = constrain(p, 0, 350);
sum -= lvl[lvlIdx];
lvl[lvlIdx] = a;
sum += a;
minLvl = maxLvl = lvl[0];
if (digitalRead(ZIPPER) == LOW) {
Serial.println(“zipper button pressed”);
for (i = 1; i < FRAMES; i++) {
if (lvl[i] < minLvl) minLvl = lvl[i];
else if (lvl[i] > maxLvl) maxLvl = lvl[i];
}
a = sum / FRAMES;
if (a <= avgLo) {
scaled = 0;
} else {
scaled = 2560L * (a – avgLo) / (avgHi – avgLo);
if (scaled > 2560) scaled = 2560;
}
if (scaled >= peak) {
peakV = (scaled – peak) / 4;
peak = scaled;
}
uint8_t whole = scaled / 256,
frac = scaled & 255;
int whole2 = peak / 256,
frac2 = peak & 255;
uint16_t a1, a2;
for (i = 0; i < 25; i++) {
if (i <= whole) {
r = strip.Color(28, 255, 244, 50);
g = strip.Color(207, 167, 242, 50);
b = strip.Color(255, 175, 25, 50);
if (i == whole) {
a1 = (uint16_t)frac + 1;
r = (r * a1) >> 8;
g = (g * a1) >> 8;
b = (b * a1) >> 8;
}
} else {
r = g = b = 0;
}
if (i == whole2) {
a1 = 256 – frac2;
a2 = frac2 + 1;
r = ((r * a1) + (0x84 * a2)) >> 8;
g = ((g * a1) + (0x87 * a2)) >> 8;
b = ((b * a1) + (0xC3 * a2)) >> 8;
} else if (i == (whole2 – 1)) {
a1 = frac2 + 1;
a2 = 256 – frac2;
r = ((r * a1) + (0x84 * a2)) >> 8;
g = ((g * a1) + (0x87 * a2)) >> 8;
b = ((b * a1) + (0xC3 * a2)) >> 8;
}
strip.show();
delay(20);
}
peak += peakV;
if (peak <= 0) {
peak = 0;
peakV = 0;
} else if (peakV >= -126) {
peakV -= 2;
}
if (++lvlIdx >= FRAMES) lvlIdx = 0;
}
else {
Serial.println(“off”);
colorWipe(strip.Color(0, 0, 0), 0);// turn strip off
strip.show();
Serial.println(“No Motion!”);
// Delay a little bit to avoid bouncing
delay(10);
}
}
// Fill the dots one after the other with a color
void colorWipe(uint32_t c, uint8_t wait) {
for (uint16_t i = 0; i < strip.numPixels(); i++) {
strip.setPixelColor(i, c);
strip.show();
delay(wait);
}
}
