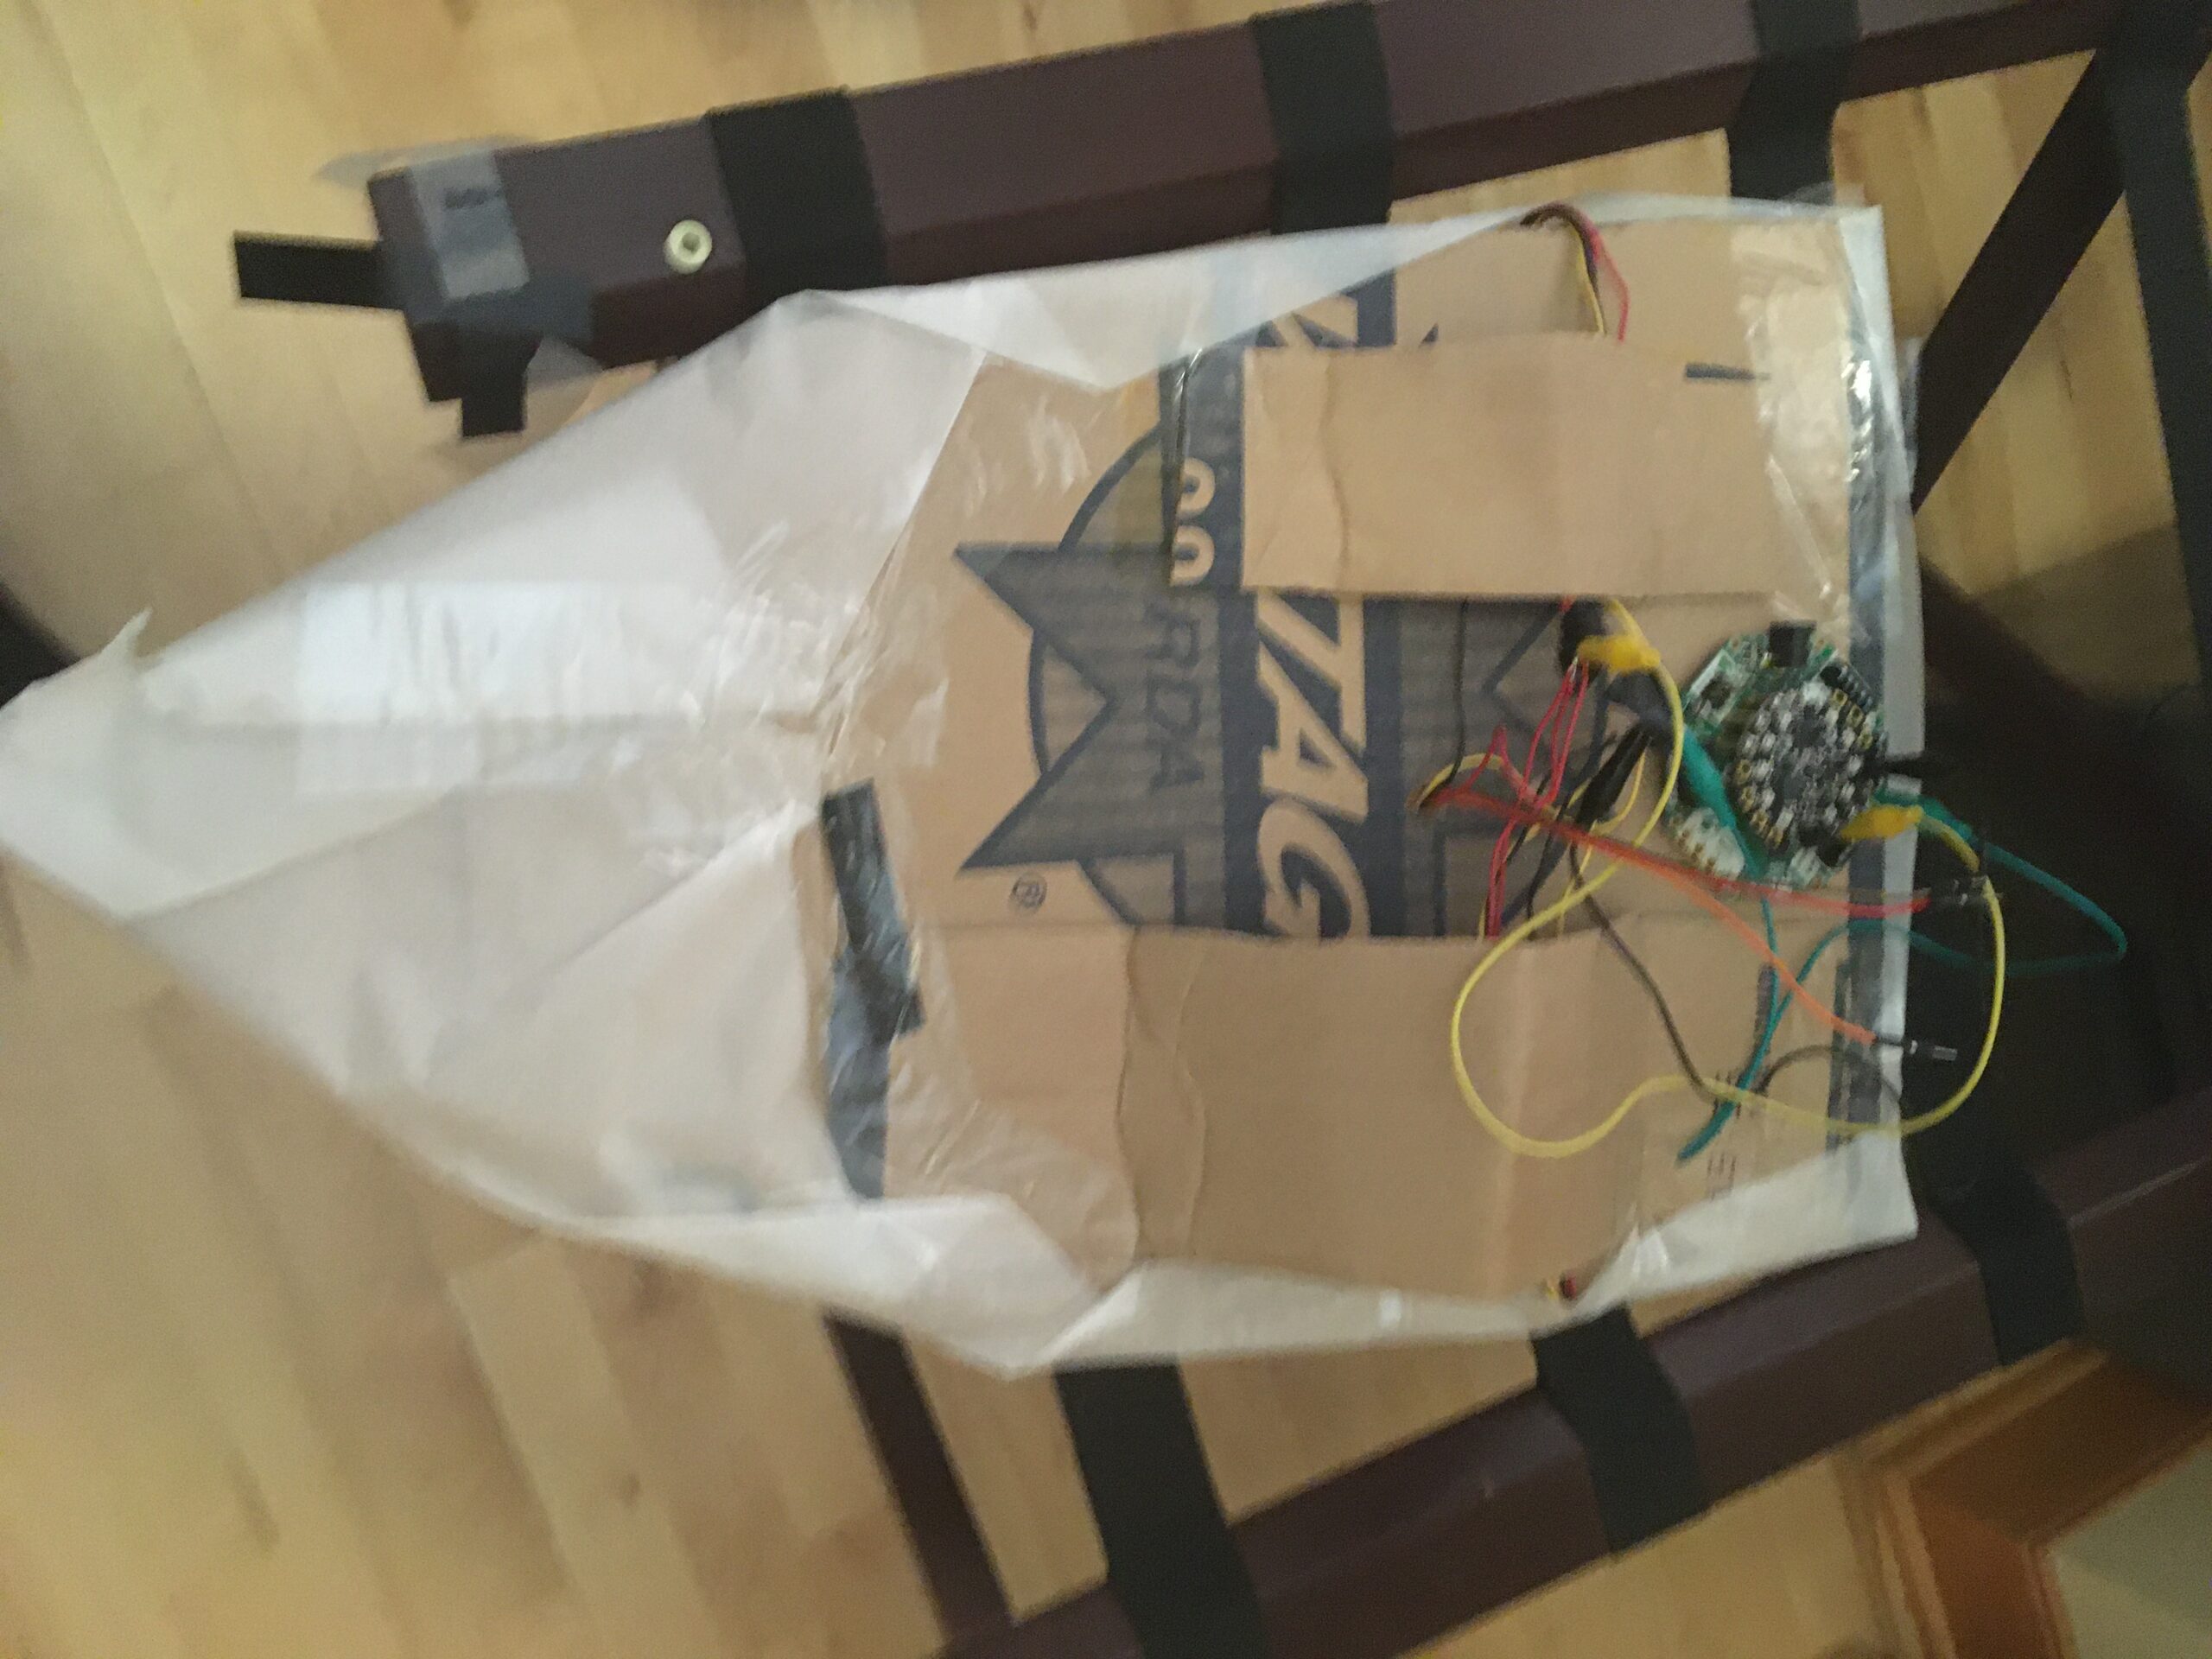
The concept behind this project was to make a shield that demonstrably does not want to be hit. It bleeds when you hit it, and if you keep hitting it, nature itself rises up against you for harming the shield. What did shields ever do to you anyway?
(Original concept also included as a bonus goal a whimpering or begging sound on being picked up, hence the name. Unfortunately, technical difficulties pushed that goal out)
Short video with a quick demonstration and a visual/audio runthrough of some of my design decisions and the basic idea behind what I made:
To make your own, you will need:
- One shield (I made one out of cardboard, but foam or other materials would likely work just as well)
- Circuit Playground Express
- As many neopixel strips as you want to fit (no more than 100 neopixels total)
- Parchment paper (or other thin light-diffusing material)
- Wire
- Soldering supplies recommended
- Recommended adhesives (to cardboard): hot glue, some variety of tape (I used packing tape, would not recommend) . Have electrical tape for insulation regardless of material used.
Fair warning as I walk through my process: Various materials and supplies ran out, weren’t available, or stopped working throughout this process. I’ll try to recommend better procedures where I would have used them if I could.
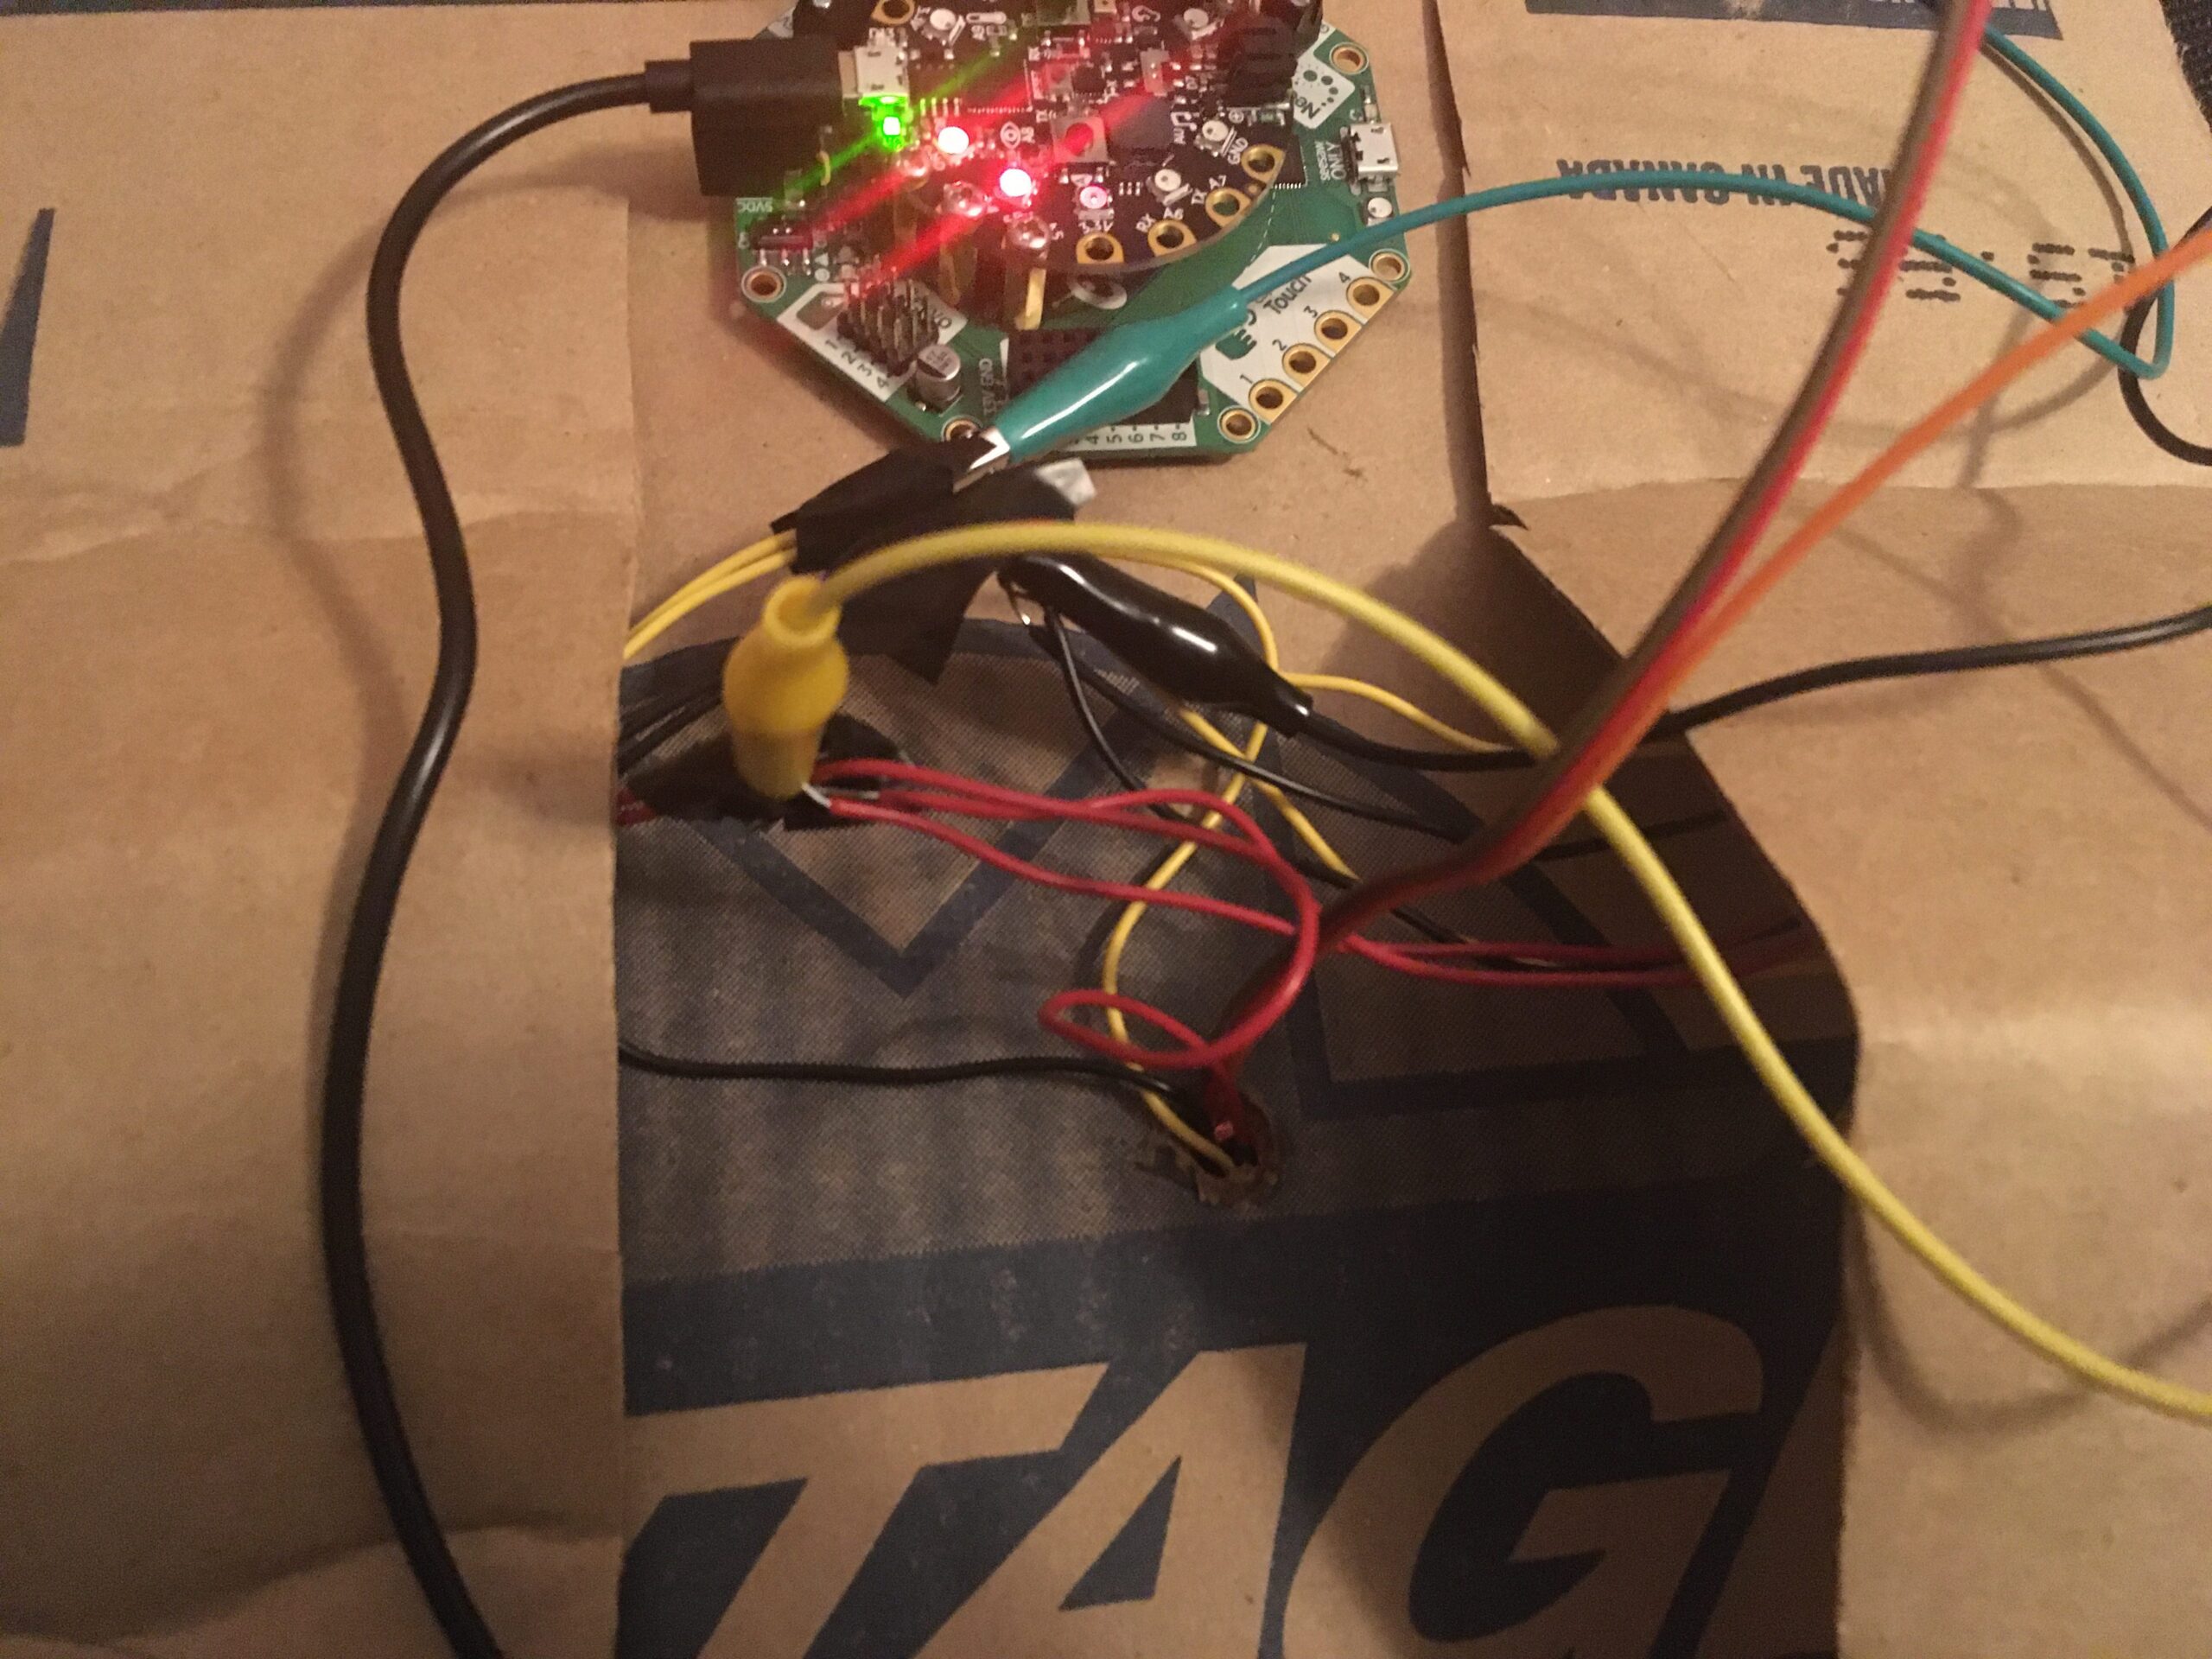
Note the second: I had my crickit shield connected to my CPX throughout this process, as I was originally intending to get the reaction out of a set of Force Sensitive Resistors, however they did not like to work correctly for me and were removed later. The crickit is not a necessary part of this project as stands.
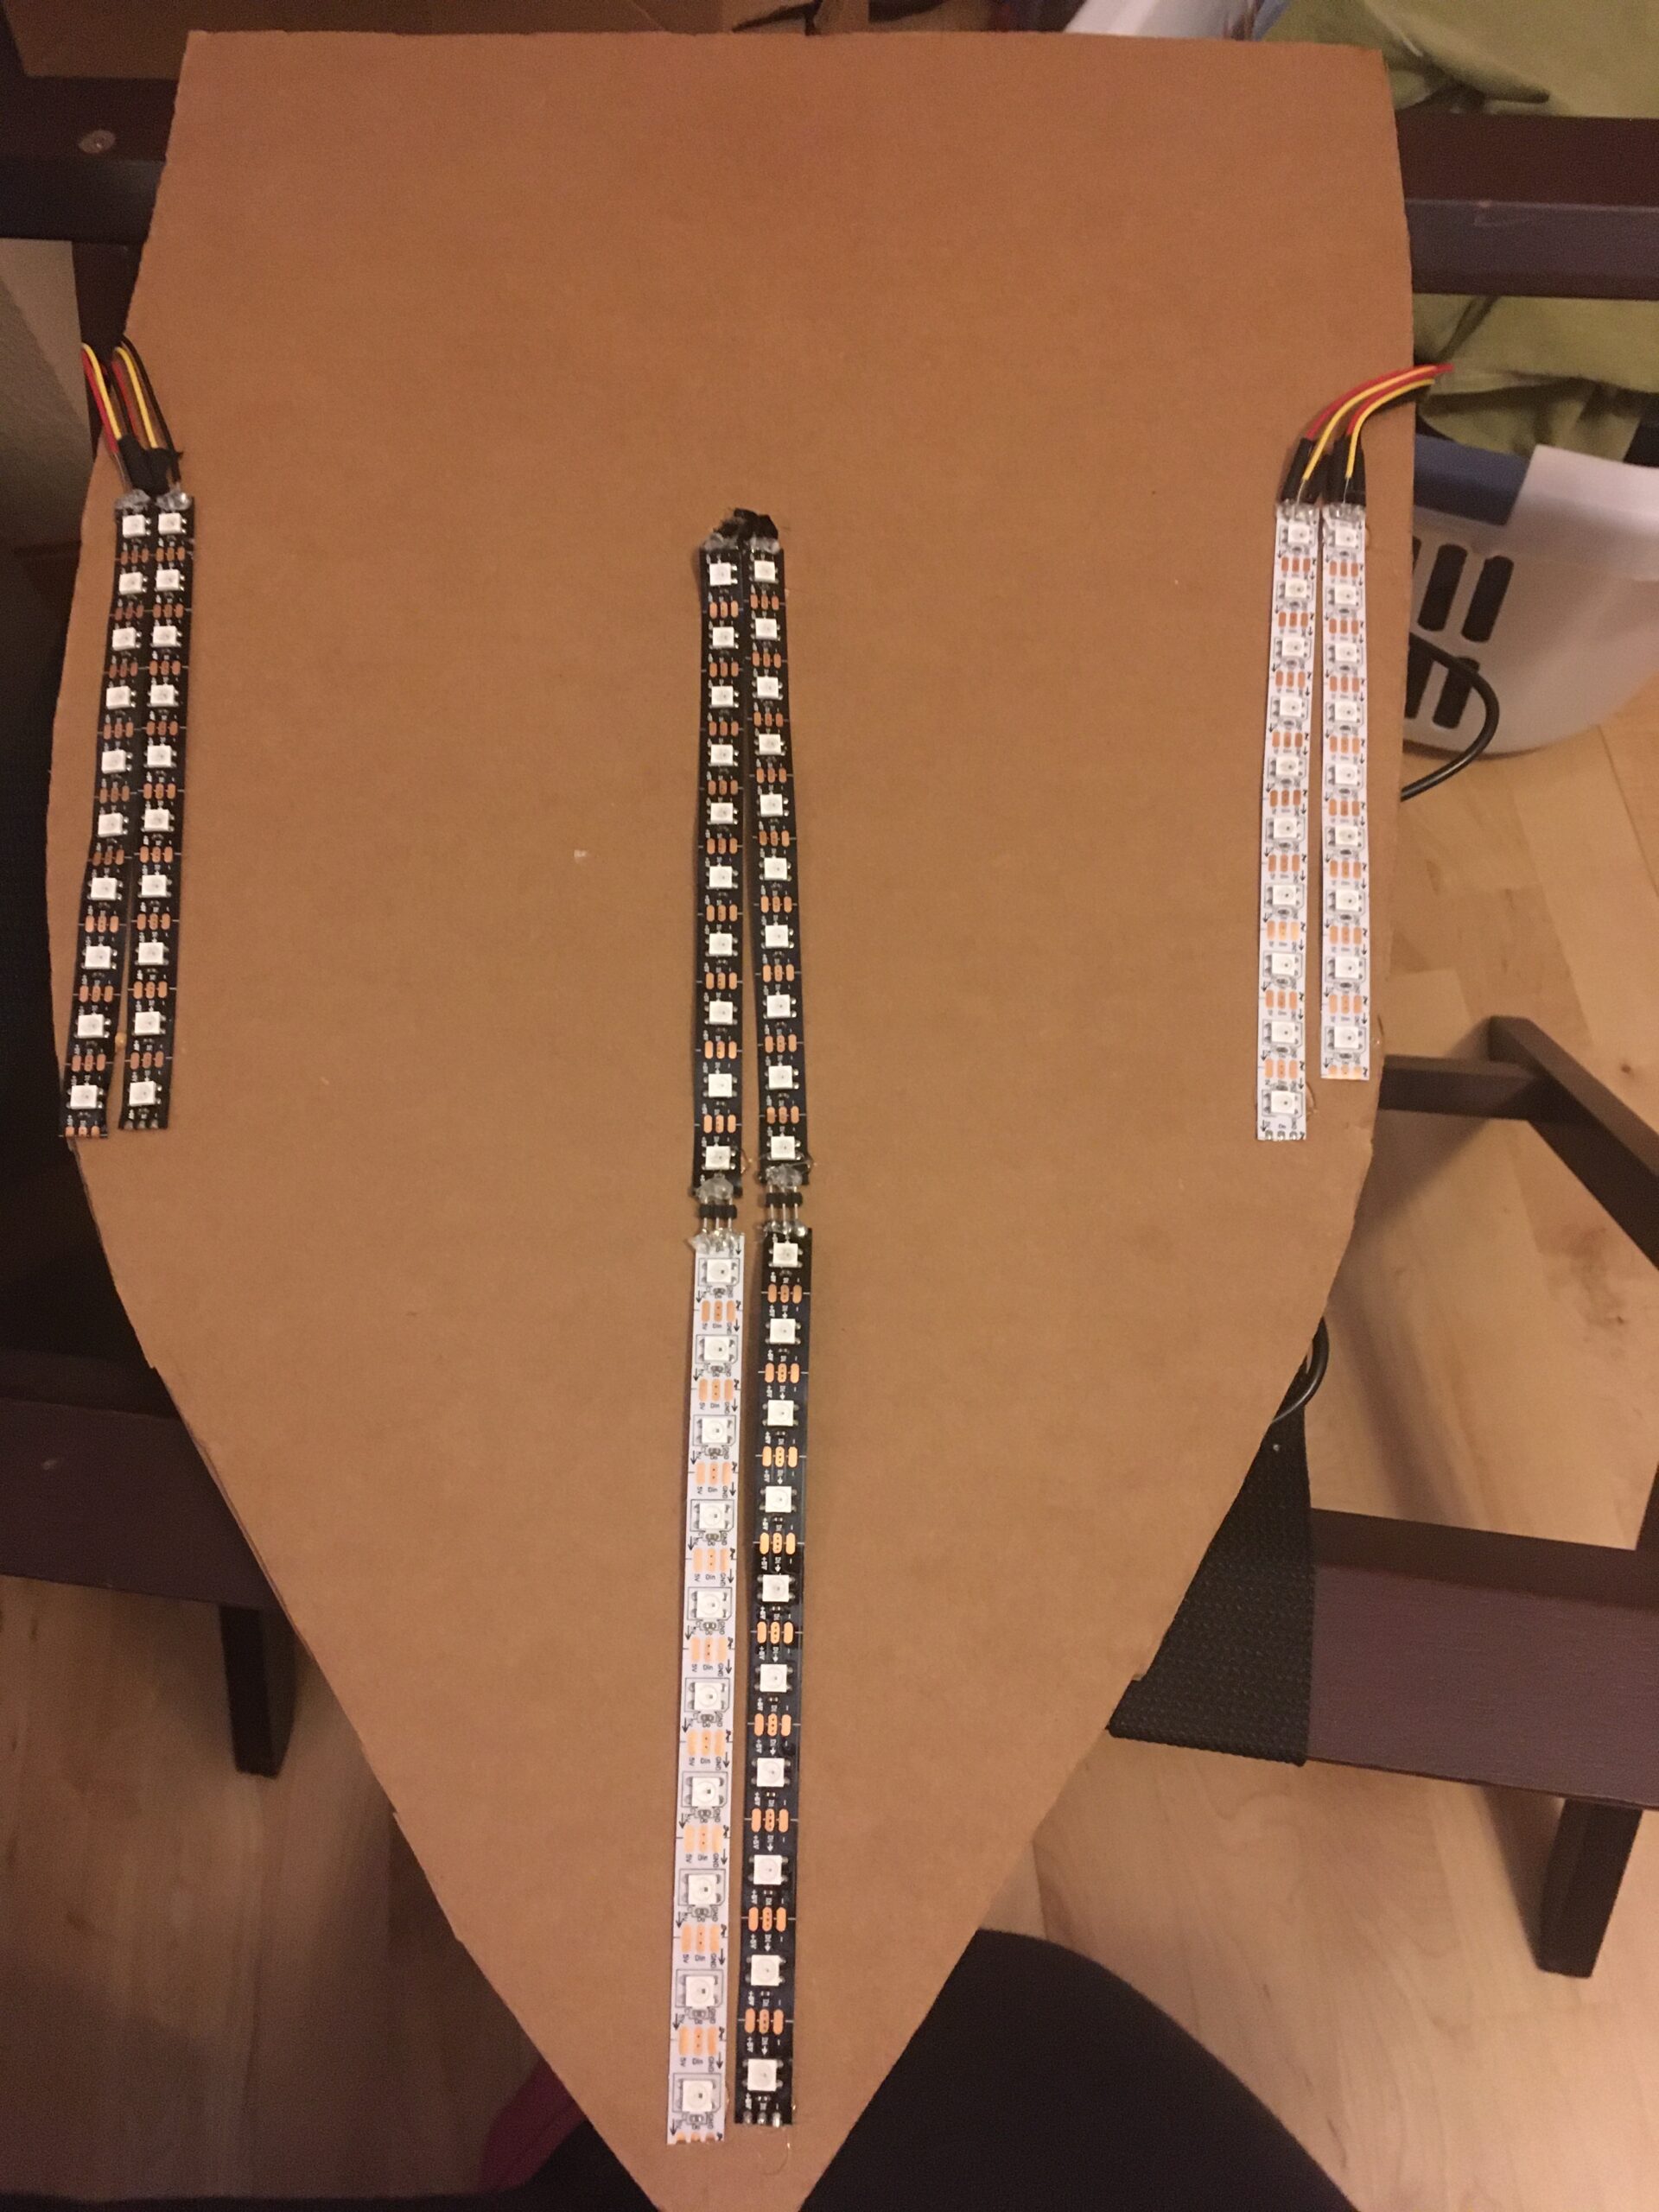
- Measure out some space near the top of your shield to be the “hit zone”. You don’t want to be hitting your neopixels while this is in use! Once you know the dedicated space for that, measure out neopixel strip from the bottom of that zone to the very base, and decide where and how many you want (Ideally, you’ve spaced these to be no more than about 15 neopixels long, I found that additional lights below that rarely lit up). These are your blood trails, and the top couple of pixels will stay lit as the “wound” on hits. DO NOT secure these to the shield, you are just measuring for now.
- If you need to join multiple fragments of neopixel strip to make the required length on one trail, do it now. My technique involved small bits of wire soldered from the tail of one strip to the head of the next. NOTE: the “head” of a neopixel strip is the end that the arrows down its length are pointing away from. This is the end that needs to be connected back to your CPX.
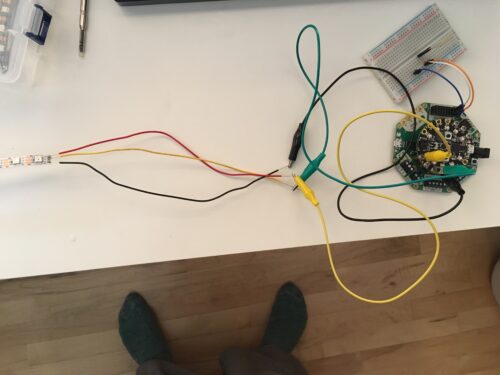
- Solder an (ideally color-coded) wire to each contact point of one neopixel strip. Connect it up now, and run a program like strandtest (found in the default Circuit Playground Express examples folder) on it to make sure the strip itself is working and that your soldering is clean and solid. Alligator clips are absolutely your friends here. If you have it, using a little hot glue over the connections on your confirmed-working strips is great for minimizing the chance that something will get loose or crossed later.

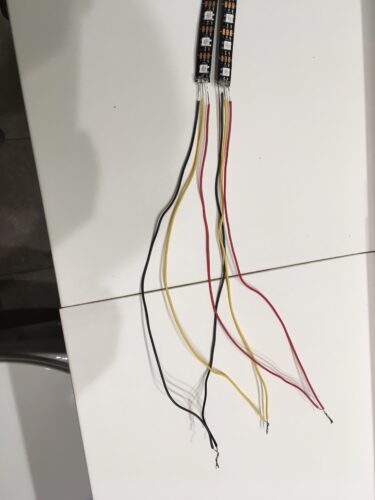
- Once you have all of your neopixel strips confirmed working, start soldering the other ends of their wires together so that they can be connected in parallel, keeping in mind which strips will go next to each other on the finished product.

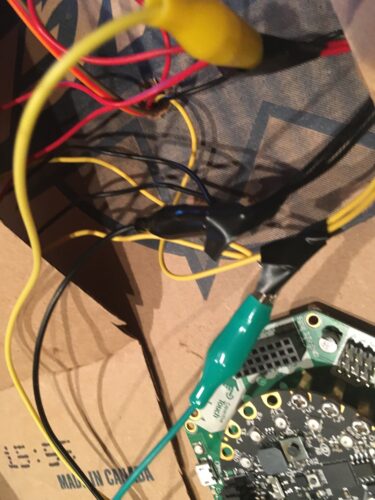
- Now is the time to try connecting them all up at once, if you haven’t yet. Alligator clips are still your friend, don’t permanently solder them into bigger groups until you know how you’re getting each bundle from the neopixels on the front of the shield, to the CPX which will live on the back.

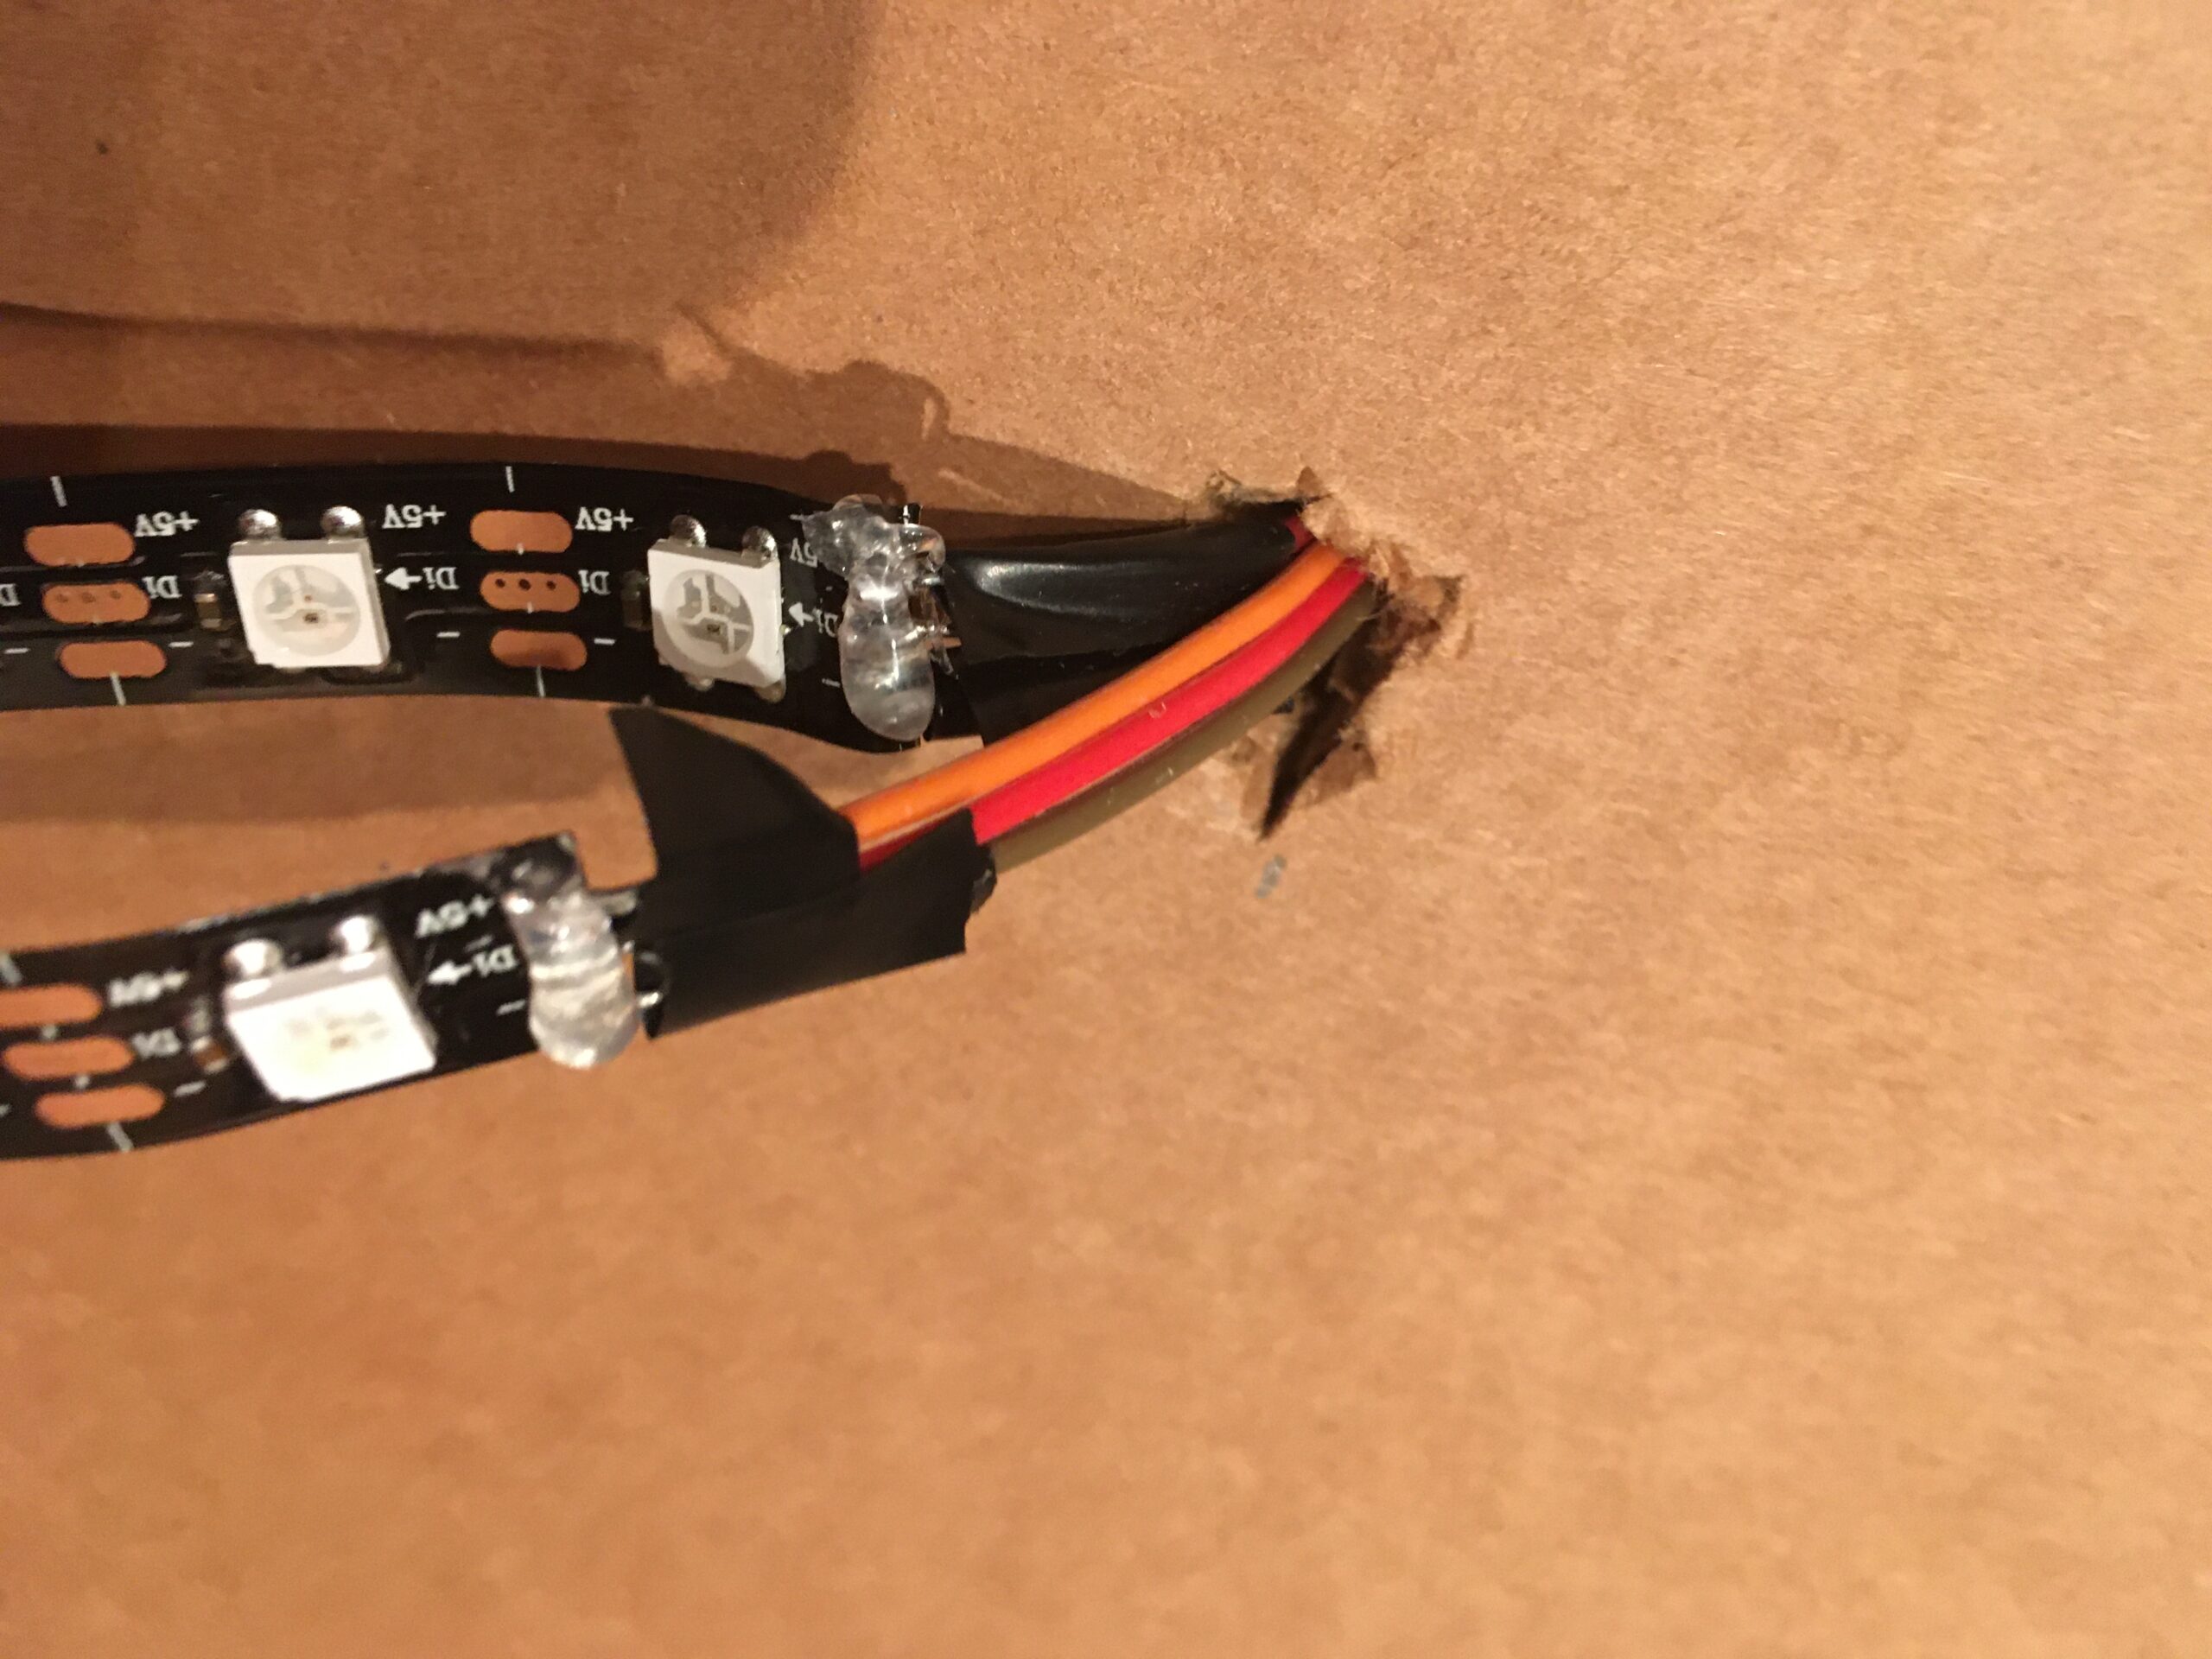
- Remember your neopixel placement planning? Now you need to make some holes (or find ways to nearly tuck wires around an edge if you’re going to cover the whole thing later, as I did) to get your wires to where they need to go. Keep in mind your handles, where you want your CPX to go, and general structural integrity of your shield. It needs to be able to take at least a decent hit (ironic, for a shield that would rather you not hit it, but true).

 (Zoom in to second image for an example of my final weight/holes/handles distribution on the rear)
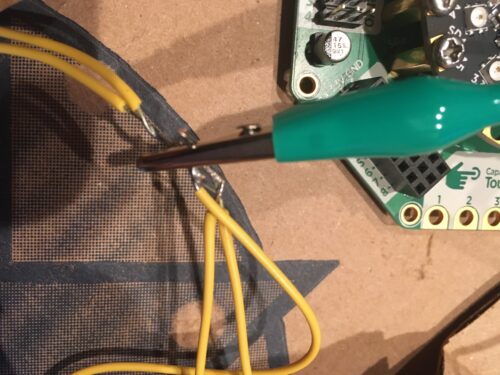
 - Once you have your holes made and wires threaded through, you’re probably better off using some intermediate wires to solder all the wires down into parallel, all power wires together, all data wires together, all ground wires together. My images will continue to use alligator clips all the way onto the finished product as my soldering iron stopped heating up shortly after making all of my two-strip bundles. In the end, you need all power on the VOUT pin, all of the ground wires going to any ground pin on the board(GND), and all data wires in parallel on A1. Remember to insulate any loose metal bits after you’re done soldering and connecting.

- Grab your random strand testing code (strandtest is still a good choice) and make sure everything still works after all that. There may be loose wires or shorts somewhere, now is the time to find them.
- Glue down (tape isn’t great for this one, but it can work in a pinch) all of your neopixel strips in place as well as the CPX on the back. Remember that you need space on the side of the board to plug it in for the reactions with processing, and placing it somewhere weight-balanced and out of the way of your handles.

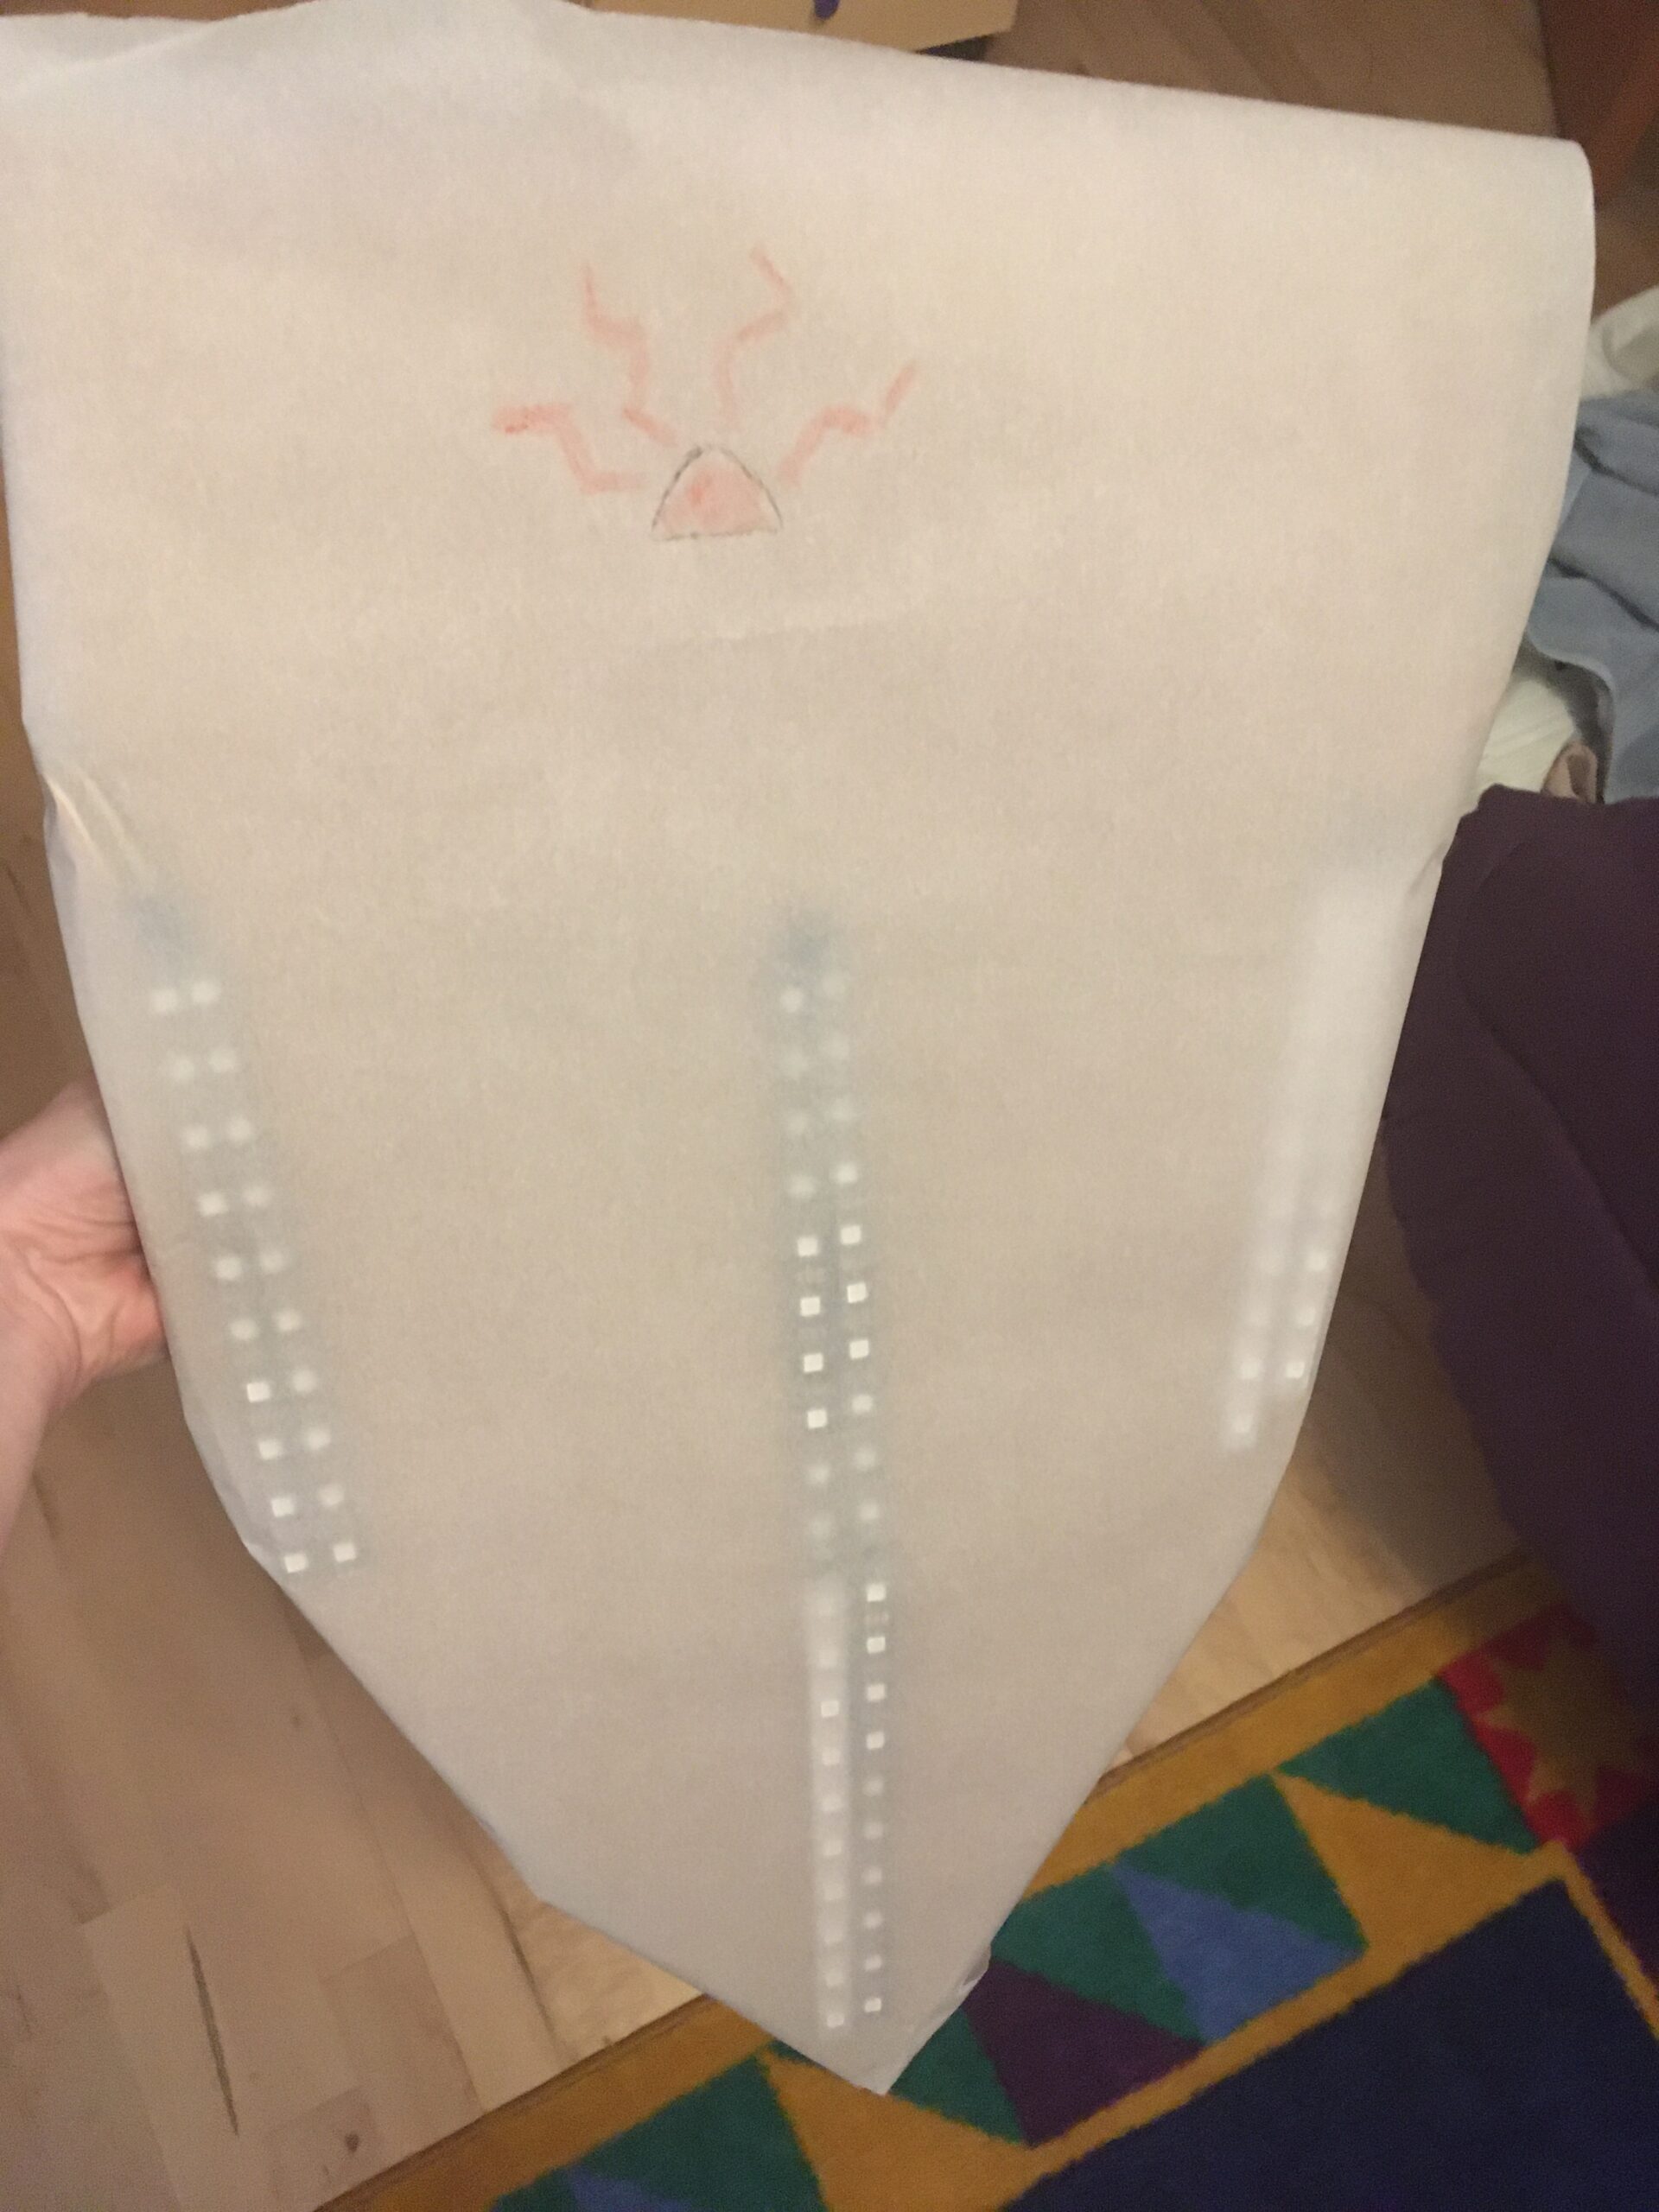
- Time to cover up the last wiring bits. Carefully wrap the front of your shield in the parchment paper and tape it down in back.


- Download and unzip the two files below. Blood Code is the arduino code to make the shield light up and send data to the processing file, Shield_Reaction.
Shield_Reaction_vFinal Blood_code_Final - You will need to tweak the Shield reaction code to match the port your CPX is connected to. You will also need to input the length of your longest neopixel strip and make sure the included variable for how many neopixels per meter on the strands matches what you actually have.
- Once the shield code is running, hit play on processing, and the reaction is good to go!
- Final notes: Unfortunately, my mechanism for resetting the neopixels through motion threw off the running blood code and the many attempts to make the different blood streams flow at different times failed due to a compatibility issue between the base code and the CPX, which caused me to not be able to use any data pin but A1. Had I figured that out before my soldering iron died, I would have rewritten the code to all run off of one long strip off of A1.
The reaction to being hit is accomplished through the built-in tap sensor on the CPX. If you want to expand on this project or figure out one of the issues that I couldn’t make work, there are still commented out code chunks from various alternate approaches and additional features that didn’t want to play well together scattered throughout the code. I’d love to hear from anyone that does manage to expand on this idea!
- also: DEFUNCT Blood_code_v4 has most of the code from my attempts at using an FSR if that’s of interest to anyone taking on a similar project in the future. It’s not compatible with the linked version of the processing code, as the FSR and tap meters send rather different data, but might be of use to someone reading this.
