Final Lantern Project
Brianna Gabriel
New Media Arts
04/30/2026
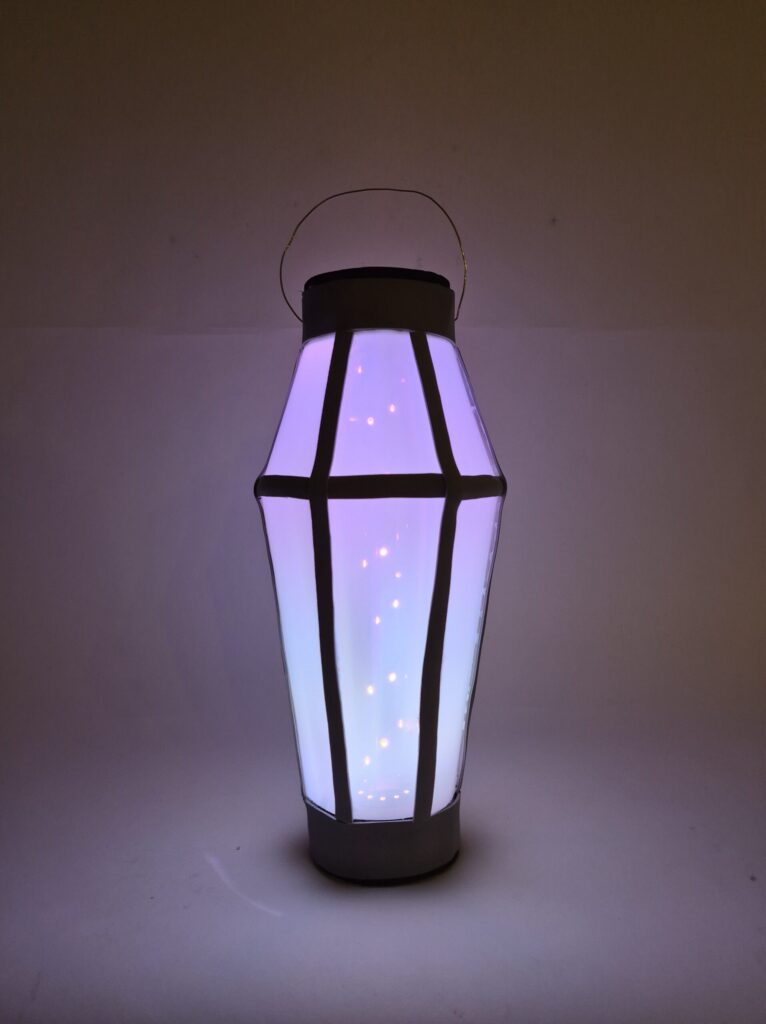
This final project is a lantern that changes color when it is swung. The inspiration came from a video game character that I really like, and my interest in making a functioning item that has a purpose. The change of color is created by the circuit registering being shaken, which records the motion. It then changes colors based on two pallets of seven colors each. Through the circuit playground, an LED strip is attached to a wooden dowel. The circuit is connected to a battery pack and set in a base created of foam. Wooden chopsticks are attached to the base and top to create the frame. Each panel is covered using Mylar sheets.
*This blog post is missing final version process pictures due to the issues during its construction. Everything marked in blue is updated information to match the final process.
List of Materials:
- Circuit playground
- Three double a batteries
- Battery pack
- LED strip
- Wooden dowel
- Hot glue
- Thick sheet of foam
- Thin sheet of foam
- Tiny magnets
- Flat wooden chopsticks
- Thin wire
- Three 10 mil Mylar sheets
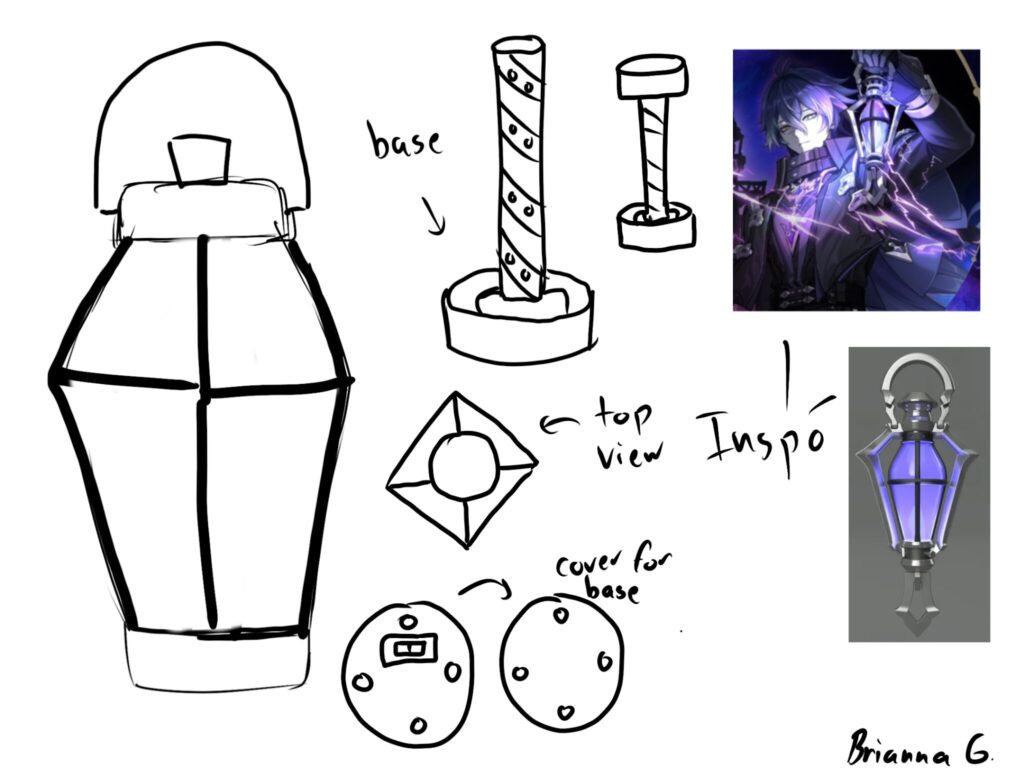
Initial project ideas:
Beginning from the Interactive Assignment, I wanted to upgrade this lantern in three ways. First, I wanted to increase the amount of colors is could change from by incorporating custom color pallets. Second, I wanted to make the lantern more sturdy by changing the panel material. Third, I wanted to make accessing the battery pack inside more easier.
How to:
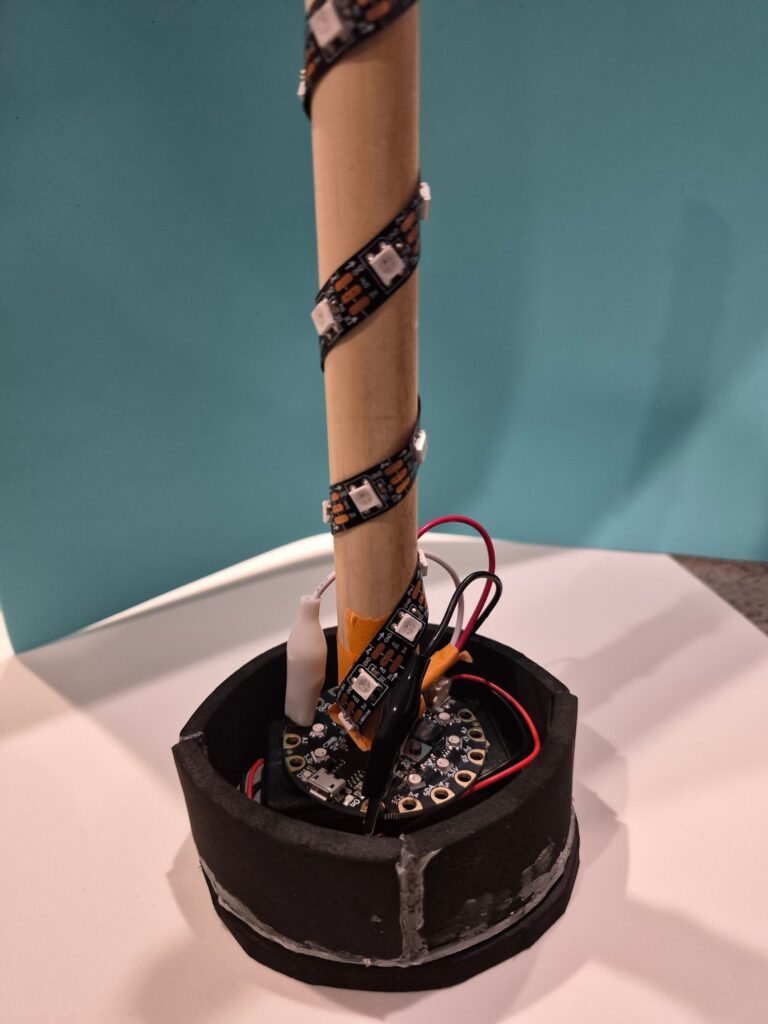
- Connect the LED strip & battery pack to the Circuit playground *In the final version the LED strips wires are stripped and secured with hot glue.
- Create a base out of the thin foam that is big enough for the circuit and battery pack
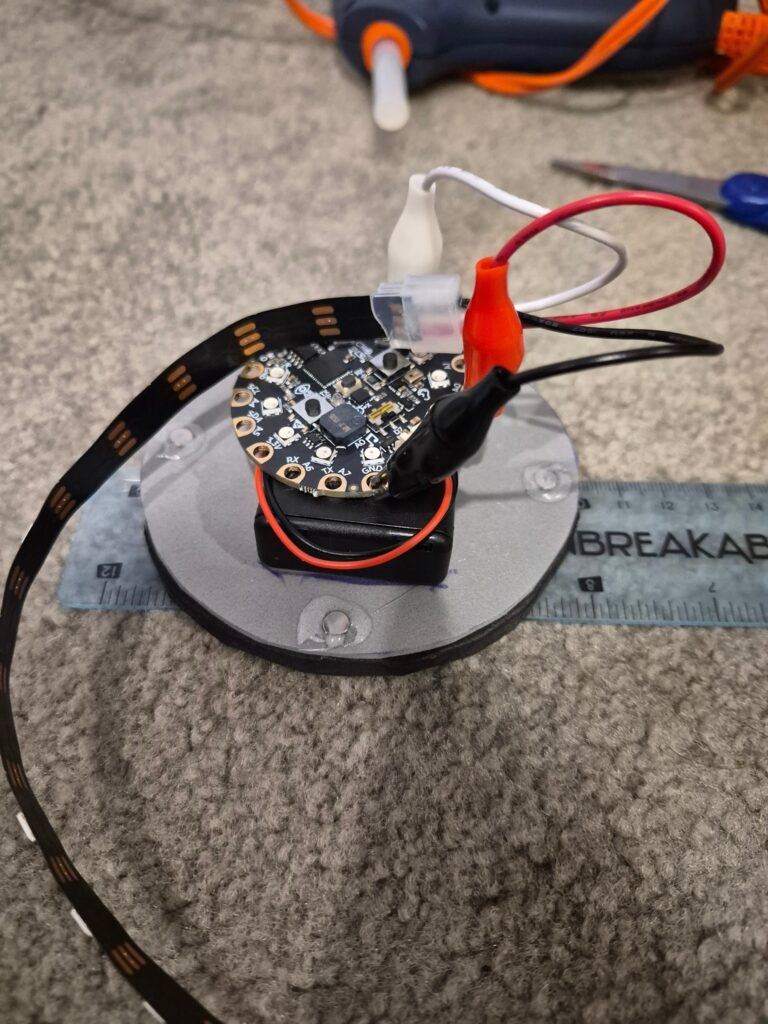
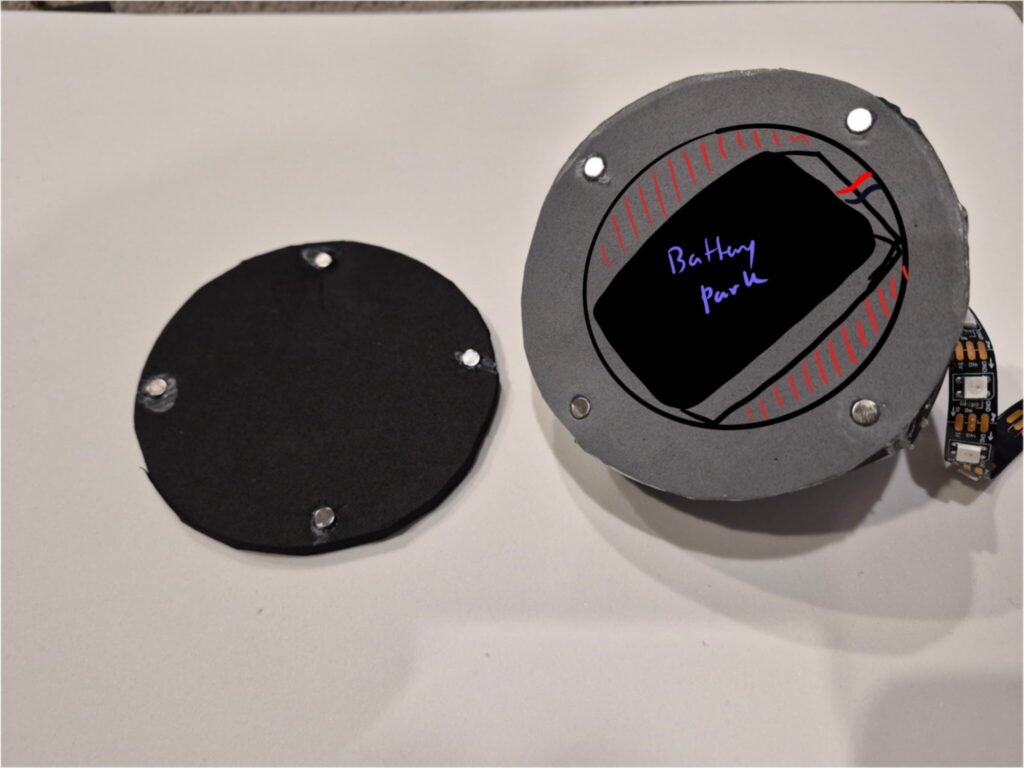
- Attach the circuit to the base, and create a hole to feed the wires through. The base will become a divide between the circuit and battery pack.
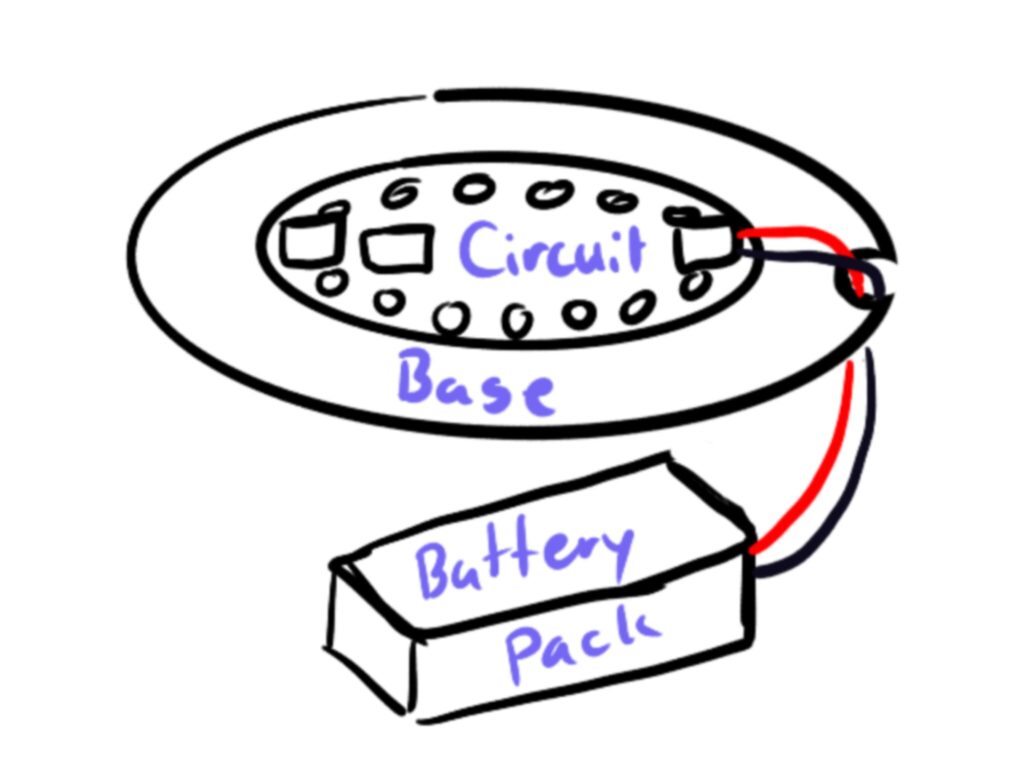
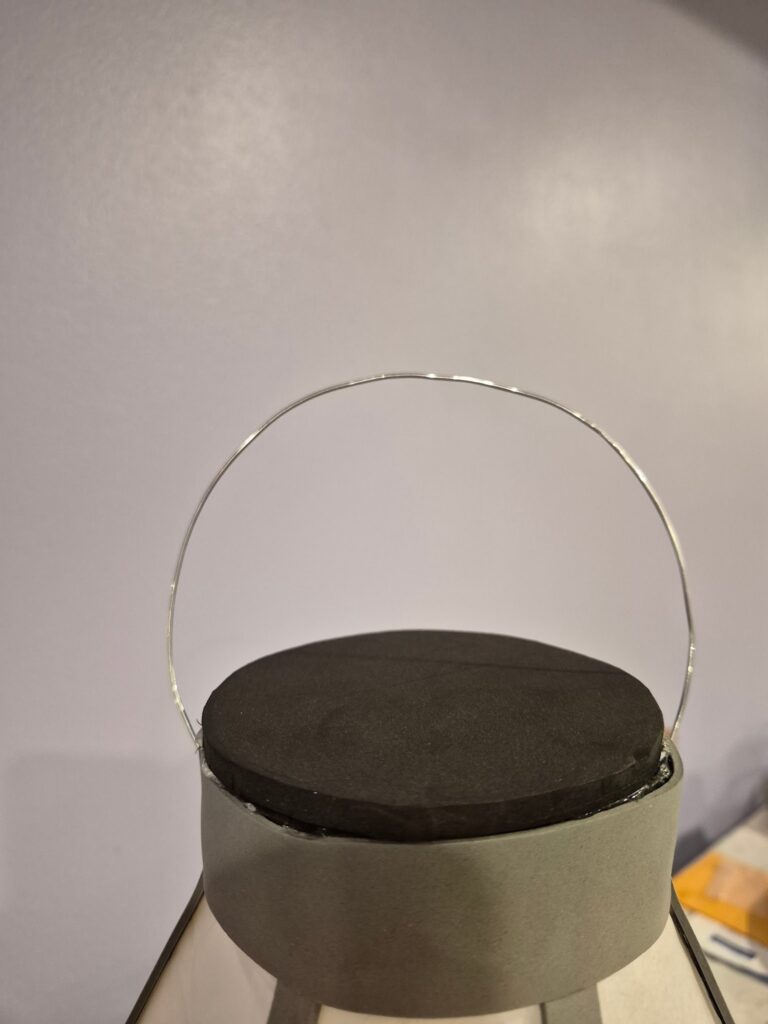
- Create two more bases out of the thick foam, one with a hole to access the battery pack. Align the magnets and attach to create a lid.
- Cut out four long rectangles of thick foam to add height to the base
- Glue the LED strip to the wooden dowel
- Glue the dowel with LED strip to the circuit
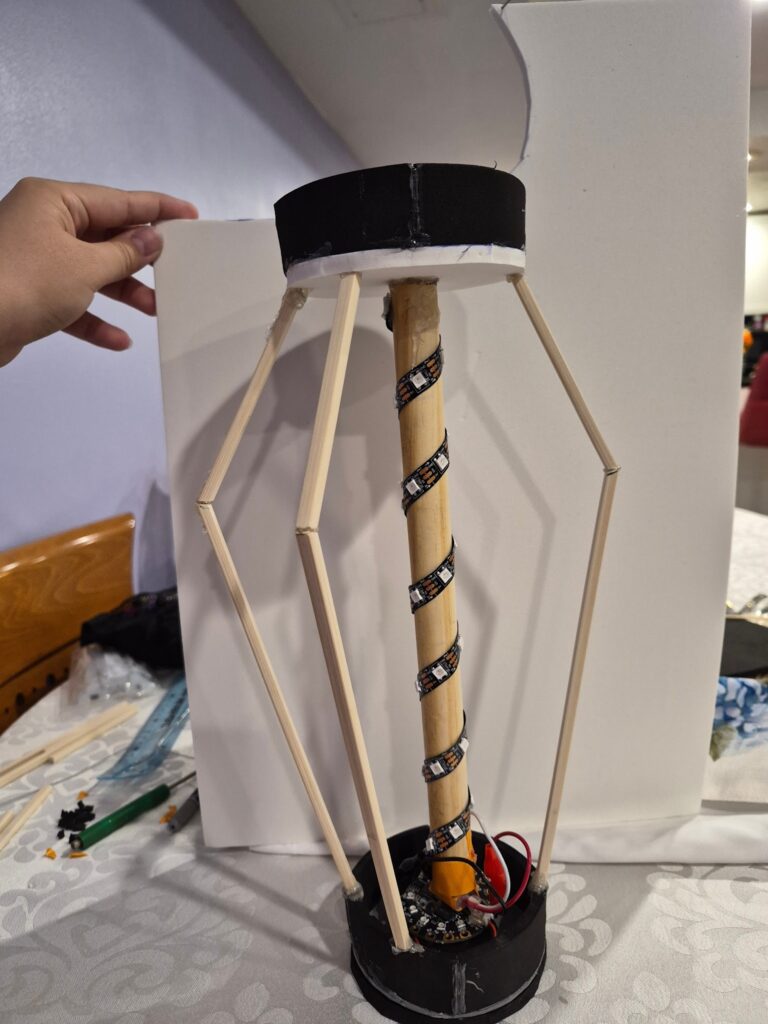
- Create a second base to use as the top of the lamp
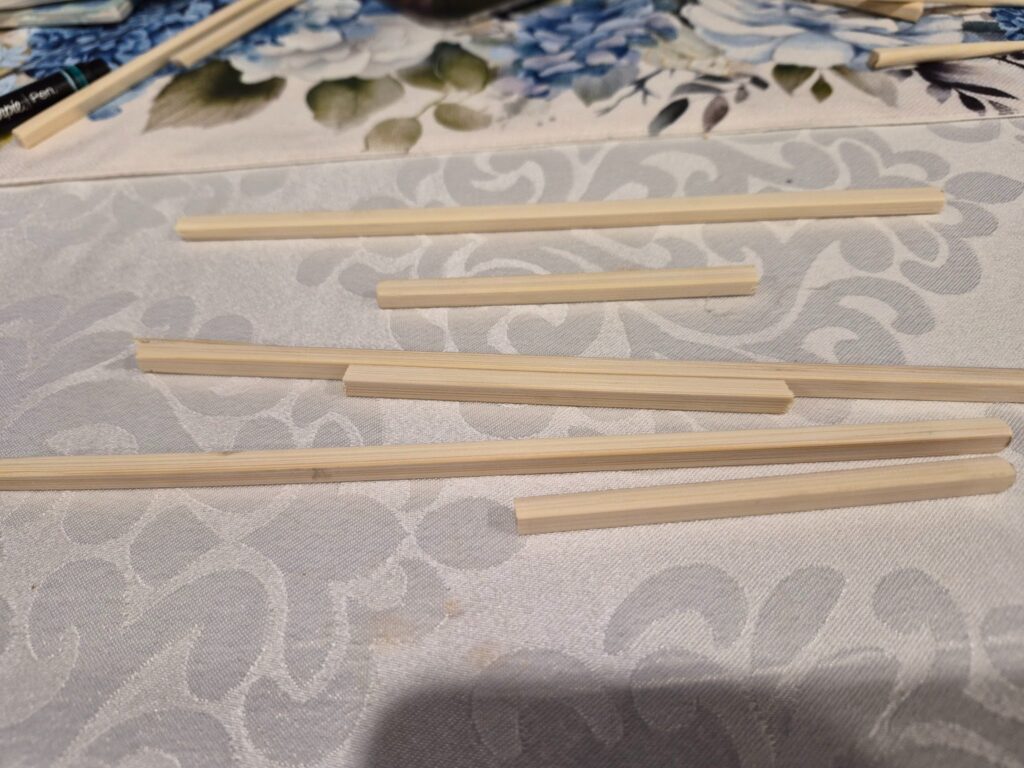
- Cut and sand down nine chopsticks. Have six longer ones, with six shorter ones
- Attach the top onto the wooden dowel, and begin gluing the chopsticks to create the shape of the lantern
- Once the lantern shape is completed. Cut each Mylar sheet into threes and create the panels for each section
- Cut out rectangles and strips of thin foam to cover up the base and exposed wooden chopsticks. Adding extra strips for decoration
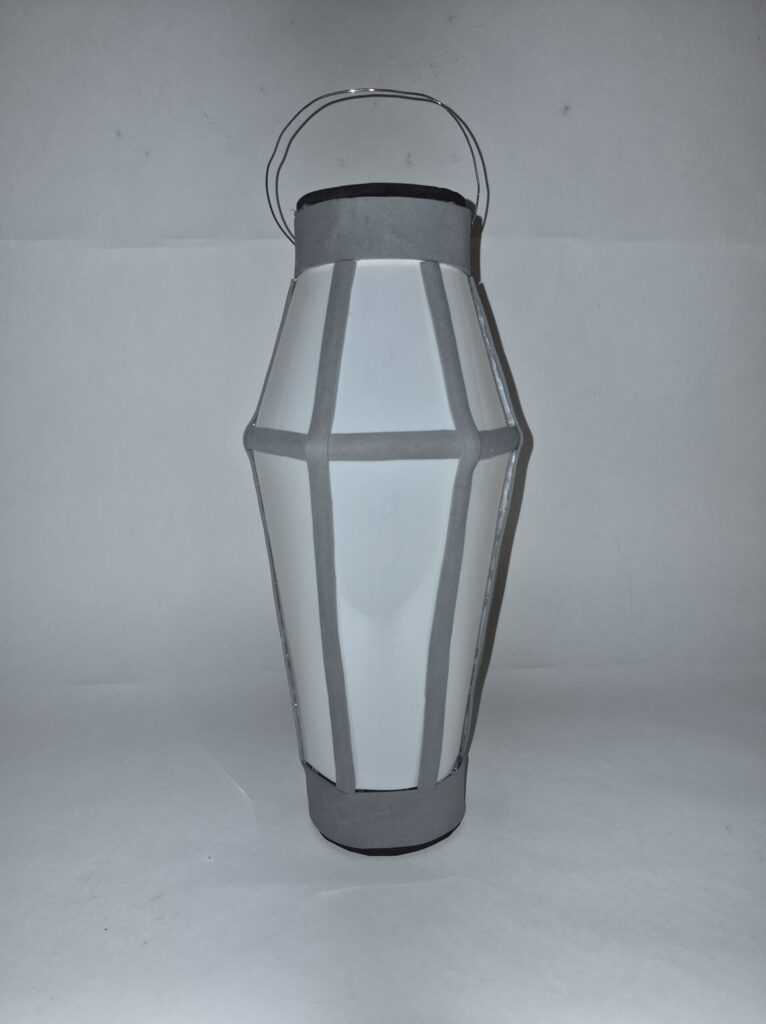
- Bend metal wire to create a handle and stick it through the top
- Turn on the LED from the bottom, and swing to change color.